Once I finally finished organizing most of my fabrics, I tackled binding the three quilts I have recently brought home from my long-arm quilter.
Unless a quilt is just for a wall-hanging (and sometimes even then), I will make bias binding. I learned my lesson with straight grain binding, and trust me – if you ever have to remove straight grain binding that has frayed, you will too. Yes, it takes a little longer to make bias binding, but thanks to a handy-dandy bias binding chart (something like this one), I can easily figure about how much I need to make, and frankly, I’ve just gotten used to this step.
If you want to make continuous bias binding, there are a lot of tutorials on how to do that online. I tried it once, and it was not difficult, but I prefer rotary cutting (which you can’t do with that method) to using scissors to cut it apart.
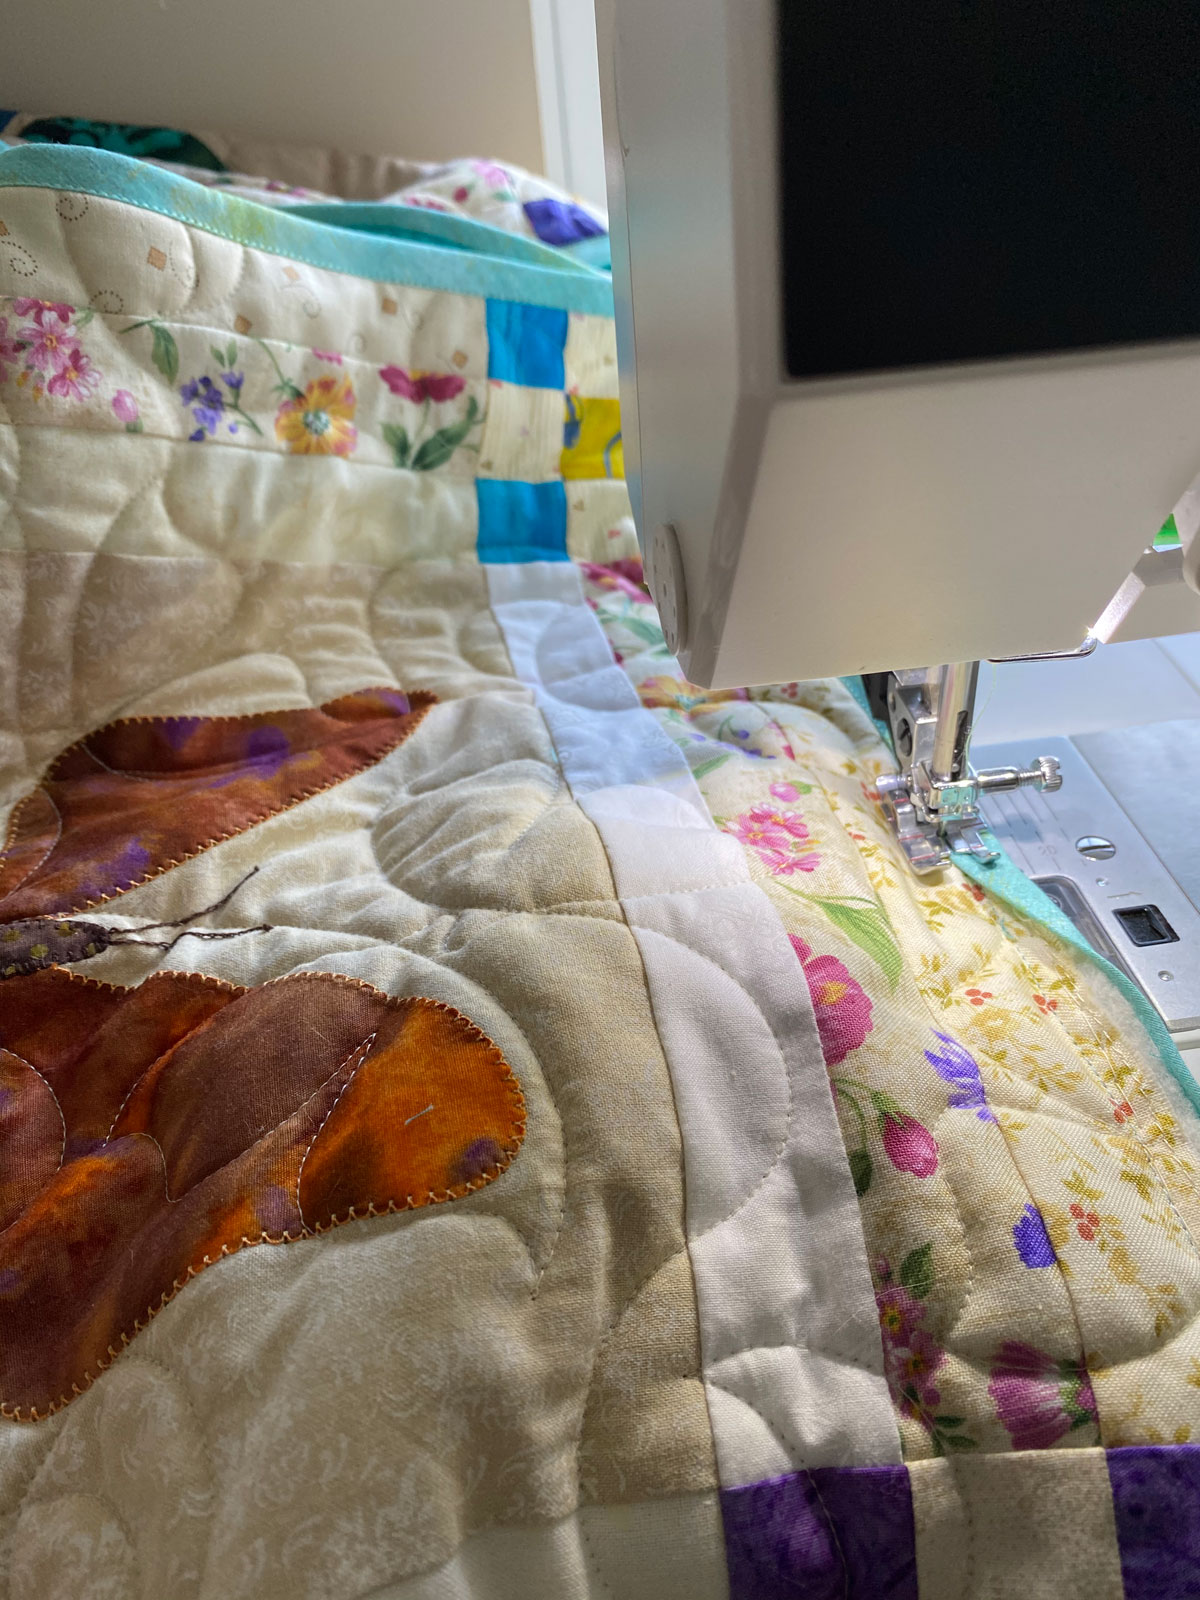
First up, Butterflies. This is the smallest of the three, and it is a gift for a friend, so I wanted to make sure to finish it first. I debated about the color for the binding, and decided to go with the turquoise grunge print I had leftover from another quilt. I think it goes nicely with the darker turquoise back and the other colors in the quilt top. Because I didn’t have to worry about matching points in the quilt edges, I was able to attach the double-fold binding to the back, then machine stitch it to the front. This is a nice, quick method when you can use it. Note, when I use this method of completely machine-stitching binding, I usually trim the backing and batting to about an eighth of an inch, and I’ll sew a slightly wider seam when sewing it to the back, around 3/8″.
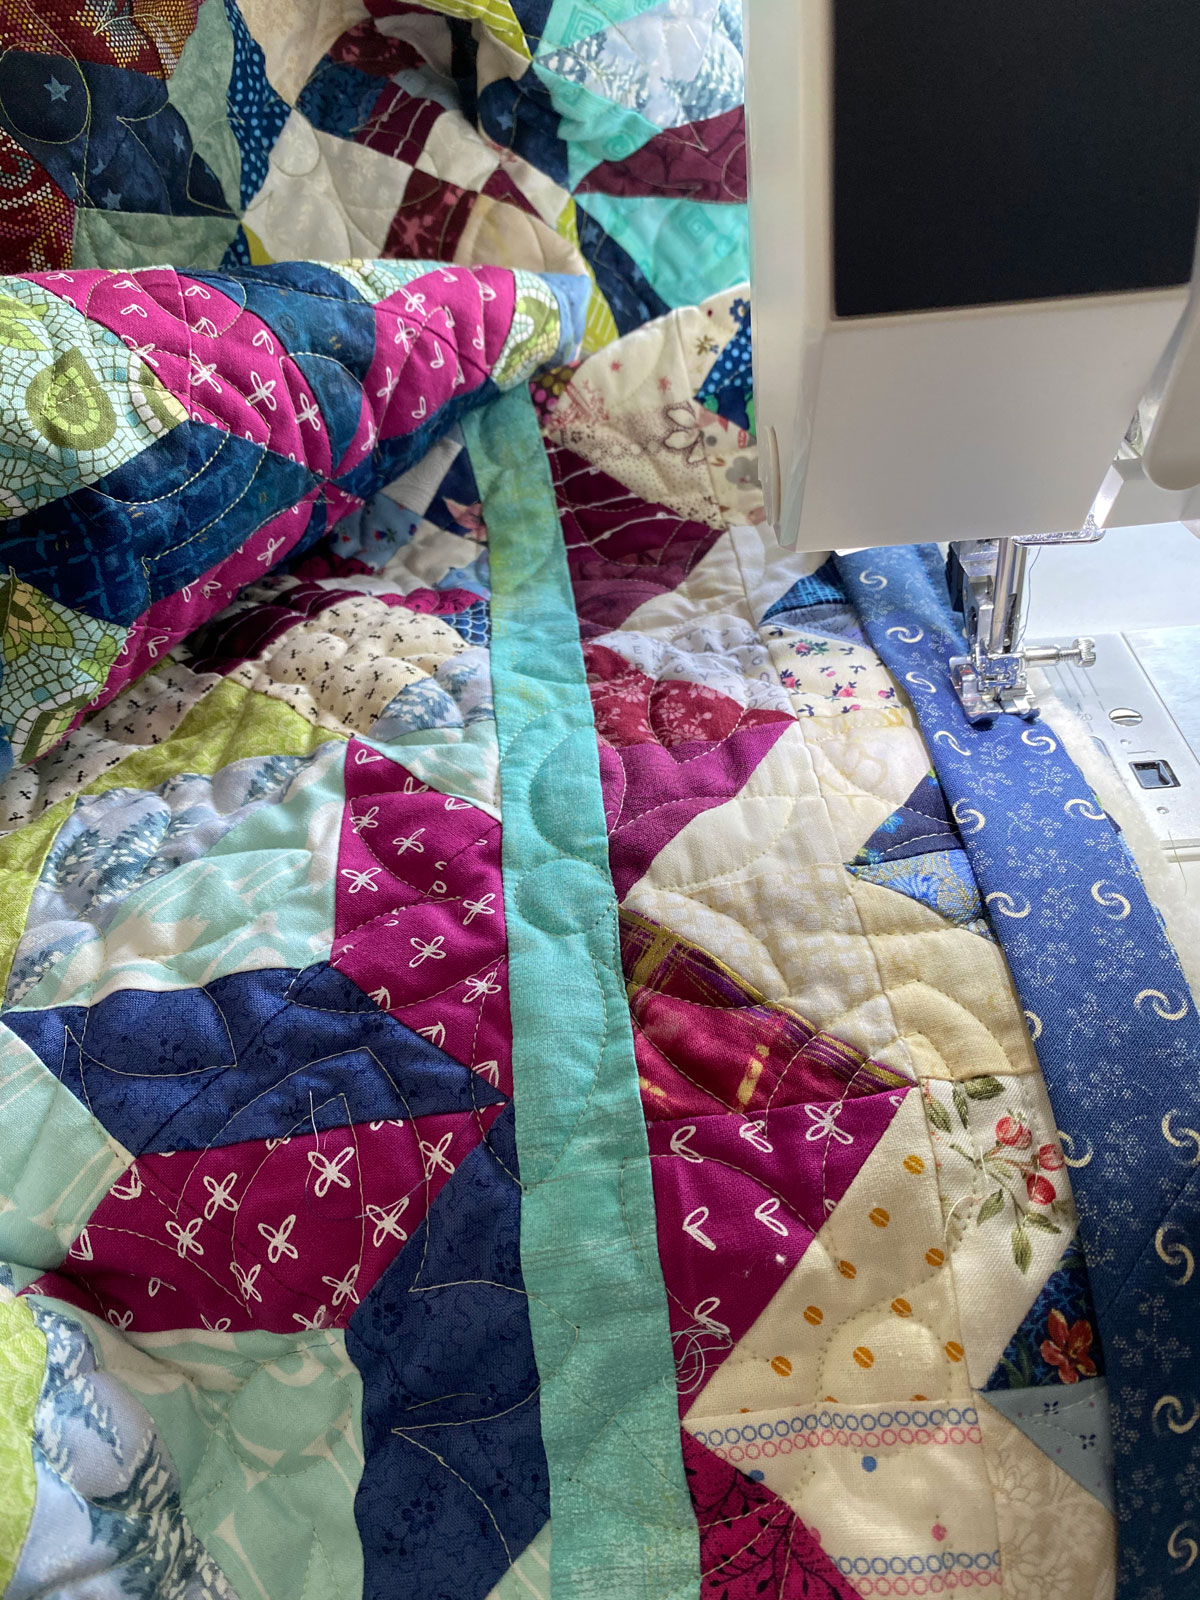
I finished that around lunchtime Monday, so I decided to work on a second quilt, Frolic. This time it was a blue print, which was also used in the quilt top. Because the quilt top has points that needed to be matched at the edges of the quilt, I decided to attach the binding by machine to the front with a quarter-inch seam, and I’ll hand-stitch it to the back.
When I attach binding, I usually use 2½” wide strips and fold them in half and press lengthwise. In this instance, I trimmed the quilt leaving about ¼” of batting and backing. I lined up the raw edge of the binding and the quilt top (not the edge of the batting), and when I fold to the back to sew it down, it usually gives a nice plump binding. I’ll trim only very slightly if necessary. Oh, and look – I used that turquoise grunge print as a narrow border in this quilt too.
That was all finished just before dinner. And since I knew that my husband would be occupied with watching NASCAR racing that evening, I decided to at least make some progress on the third quilt, City Sampler.

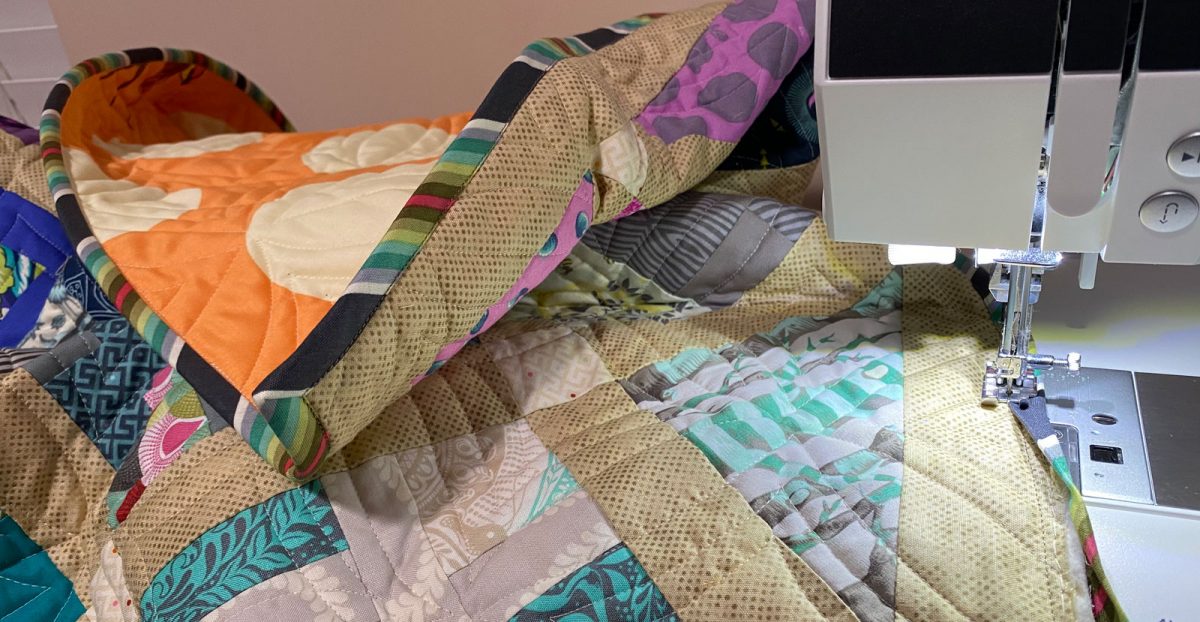
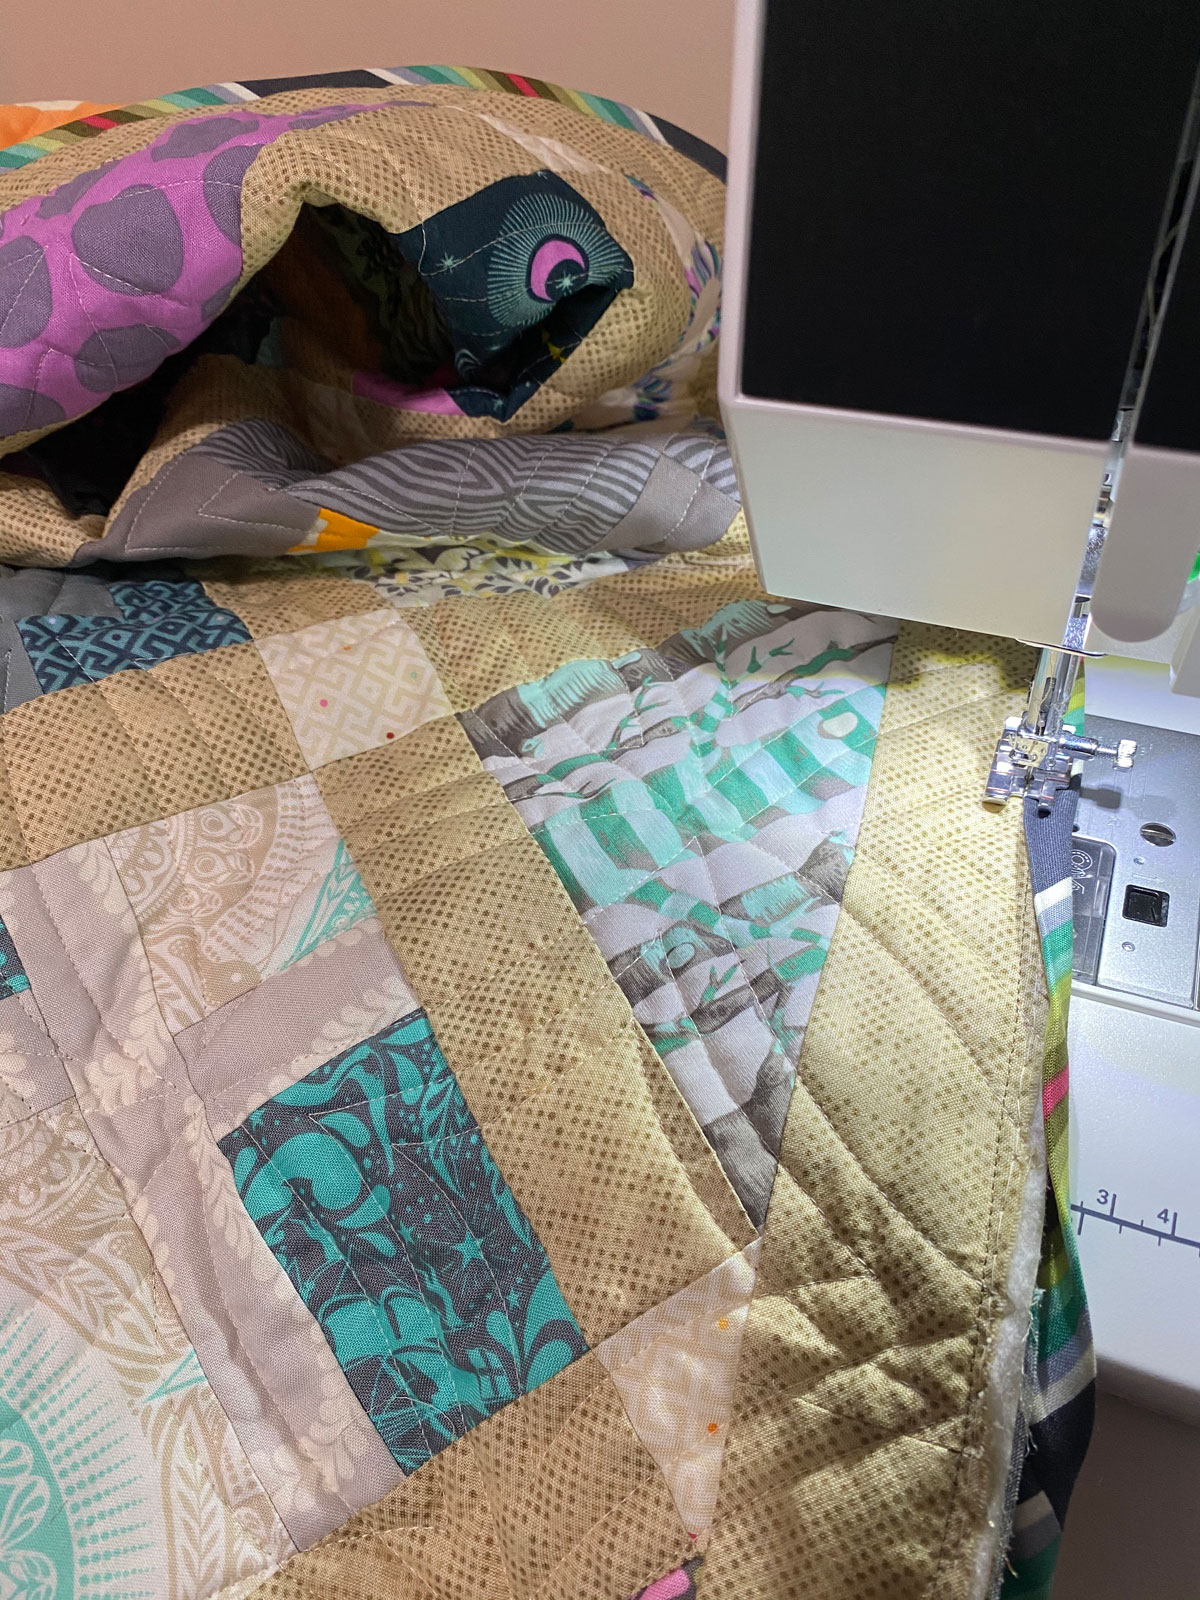
Once again, since I didn’t have to match seams, I used the all-machine-sewn binding method. It took a while to figure out what binding I wanted to use on this. I was at first tempted to use the tent stripe in colors that matched the backing fabric I chose.

But then I found a different stripe that I knew would add more interest and color, and I immediately knew it was the one. This is from her Chipper line, and I have used it in numerous blocks and quilts now (it’s especially nice for fussy cutting for English paper piecing).
It was nearly bedtime when I finished sewing the binding on that one, so it was too dark to take any pictures of finished quilts. We’ll try to do that soon! I’m so excited to have these three finished (as soon as I finish hand-stitching Frolic’s binding, that is).
Absolutely love that butterfly quilt! PJ