For this part, I decided to make two similar blocks. Each will measure 15½ inches square when pieced, and will be 15 inches square in the finished quilt.
Pieces needed for block 4
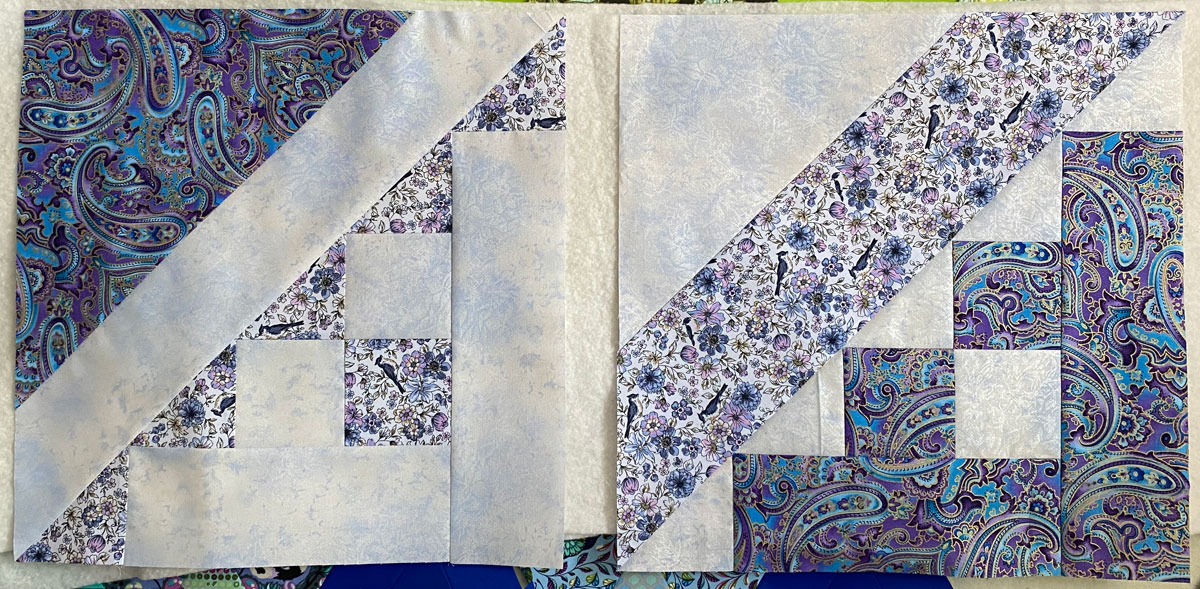
In these blocks, my background fabric is pale blue, and I’m using the lighter floral/birds fabric as Fabric A, with the medium paisley as Fabric B.
- Background:
- One 9 7/8″ square, cut in half on diagonal
- One 3½” square
- Three 3 7/8″ squares, cut in half on diagonal – you’ll use five and have one triangle left over
- Fabric A: One strip 4 3/4″ wide by 22 7/16″ long
- Fabric B:
- One strip 3½” by 12½”
- One strip 3½” by 9½”
- Two 3½” squares
Pieces needed for block 5
- Background:
- One strip 3½” wide by 22 7/16″ long
- One strip 3½” by 12½”
- One strip 3½” by 9½”
- Two 3½” squares
- Fabric A:
- Three 3 7/8″ squares, cut in half on diagonal – you’ll use five and have one triangle left over
- One 3½” square
- Fabric B: One 11 5/8″ square, cut in half on diagonal
Constructing the blocks
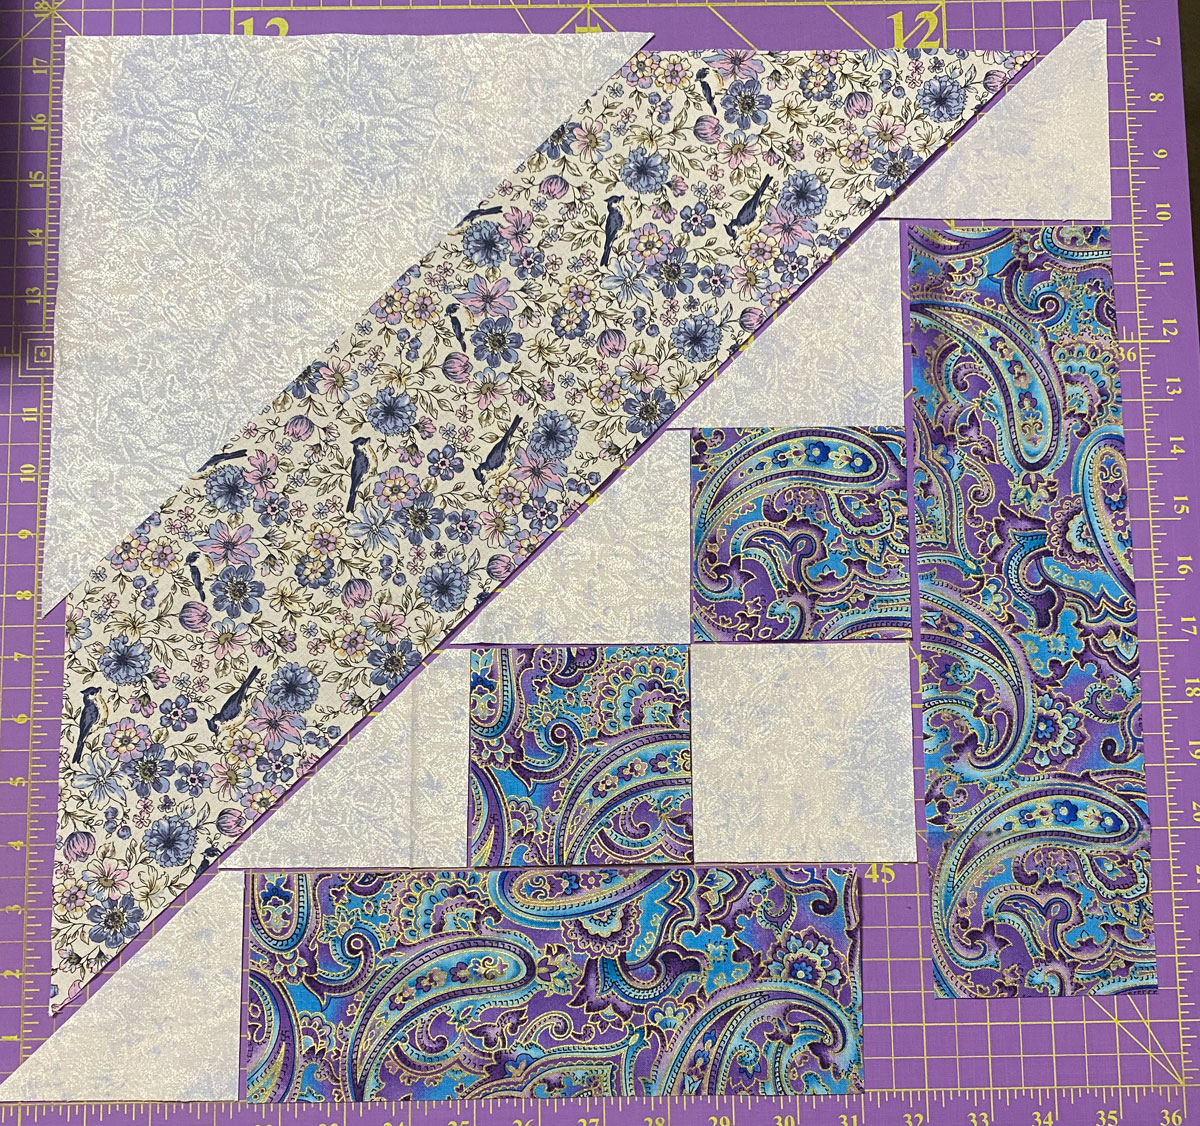
Refer to the photos above for block layout and fabric placement.
To trim the corners for each of the long strips, I used the 45 degree line of my larger square ruler. I aligned that line with the edge (and at the corner) of my strip, and cut. Then I turned the ruler around and did same for the other end of the strip, making sure that my angles were in opposite directions.
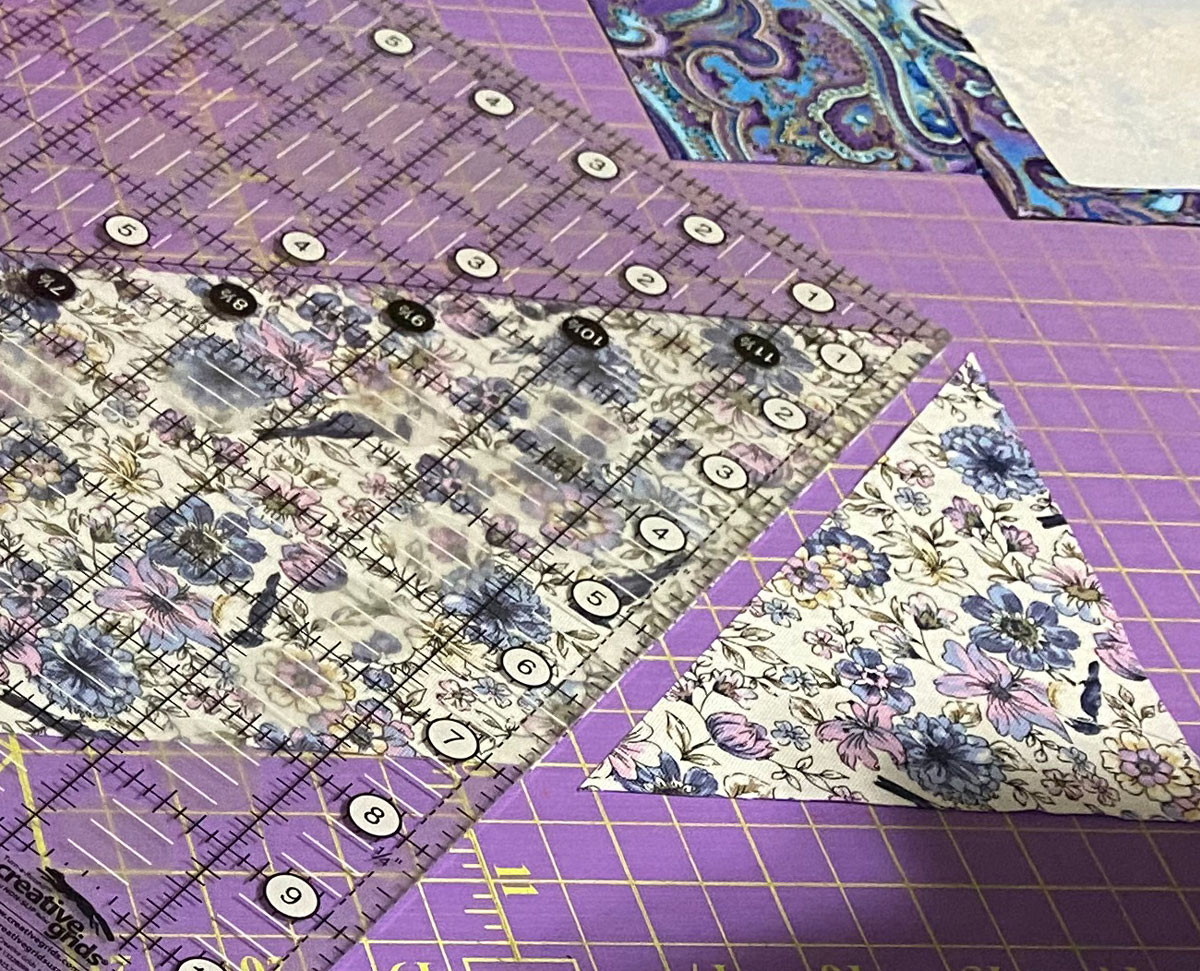
Essentially for each block we end up a half square triangle block that is made up of pieced halves.
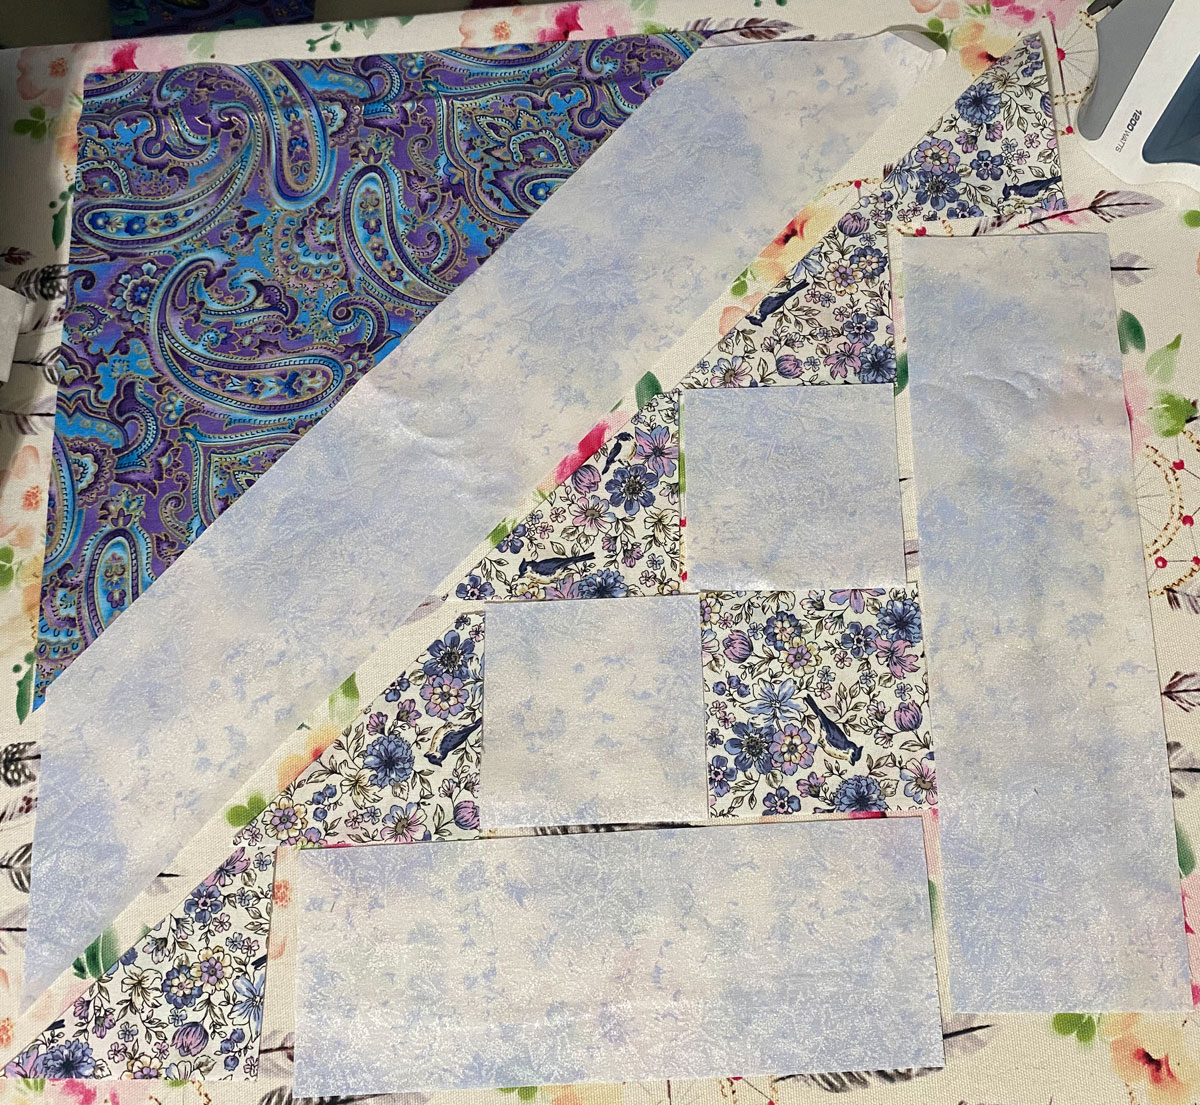
One half has only one seam. The easiest way to line this up is to fold each of the pieces in half and finger press that fold, then match the fold lines, pin, and sew. There are little bunny ears on either side which should be right at the quarter-inch seam line.
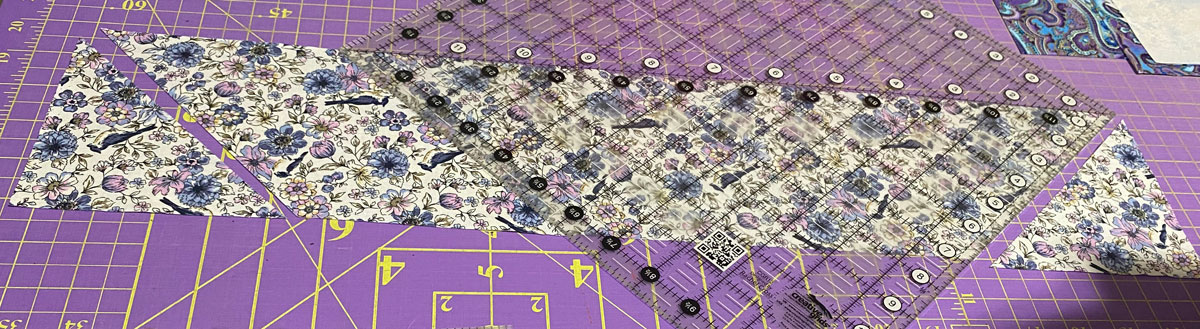
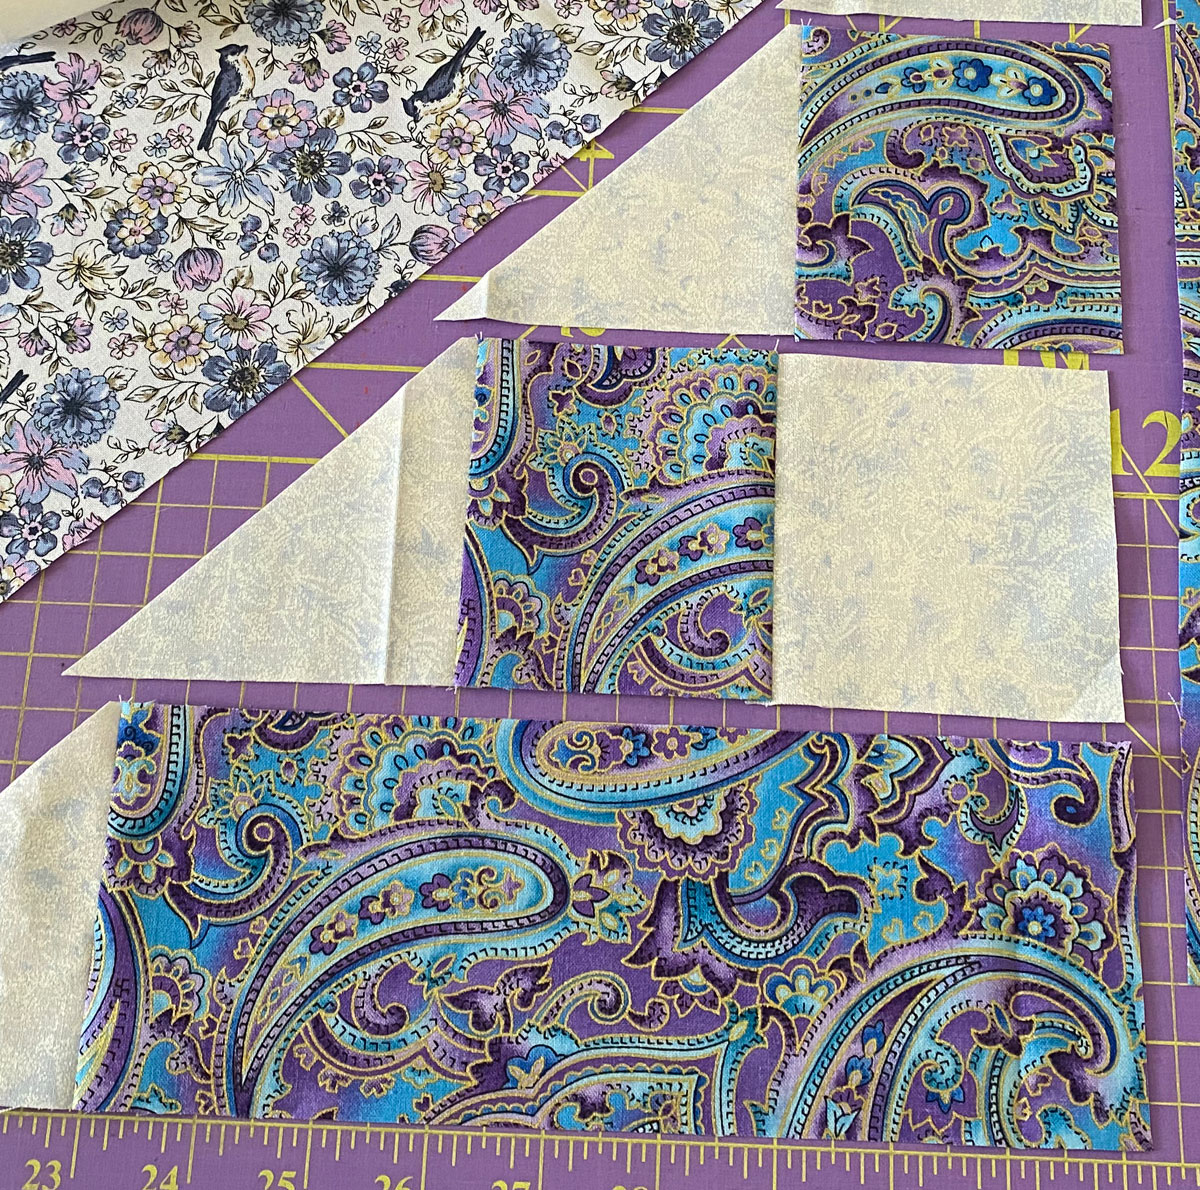
The other half has more seams, but piecing it should be fairly straightforward. I assembled the interior by sewing in rows. In each row, the width increases as you add squares or rectangles according to the layout.
The important thing to remember is the straight grain edge should be what is sewn to the other pieces – that bias edge should remain on the diagonal. My pieces in this block have one corner cut off already, but I found that wasn’t a great idea with this block, so I left them on in my dark background blocks.
In this block, I pressed toward the paisley print. That way the seams would nest when the rows are sewn to each other.
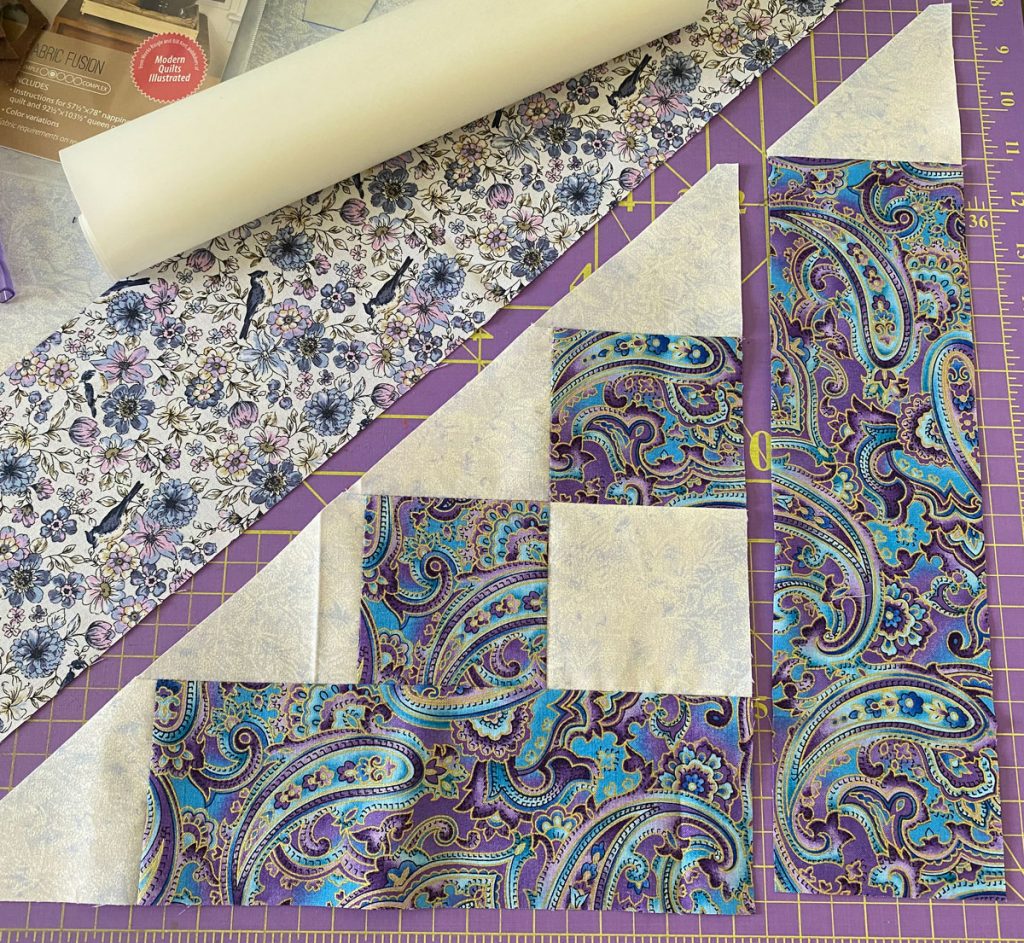
Once I had all of the rows pieced together, then I just had the strip on the right (and its triangle piece) left to add (ignore the fusible in the photo – it’s for another project, because I always have about twenty projects going at once, ha!).
The other block is constructed in the same way, just following the slightly different fabric placement.
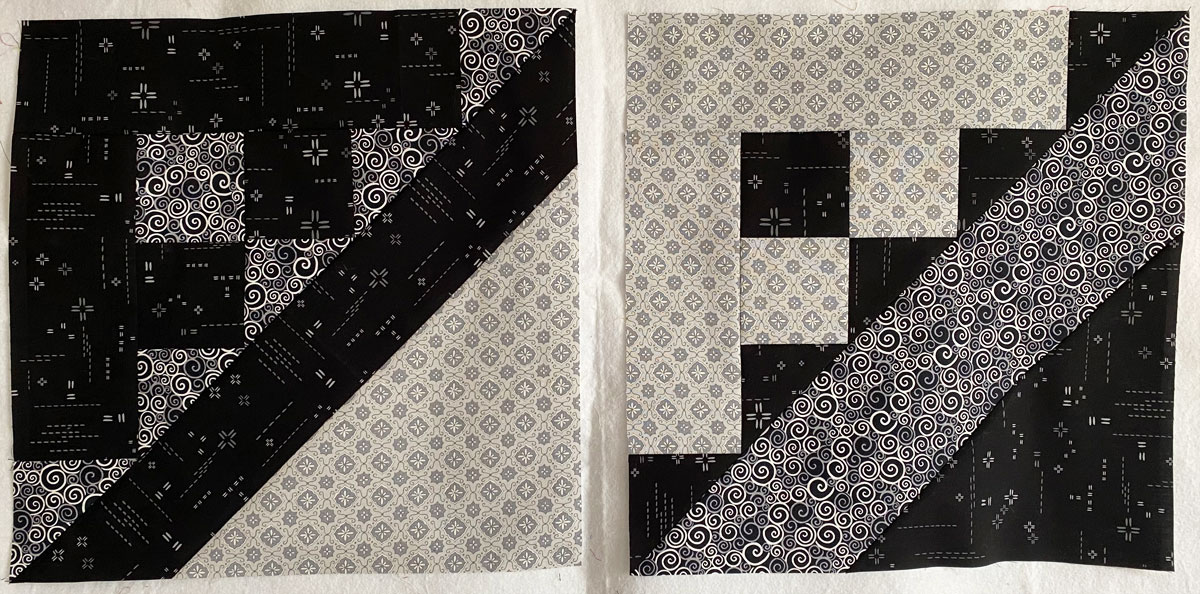
Dark background blocks
In these blocks, my background fabric is the black print, and I’m using the darker black, gray, and white swirl fabric as Fabric A, with the lighter gray print as Fabric B.