This is probably seeming very repetitious, but that’s very common in quilting, even in sampler type quilts.
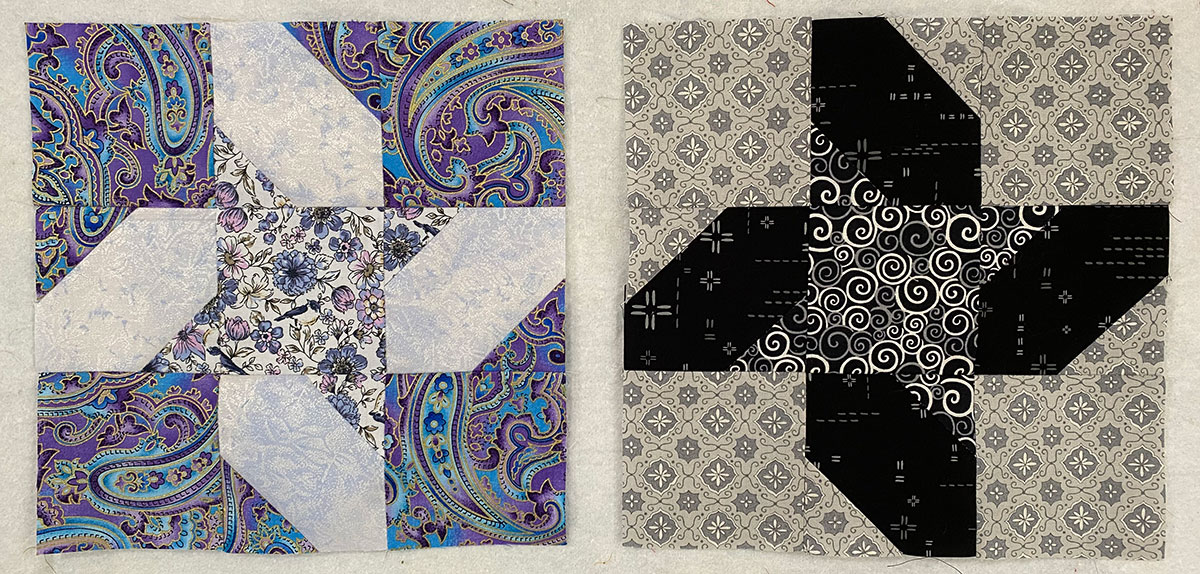
I made two identical blocks again, just like last time. I’m making a light background and a dark background quilt, so I ended up with four of this block, 2 light and 2 dark.
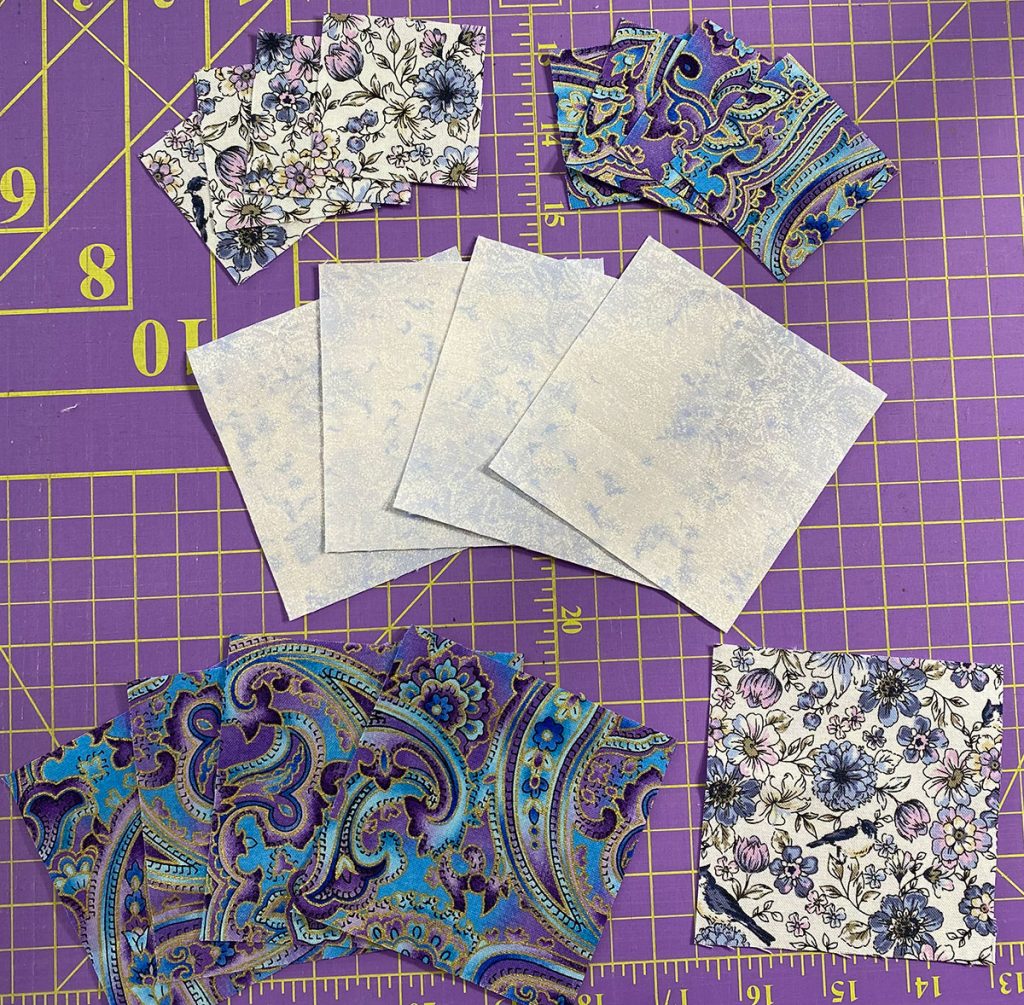
What’s needed for a single block 10 (double for making 2):
- 1-3 1/2″ light (dark if making the dark version) square
- 4-2″ light (dark if making the dark version) squares
- 4-3 1/2″ background squares
- 4-2″ medium squares
- 4-3 1/2″ medium squares
4 background pieces will have two opposite corners “snowballed” using one each of the different 2-inch squares.
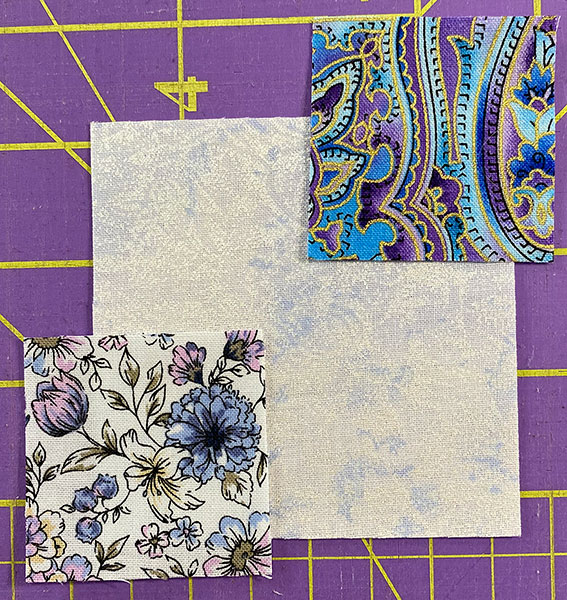
There are several ways you can “snowball” a corner. Essentially, you’re sewing the 2″ piece to the 3 1/2″ piece, wrong sides together and corner to corner on the 2″ piece, then trimming the excess after pressing the unit open.
I first tried to use diagonal seam tape (with a line on it centered on my machine in front of my needle). I couldn’t see it well enough, however. My sewing was too far left of the line to make a square unit the same size as the original fabric.
Then I tried drawing a line diagonally (to mark the sewing line) on the back of the 2″ piece before sewing. This was a little better, but it was still pretty off just about every time I tried. My eyes just weren’t seeing it correctly.
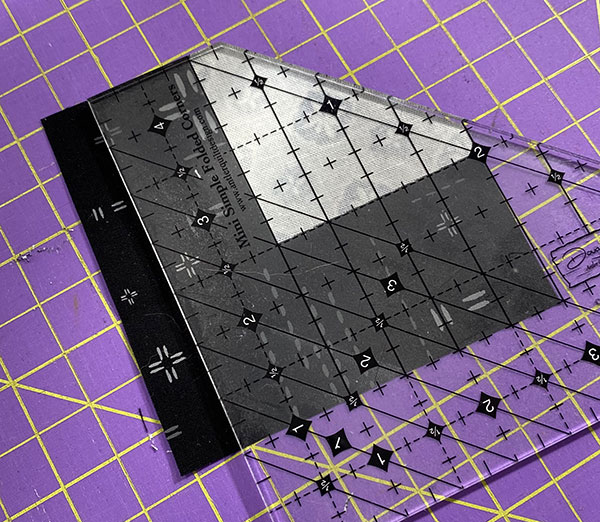
So I pulled out my Tucker Trimmer ruler, and with the help of my magnifier, I lined up and trimmed that quarter inch seam before sewing. Finally some success! I put my plastic card guide back on the machine and finished sewing them all.
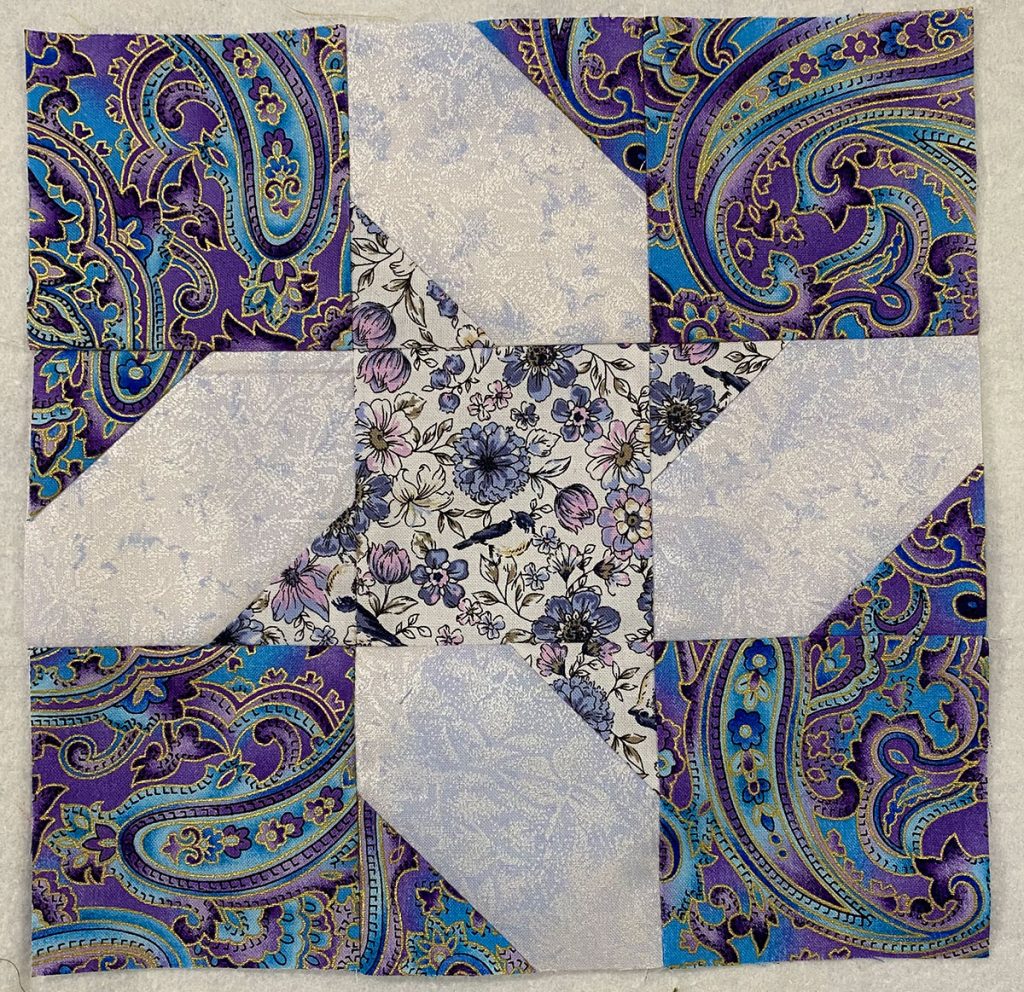
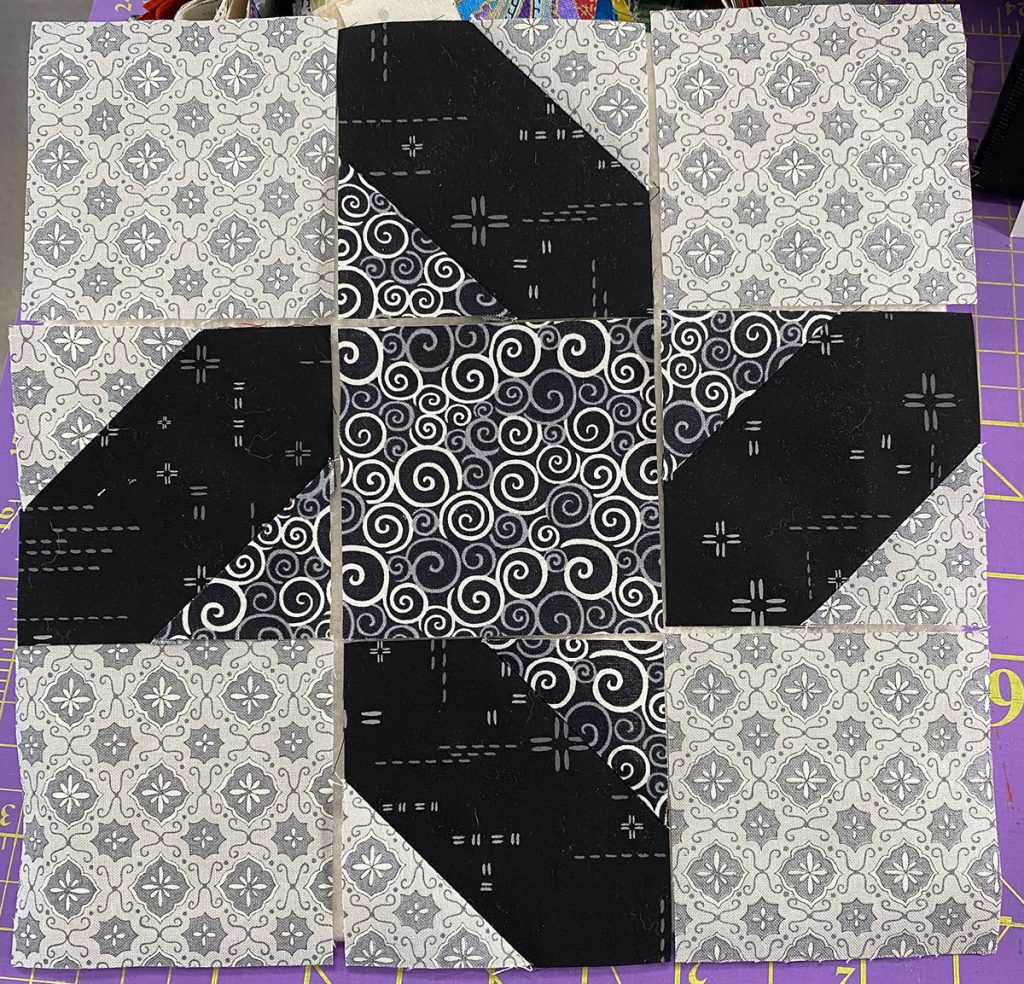
Once I had my snowballed units finished, it was time to lay out the pieces for my blocks. For my light background blocks, I wanted the keep the lightest fabrics in the center. And I made sure to arrange them so they were “spinning” in the same direction.
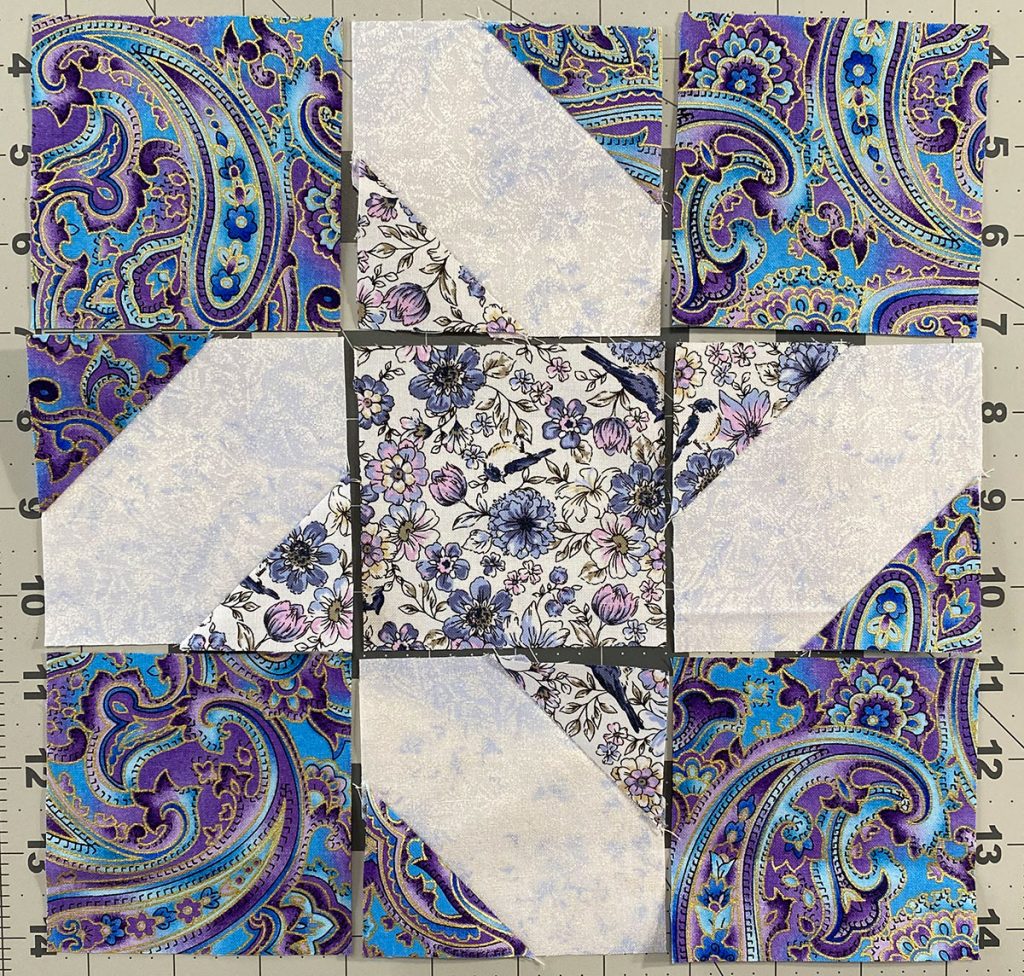
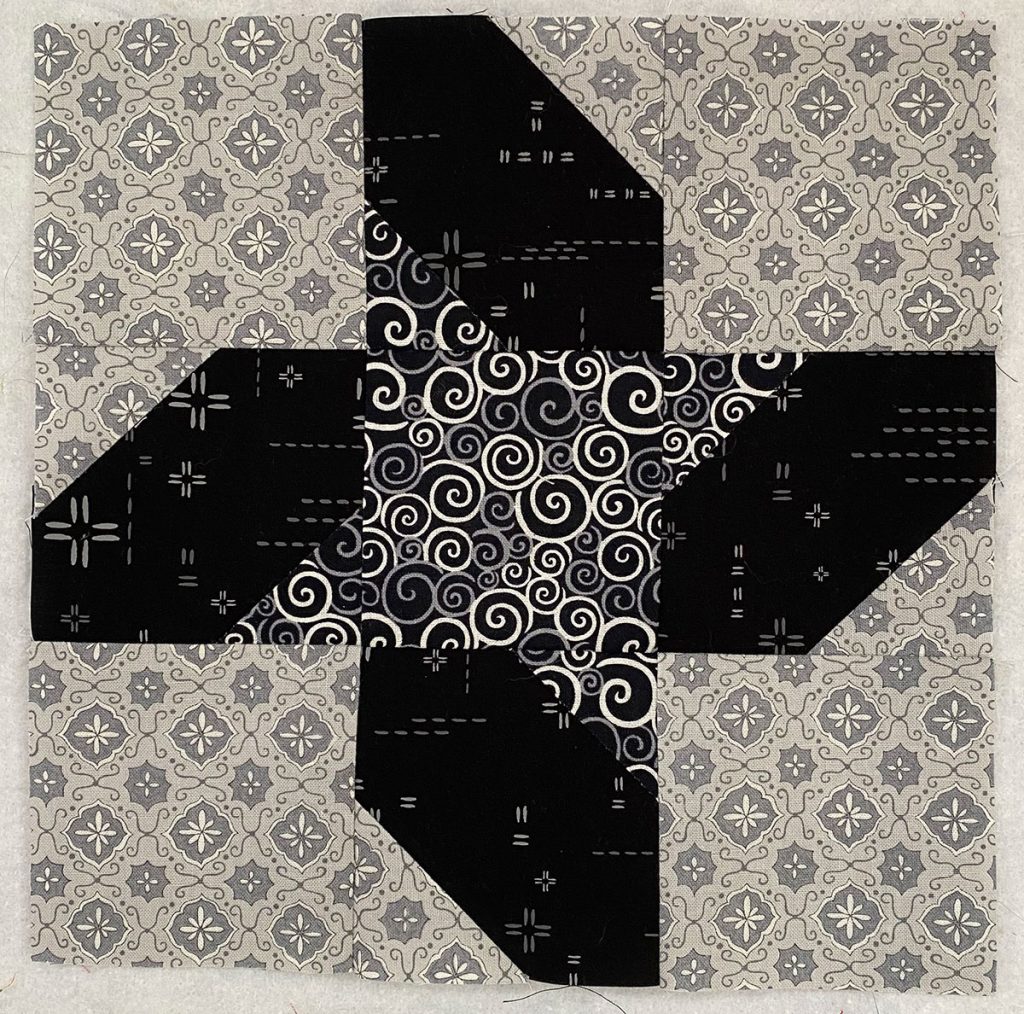
Then it was time to sew together my 9-patches again.