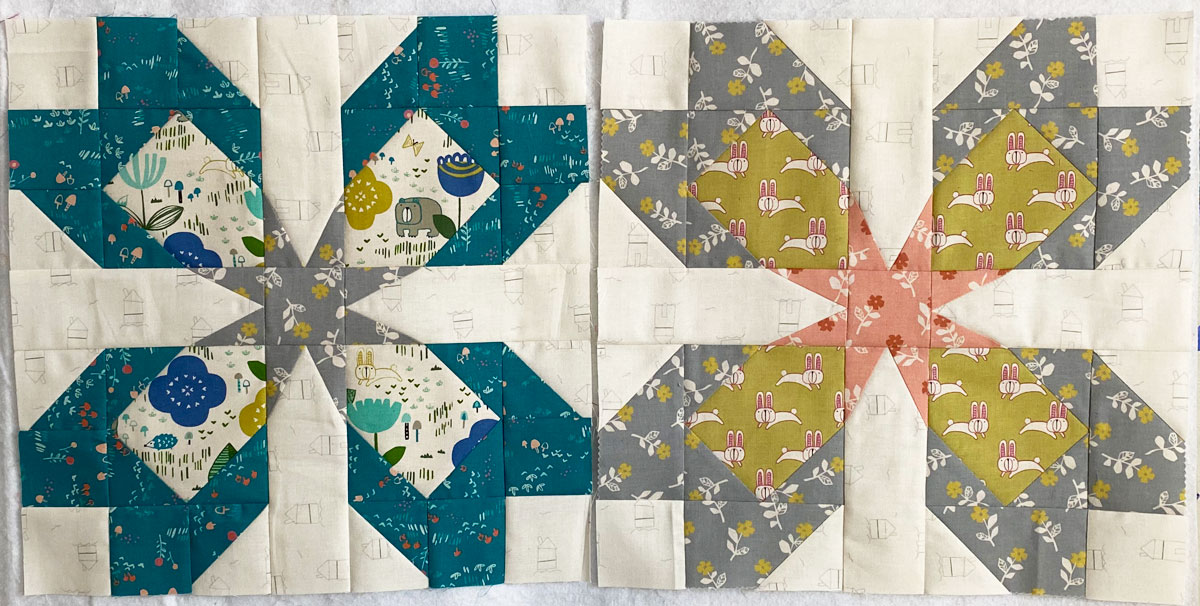
I accidentally read the directions incorrectly for the first steps of the first block of my Flutter Reimagined quilt, so I ended up with a lot more squares than I should have had. I went ahead and pieced it together anyway. It’s not bad, but I could definitely do better (meaning, not piecing a few extra seams).
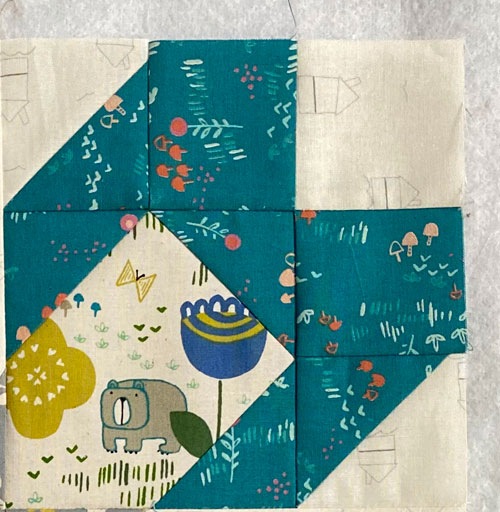
After that I decided I would cut the main (outer) fabric as a rectangle, the background as a square, and create the triangle at the end of the unit by using my Mini Simple Folded Corners ruler. I also used this ruler for the snowball corners of the secondary (interior) fabric, which is kind of what gave me the idea to use it with the rectangle instead of piecing squares and half square triangles together.
Now that I understand how to use this ruler, I really like how it creates the perfect diagonal cut with quarter-inch seam allowance for me to use to piece odd shapes like this. This is more similar to the pattern instructions for the unit. It looks much nicer, and presses flatter. By the way, there is also a larger version of this ruler, but I haven’t had the opportunity to use it yet – the mini one has been my go-to choice for the quilts where I’ve used it.
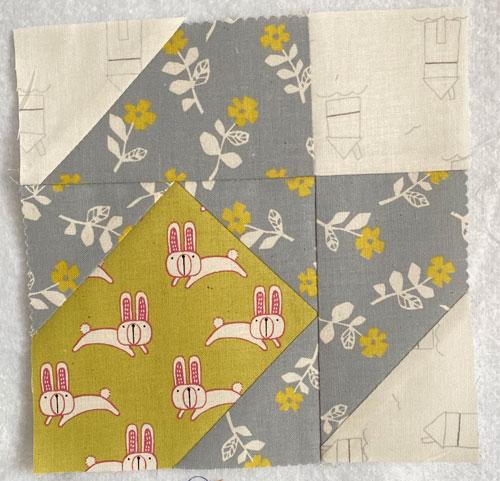
And once I decided that longer strips are preferable to pieced ones (where appropriate), I thought, hey, why couldn’t I do something similar with the units that make up the block “sashing”? Note, this is different from the quilt sashing – these blocks are essentially unequal nine-patches once you piece each of the units.
What do I mean? Well, the instructions have you make triangle-in-a-square units and then piece those to rectangles of the same fabric as the background.
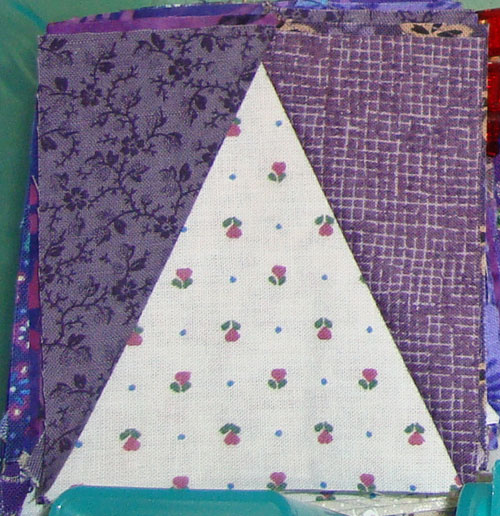
After a couple of false starts, I figured out I just needed to add a registration mark with a pencil in what will be the seam allowance of the unit, to ensure that the pieces are sewn correctly together.
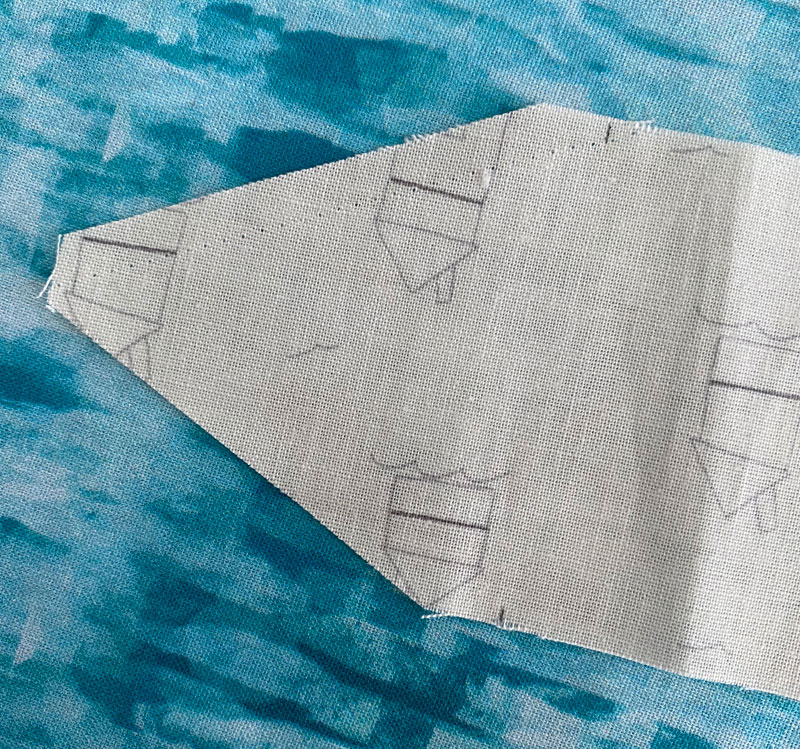
I used my Tri ruler (Tri-Recs come as a set of two rulers), centered it on the strip (yes, it takes a little attention to detail, but it’s worth it), and trimmed those little corners off. Then I took my regular ruler and lined it up where the square unit should be if I was making a square the size this is supposed to be when it’s pieced (but not finished – you need to keep those seam allowances in there). I put little marks that you can just barely see in the photo. I’ve actually marked about 3/16 inch in later versions.
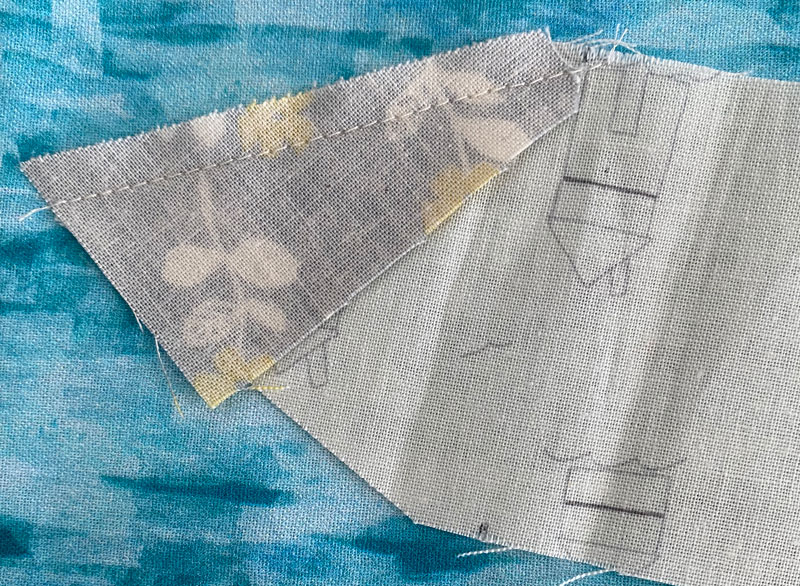
I had already cut out my recs pieces (mirrored sets – don’t forget to do that when you’re making any tri-recs units!), so I lined up where the tip of the corner is cut off with that pencil mark. If you’ve cut your pieces correctly and lined them up in the right place, you’ll likely have a teeny-tiny overlap on the edges. You can just barely see it at the top of the photo, about two-thirds across. The way I took the photo, it’s hard to see the overlap on the left edge, but it’s there. Start sewing from what would be the top of the rectangle strip (left edge in the photo), using your accurate quarter inch seam allowance. Press toward the piece you just added.
Then position the mirror piece with the other pencil mark. Again, you should see just a hair of this piece sticking out the side of the rectangle. That is expected.
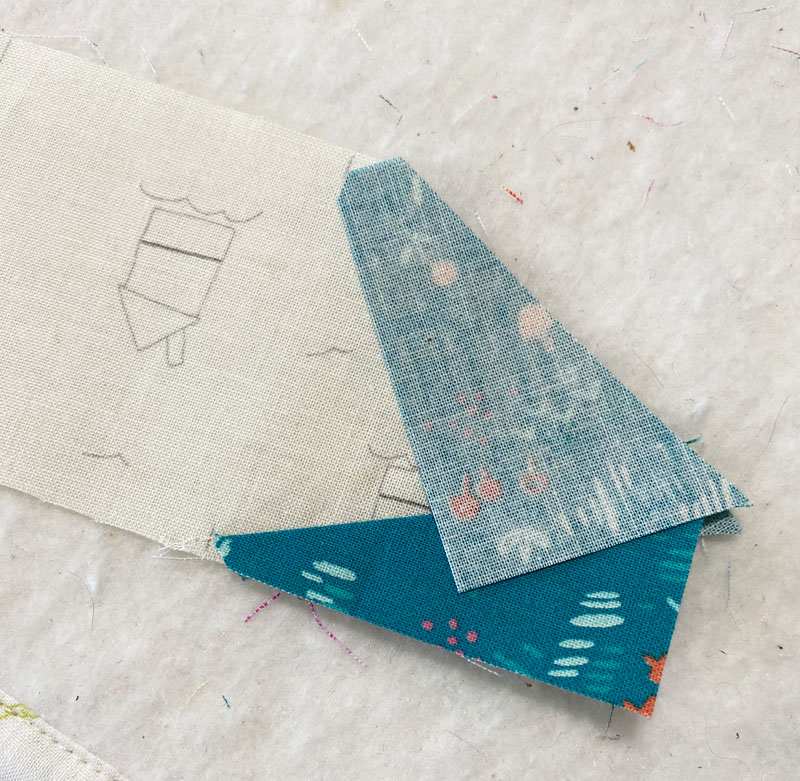
Begin sewing from the side toward the end. Press toward this piece as well. When you have both pieces pressed, you should have a couple of little triangle points to trim off. Everything else should be fairly straight and you should have a quarter inch seam allowance where the two have been joined to the background at the end.
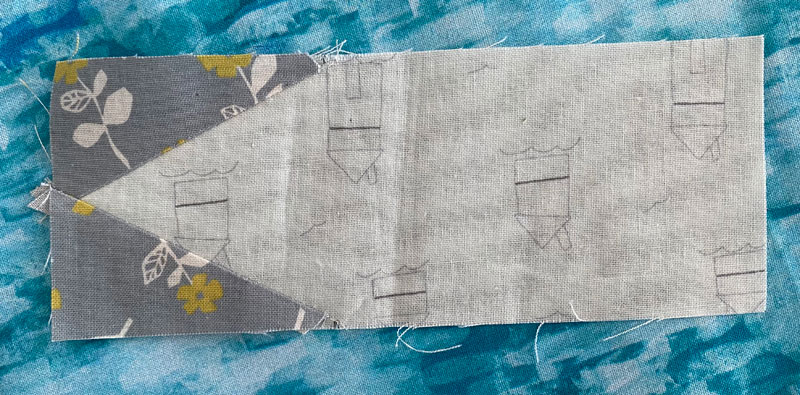
No extra seams and no extra bulk because of them!
I’m using some pre-cuts and a few extra pieces of some of the prints from Cotton + Steel’s “Mori No Tomodachi” Collection by Hitomi Osumi for this quilt. I hope it turns out as cool as I’d imagined it would. The background is Riley Blake Design’s “Hush Hush Homemade” by Sandy Gervais.