
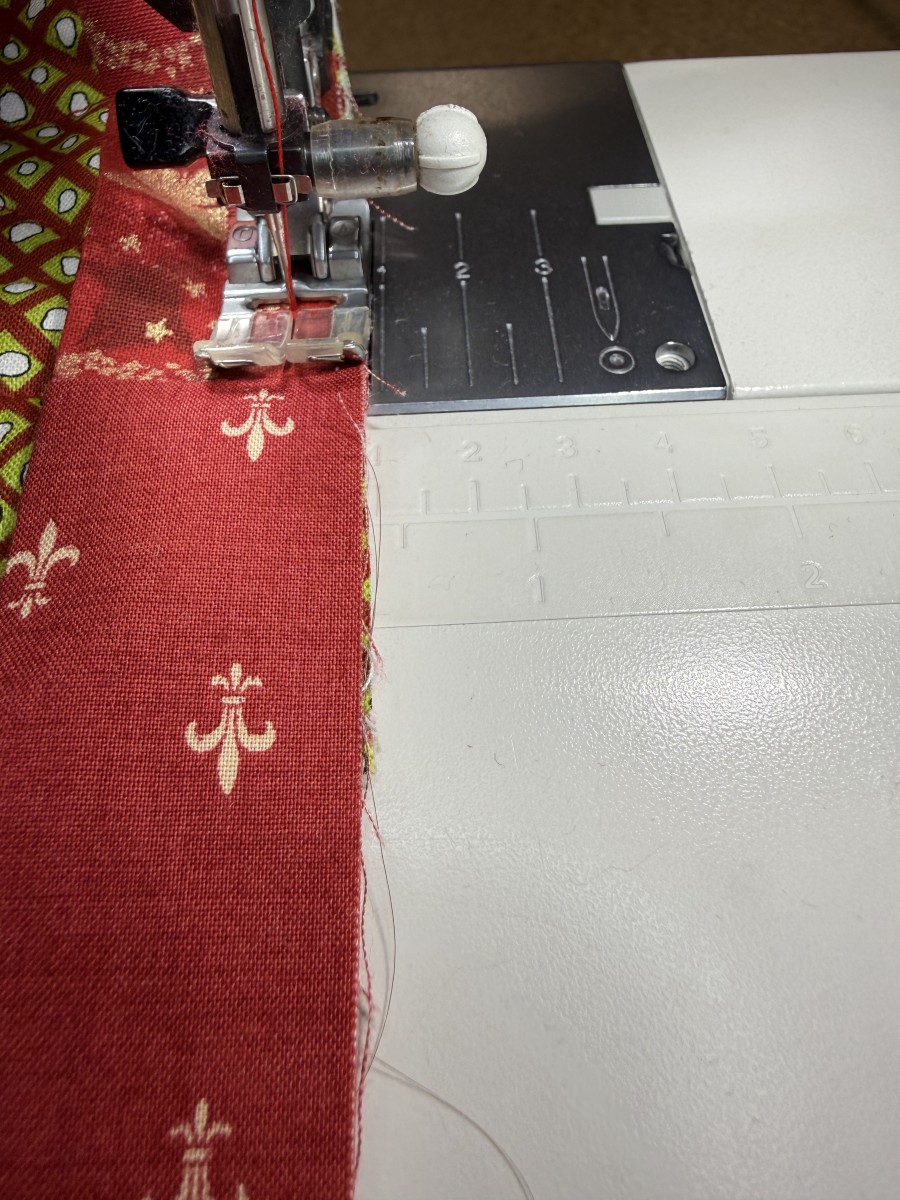
I realized that I should have written this post first, but here it is after the fact.
I like to use my Pfaff with IDT (integrated dual feed) to bind my quilts by machine. I sew the binding to the back and finish it on the front of the quilt.
I use a folded 2-1/2″ (preferably bias) strip, and my “0” foot to attach it to the back. This is the standard foot, or zig-zag foot, for most Pfaffs (and all of the ones I have), and it has approximately a 3/8″ (possibly a scant 3/8″) seam allowance from the standard needle position. It’s that 3/8″ seam allowance that gives me just the right amount of leftover binding fabric to pull around to the front of the quilt and overlap slightly to get a nice front. There will be a sewing line on the back close to the fold. If it occasionally jumps up on the binding back, I’m not bothered with that. I try to match my top thread color to the binding and my bobbin thread color to the backing.
I didn’t take photos of the rounding the corner on the back process, so it looks like I’ll need to do another post for that in the future.
After I’ve joined the binding and finished sewing it to the back, I switch out feet to my 1/4″ foot, and begin sewing down the binding to the front of the quilt.
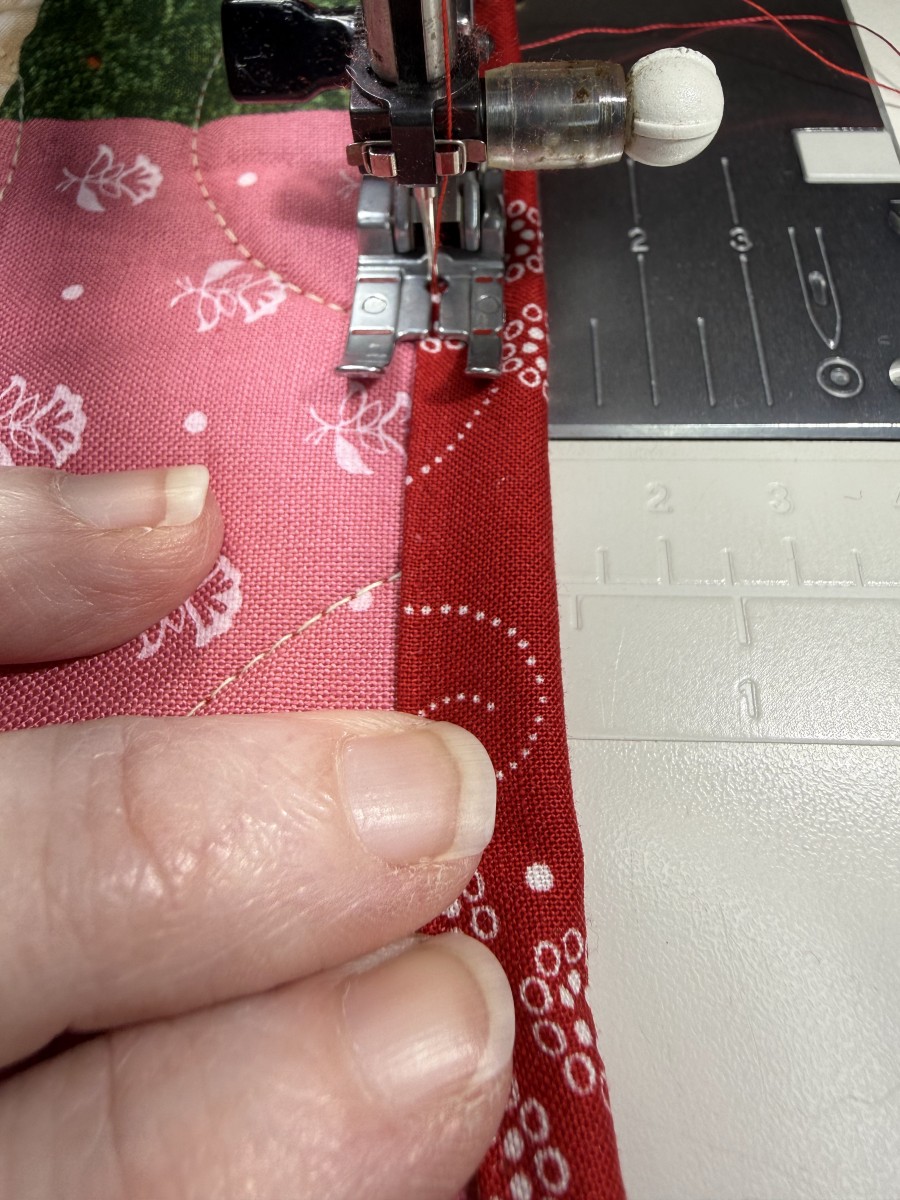
The reason why I like to use this foot is that “ledge” in front of the needle. It helps to hold down the binding fabric so that it doesn’t flip back while sewing, and lets me stitch a seam that is very close to the edge.
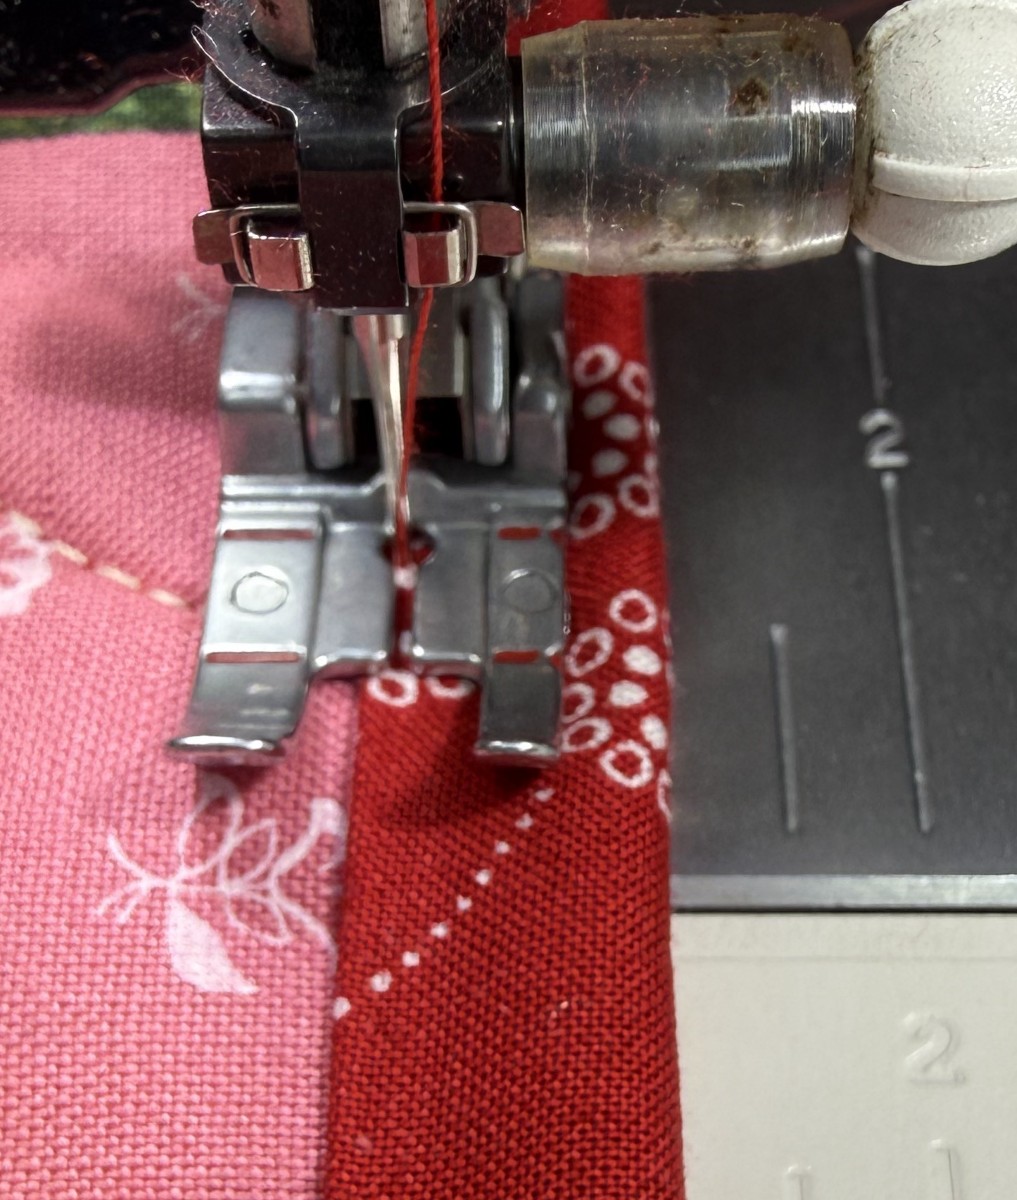
I’m not concerned at all with the right edge of the binding, only with making sure that the needle catches the binding close to the left edge. Because of my vision, I usually try to aim for my binding edge to stay approximately halfway between the opening going toward the needle and the inside edge of the foot.
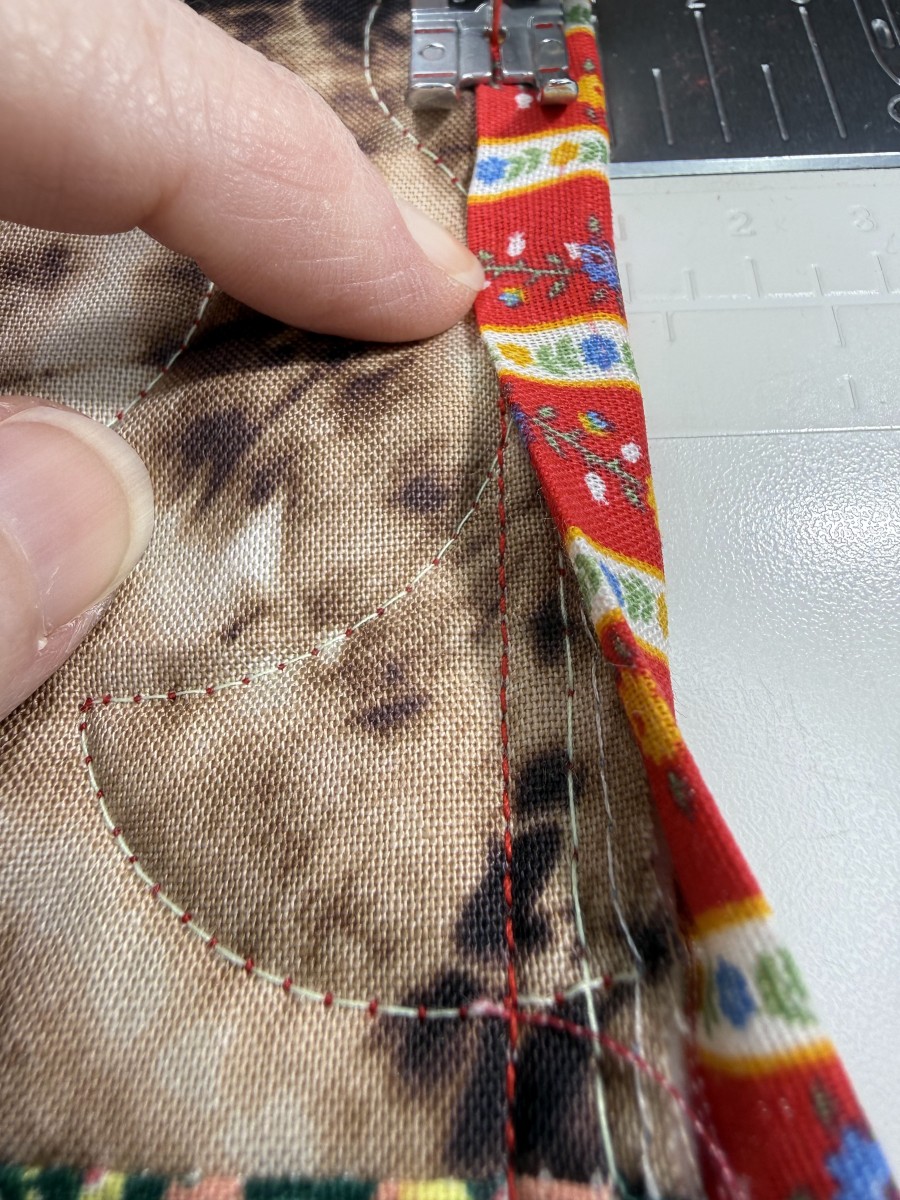
As I work my way down the side, I pull the binding over a little at a time, making sure to enclose the sewing line (from where I attached it to the back) with a little bit of overlap.
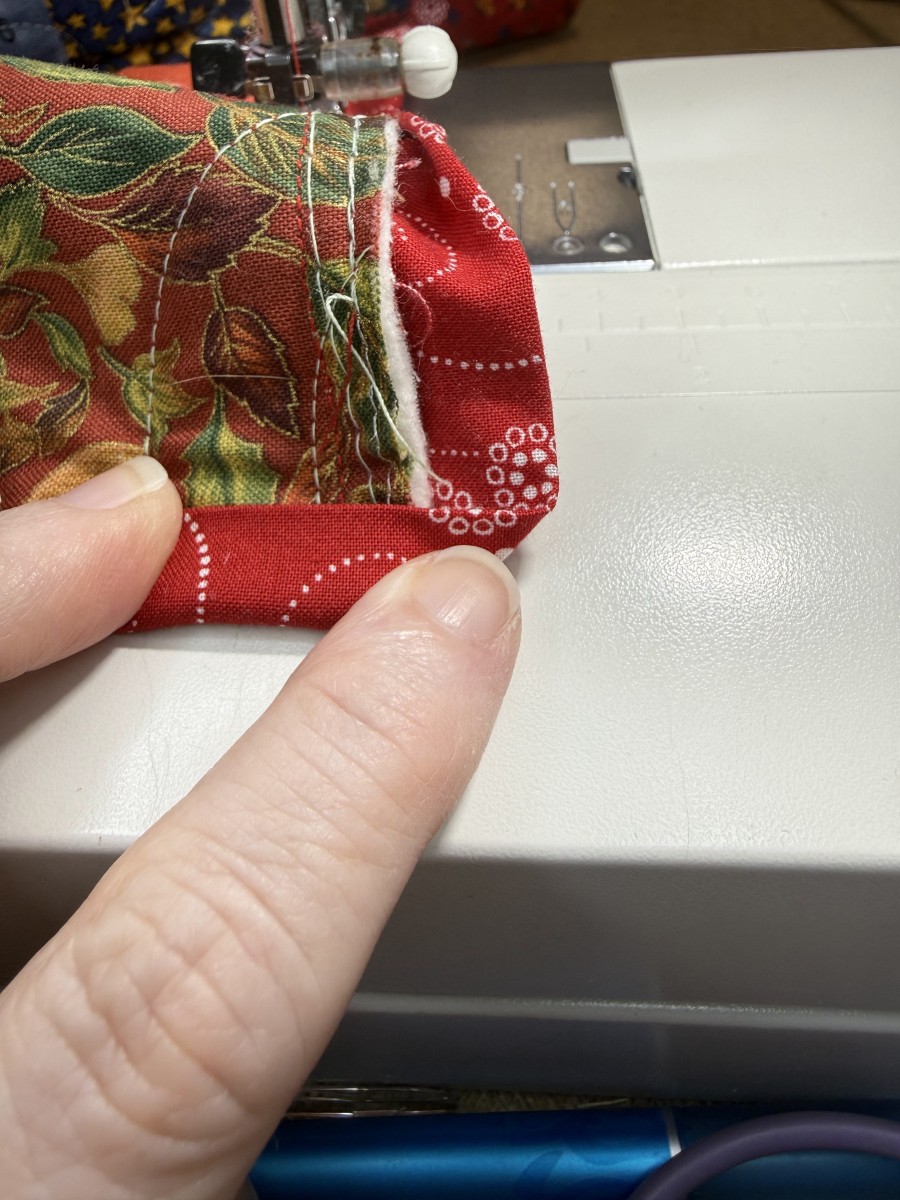
When I get close to the corner, I fold up the bottom edge of the binding, just over my stitching line from the back. I find that folding that straight across helps to get a nice right angle when the other side is folded over.
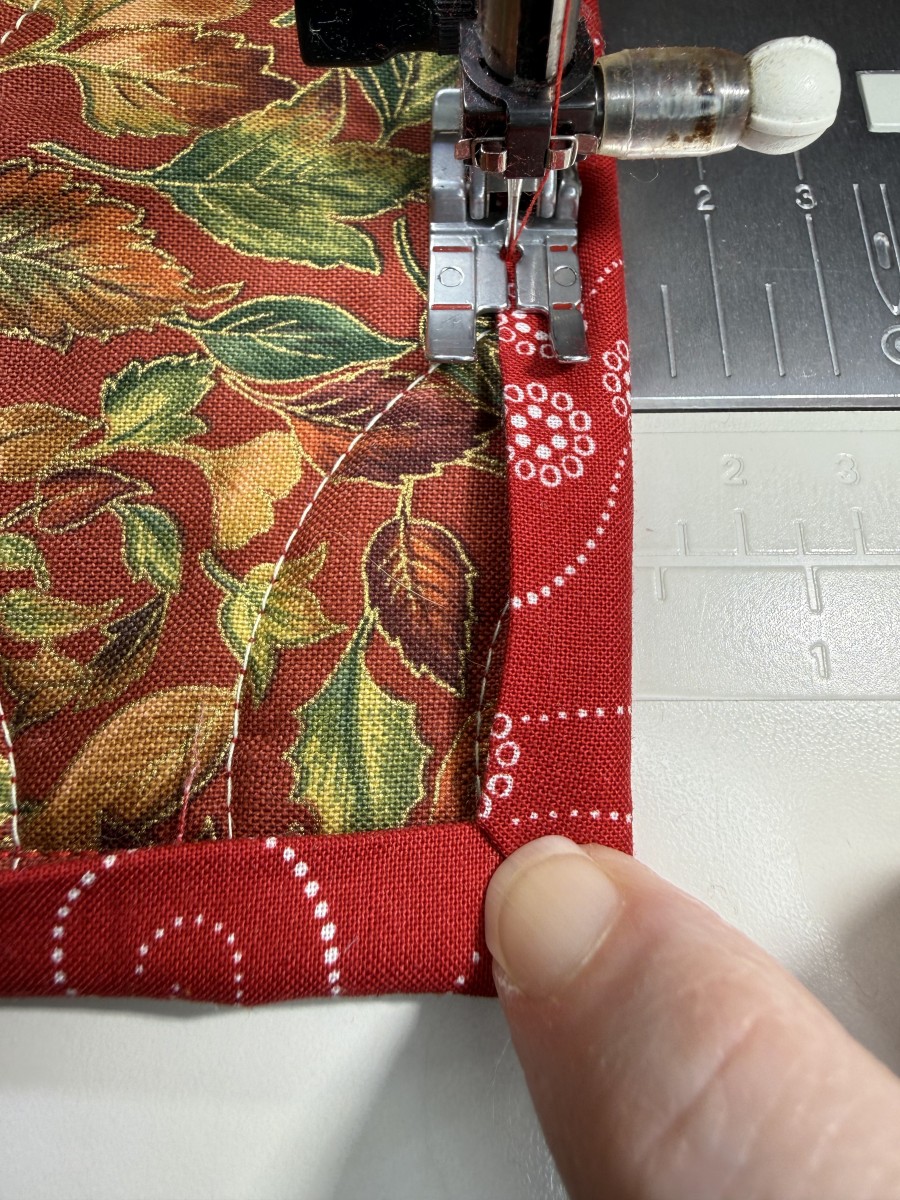
Folding the bottom edge first, then the right edge, also helps to keep the binding in place as I sew. Occasionally I will pin if the corner seems especially difficult.
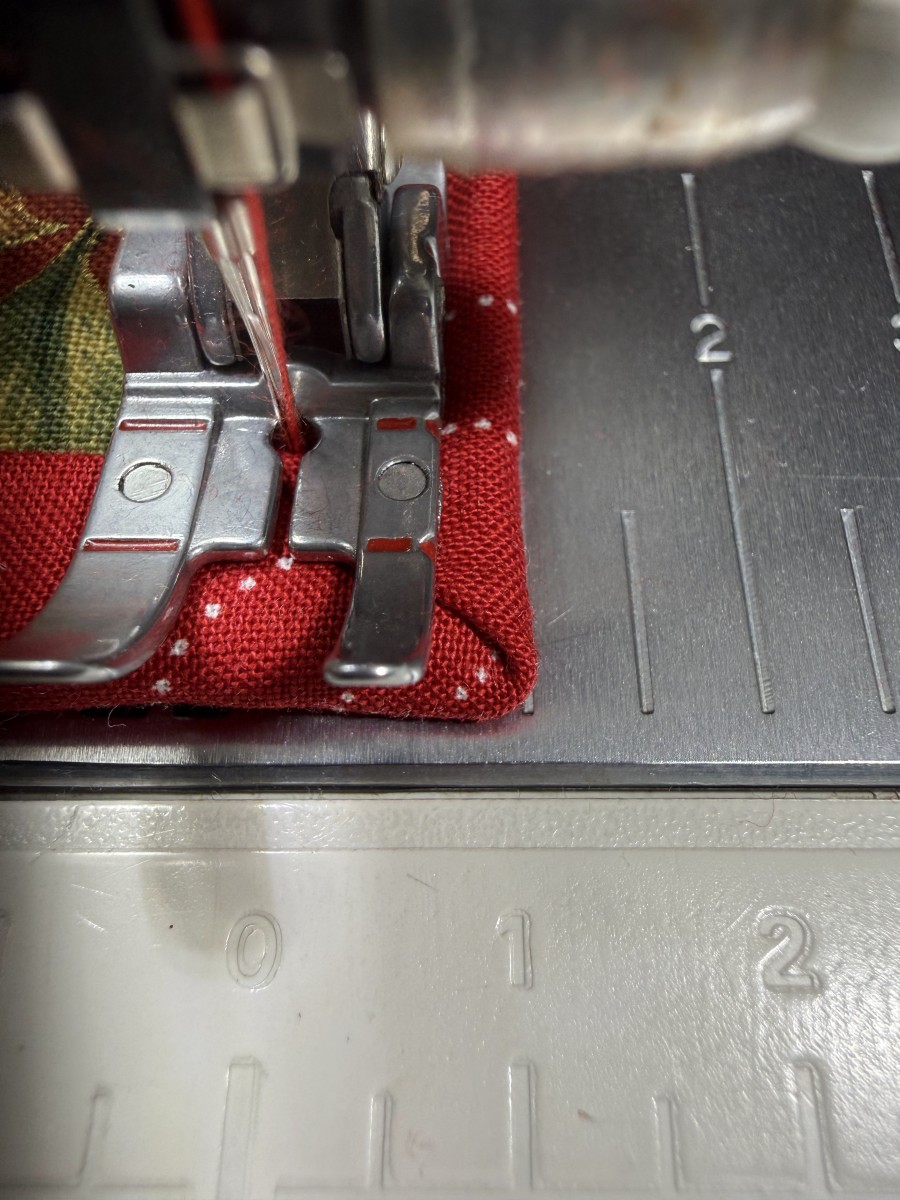
Keeping an eye on that corner, I sew to just over where the two sides meet. Sewing with the needle down stop is very helpful. If you don’t have the needle down feature, just go slow at this point, and use the hand wheel to put your needle into the fabric before turning.
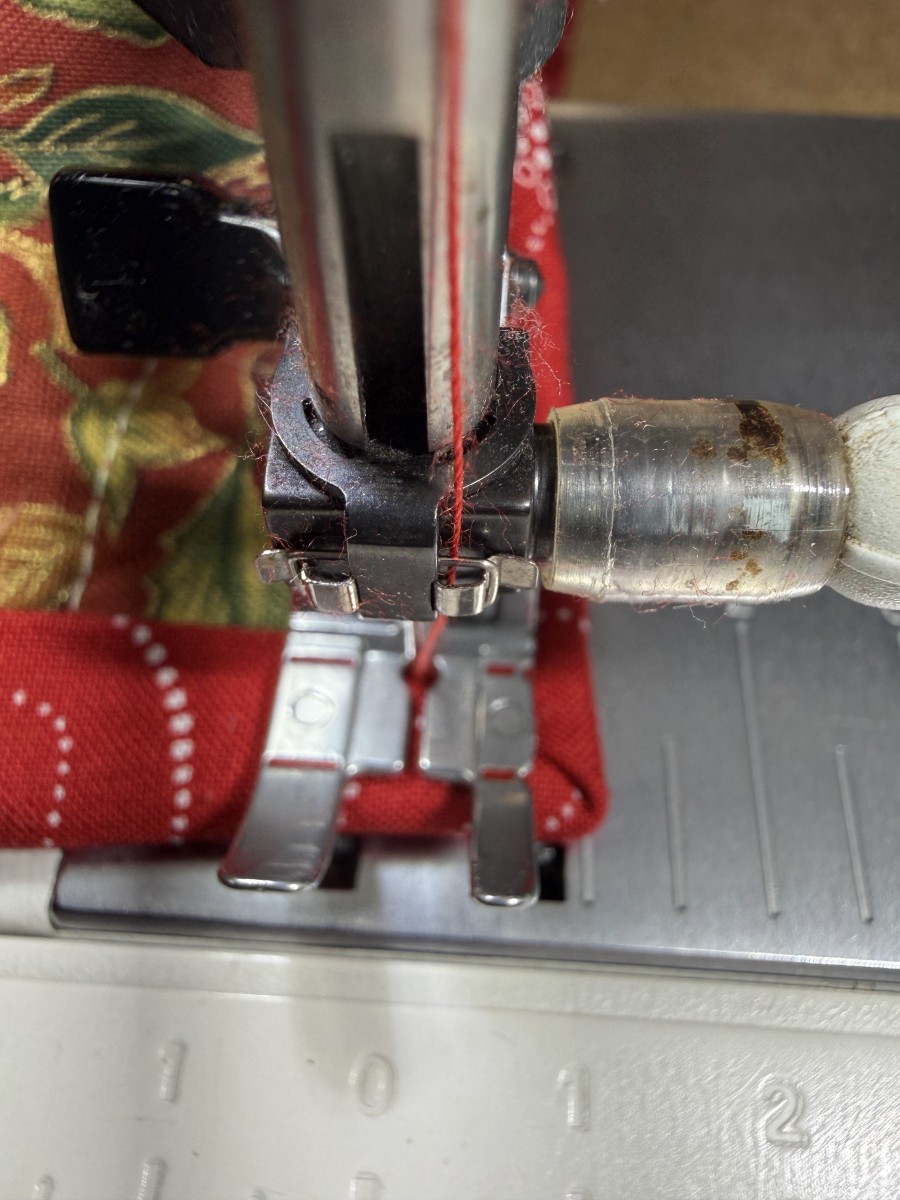
From there on just repeat the process as you go around and meet where you began sewing. The binding will be finished in no time, and you’ll be on to your next quilt!