
Step one
At this point, I was able to take all the units I made in Part 12, along with some additional background pieces, and make larger units.
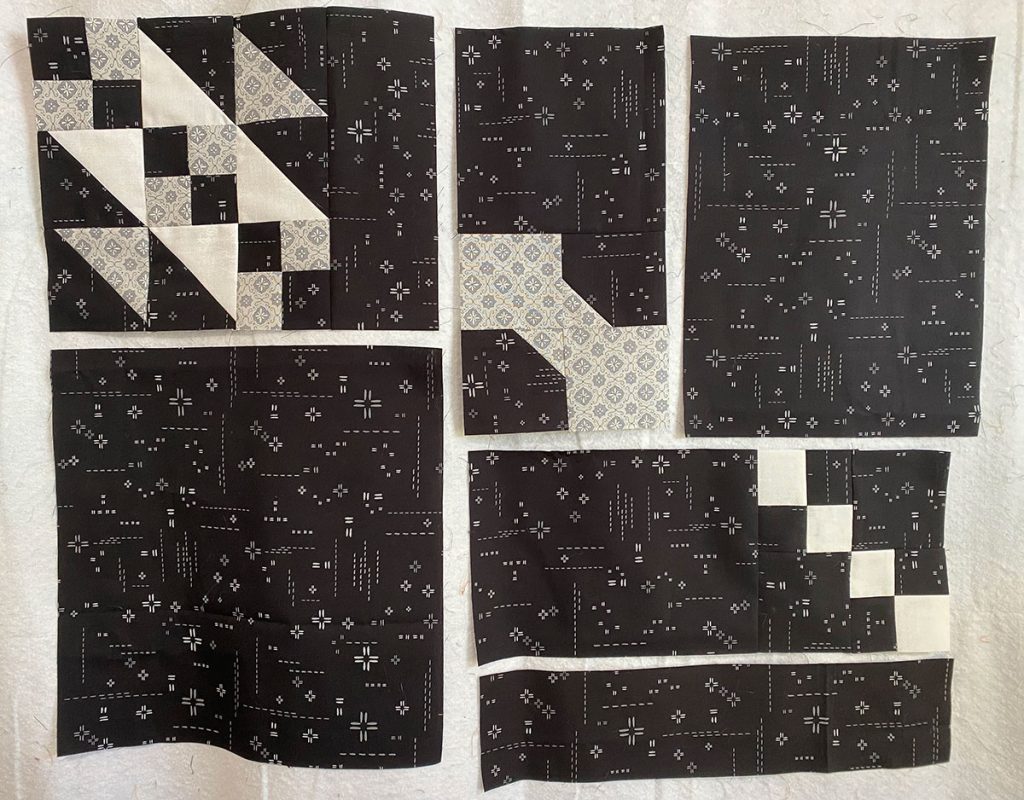
- Upper left, block unit that I just pieced together
- Lower left, 12 1/2″ background square
- Upper middle, bowtie unit with background at top and bowtie at bottom
- Upper right, 12 1/2″ by 9 1/2″ background square
- Lower right, diagonal four patches unit with background at left and diagonal four patcches at right
- Bottom right, 15 1/2″ by 3 1/2″ background strip
Step two

I pieced each of the backgrounds to their corresponding block units: 1 and 2, 3 and 4, 5 and 6.
Step three

Next, I pieced together the two units on the right.
Step four
The left and right units are now the same size to piece together.
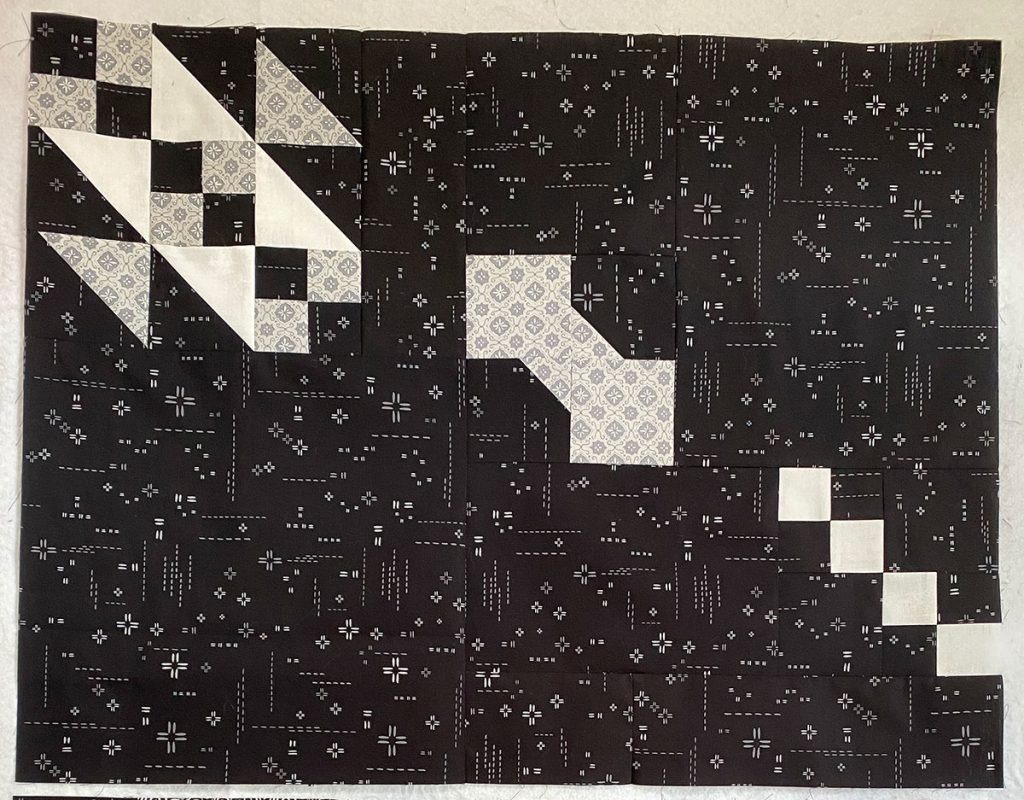
Do this twice for two identical units.