I began to piece this in two opposite quadrants, since they are almost identical. I’m working on the upper right (quadrant 2) and lower left (quadrant 3) areas of my quilt. The units build upon each other in order to piece everything together.
Step one
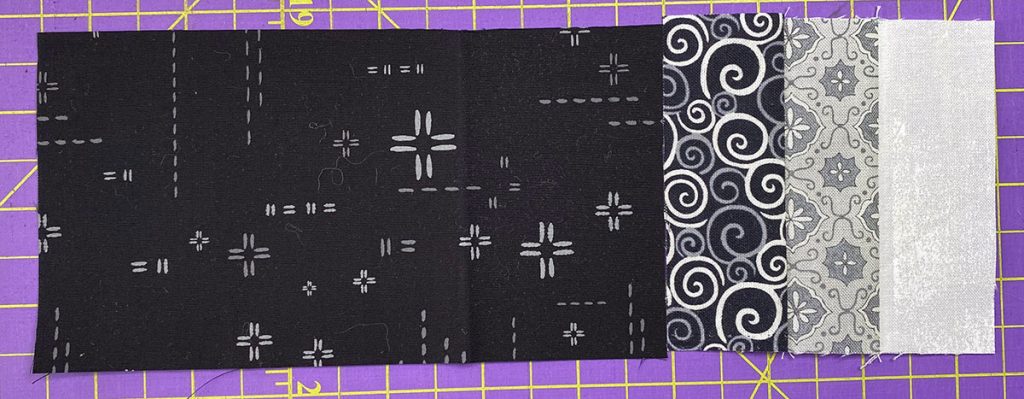
First, the smallest blocks from Part 2 – sew 3 1/2″ squares to 3 1/2″ by 6 1/2″ background pieces, making sure that the shade closest to the background (in this case, dark) is closest to the background.
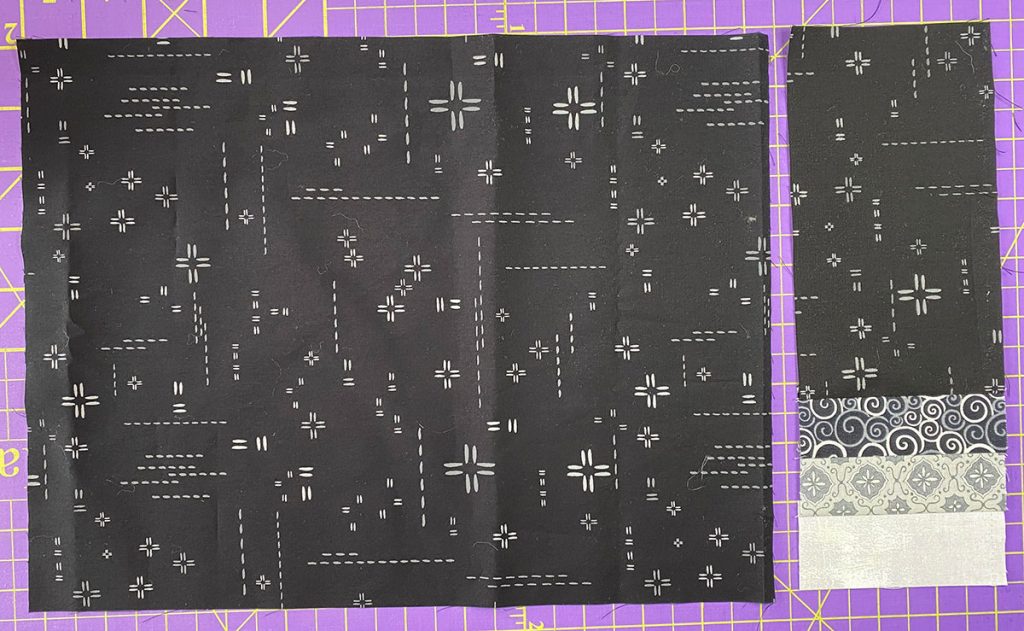
Then, lay the unit on the right side of a 12 1/2″ by 9 1/2″ piece of background and sew these together. Orientation is key! I did this twice, so I would have two identical units.
Step Two
Next up are the two blocks from Part 3.
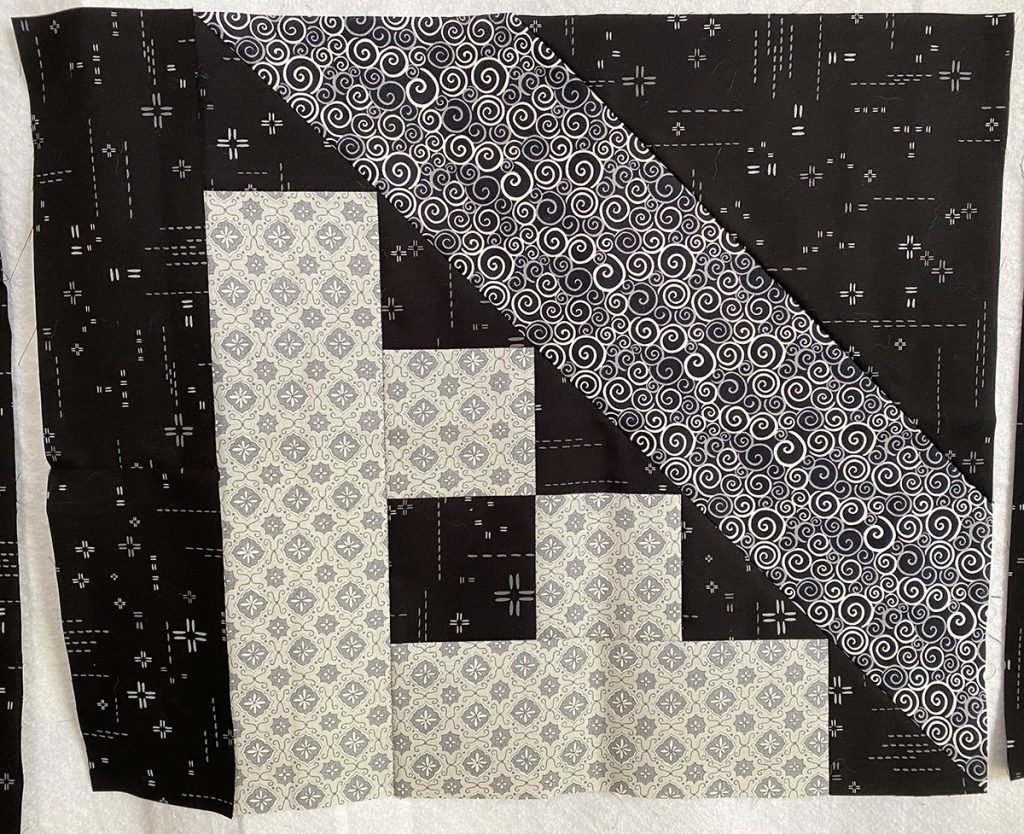
Again, positioning is important, so follow the photo for placement. Using a 3 1/2″ by 15 1/2″ background strip, I pieced that to the side with the longest medium fabric.
Then, I took one of the units I made in part one and pieced it to the right of the unit I just made, making sure that the smallest block is in the upper right.
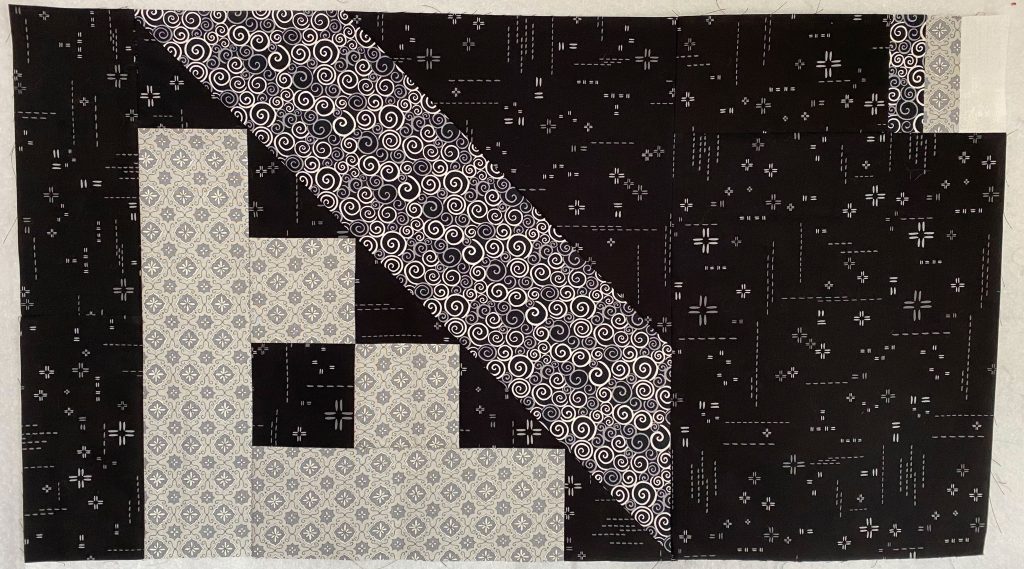
The next block is pieced in a similar way, but the orientation is a little different,
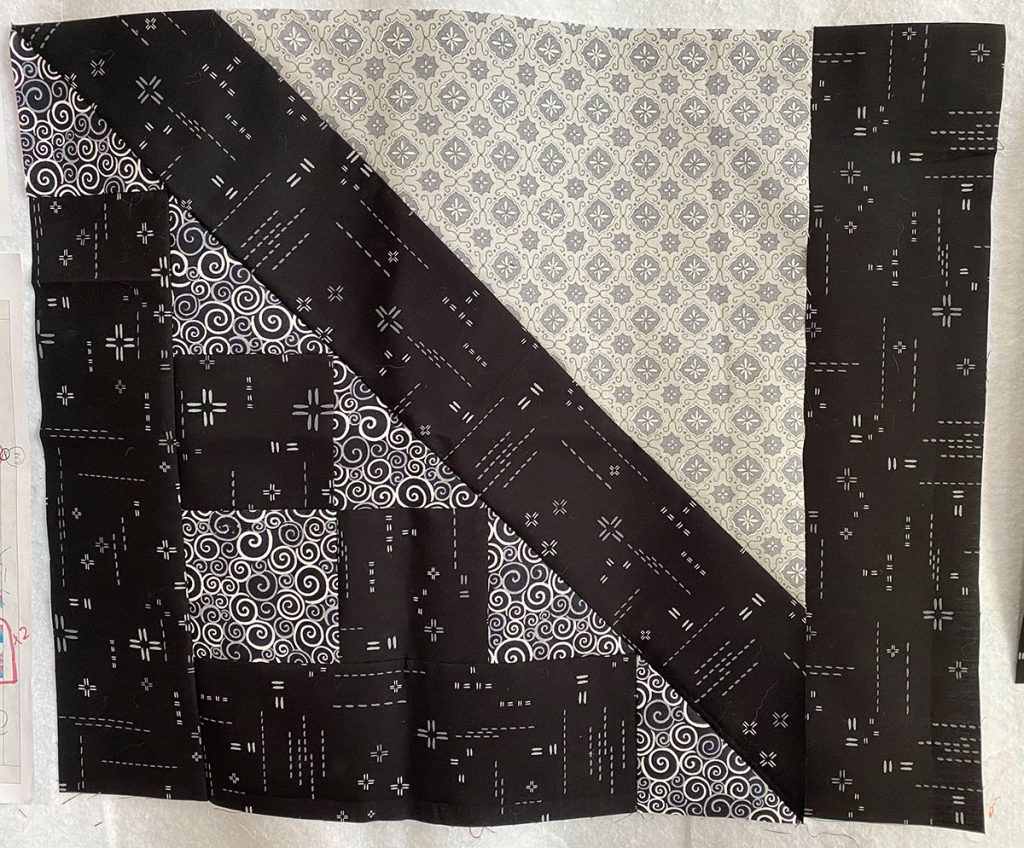
The 3 1/2″ by 15 1/2″ background strip is to the right of the block, and the largest triangle is in the upper right corner.
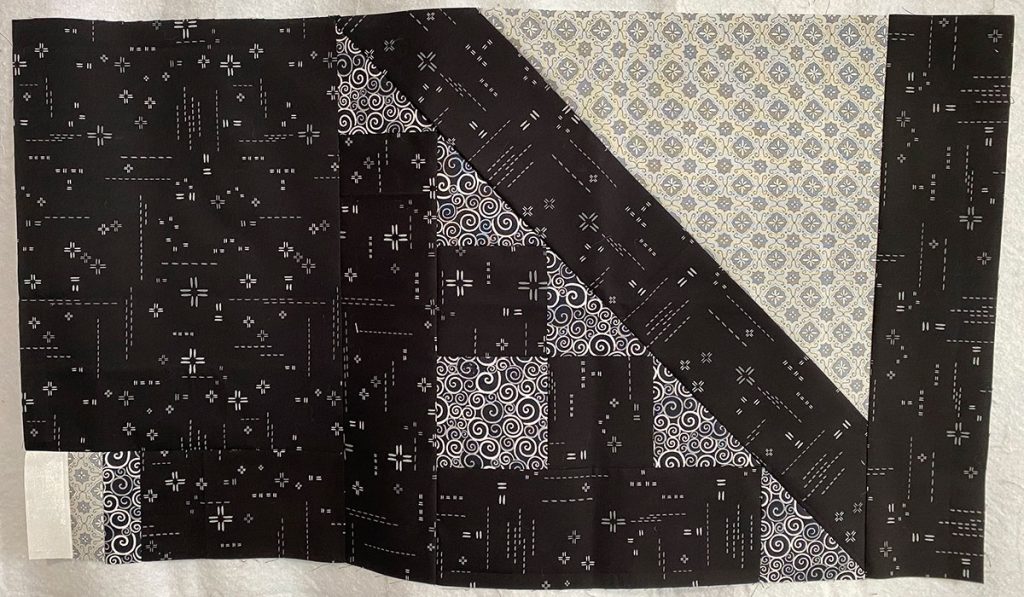
Then I positioned the remaining unit from step one to the left of this block with the smallest block in the lower left corner, and sewed these pieces together.
Set each of these two units aside. We’ll work on some adjacent units next time.

