I only needed to do a few more things to finish my skirts. First up, top-stitch the waistband. I set my stitch length a little longer, and stitched about 3/16″ from the seam. I also made sure not to stitch beyond the seam where I attached the zipper. If you do, you’re not going to be able to zip it all the way up.
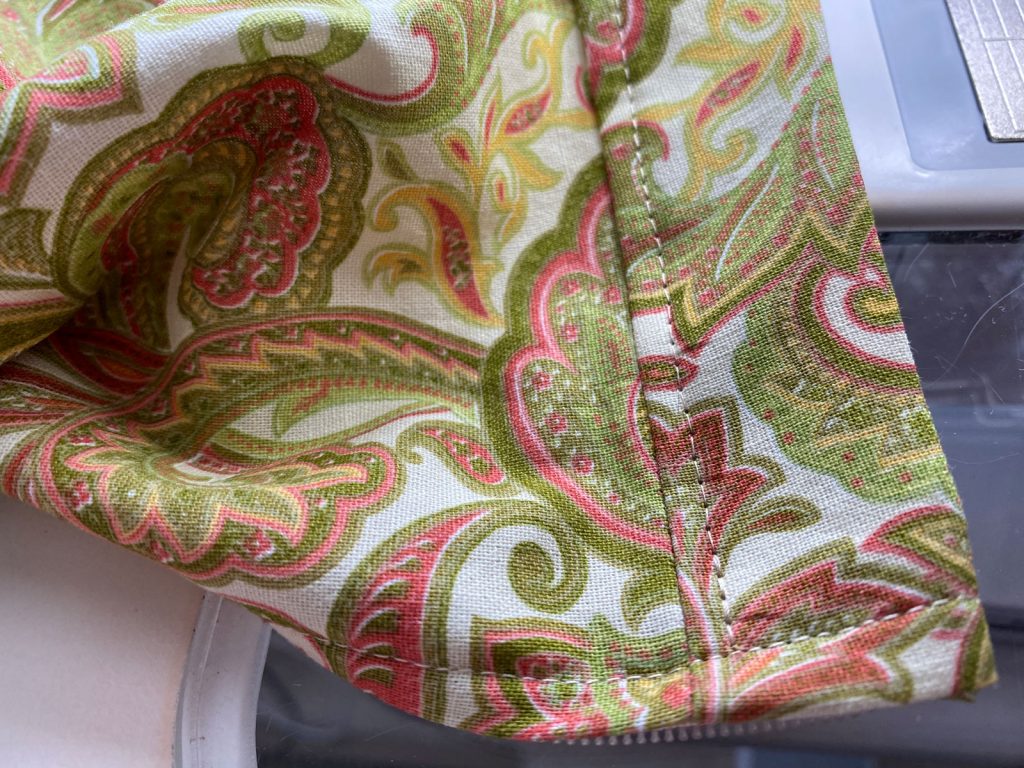
Once that was complete, it was time to focus on the hem. I really like a blind hem for skirts and dress pants. I folded the bottom edge up about 3/8 inch, pressed (to get a nice, folded edge), then folded over again approximately 3/4 inch and pressed again. Then (on my Bernina) I carefully folded back the skirt to expose the folded edge and used the #7 stitch with my #5 blind stitch foot. This is how it looks after you’ve sewn it. If you’re interested, Bernina has a blind hem stitch video using that foot.
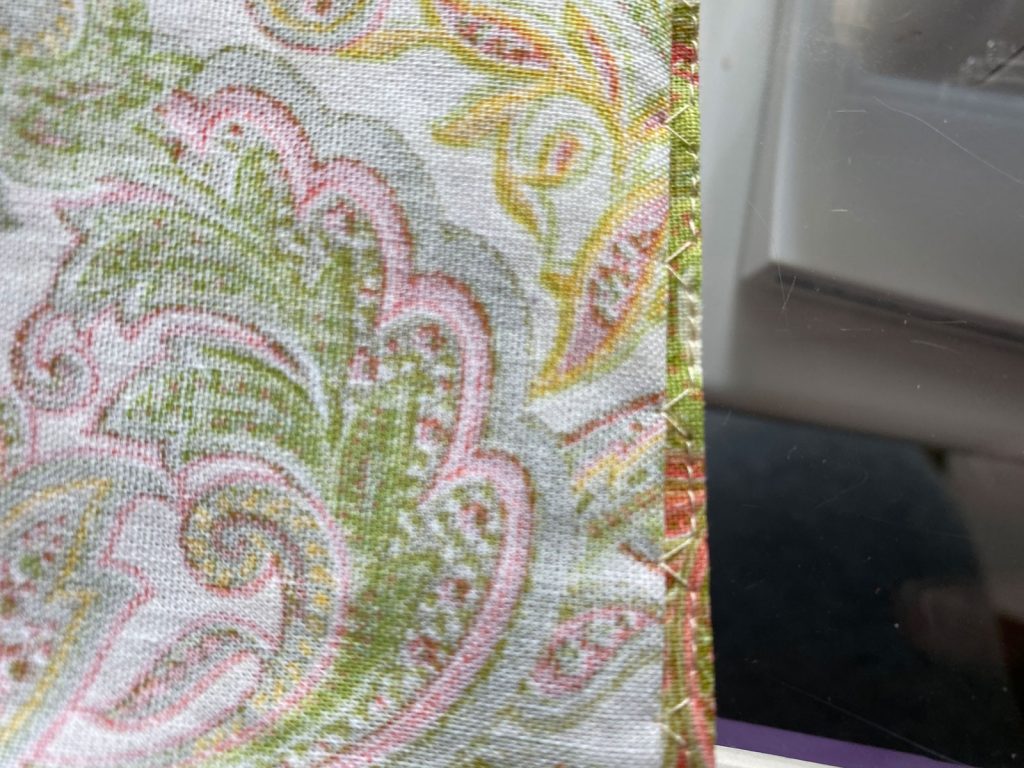
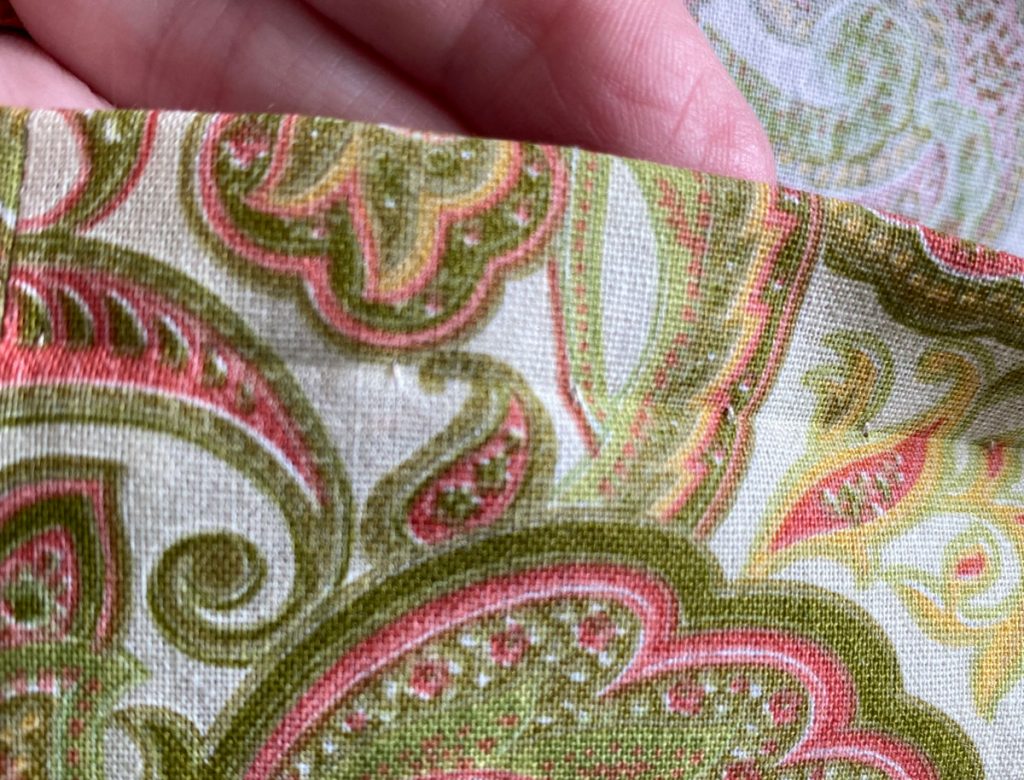
And when you unfold, you have a really nice hem that is nearly invisible once pressed (as long as your thread matches).
After that, I trimmed my skirt lining to make sure it would be a little shorter than the skirt bottom, and edge-finished it as I did before sewing the lining seams.
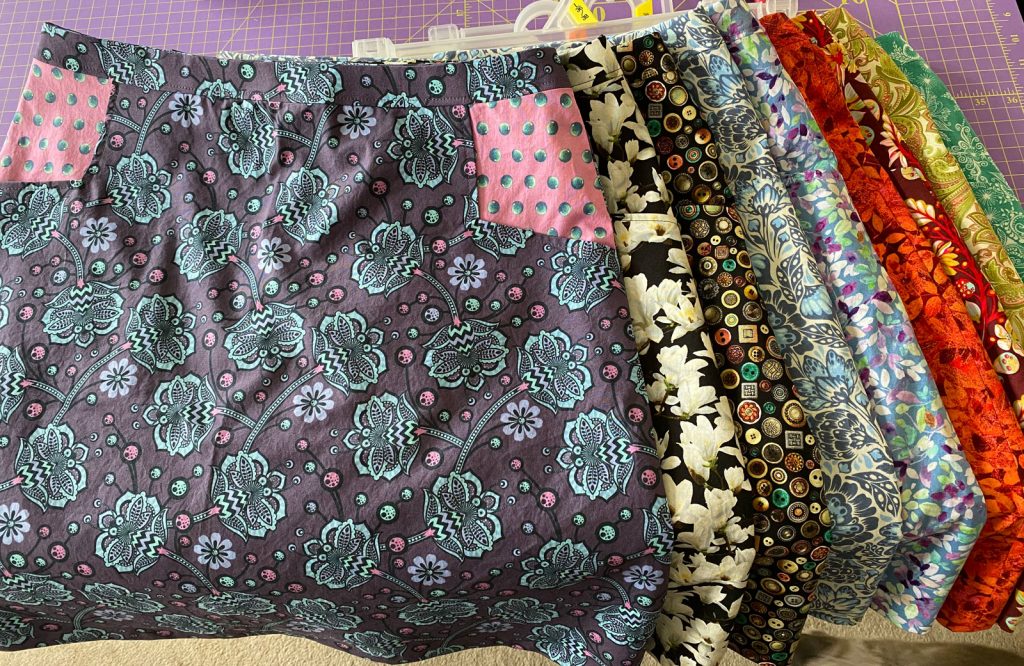
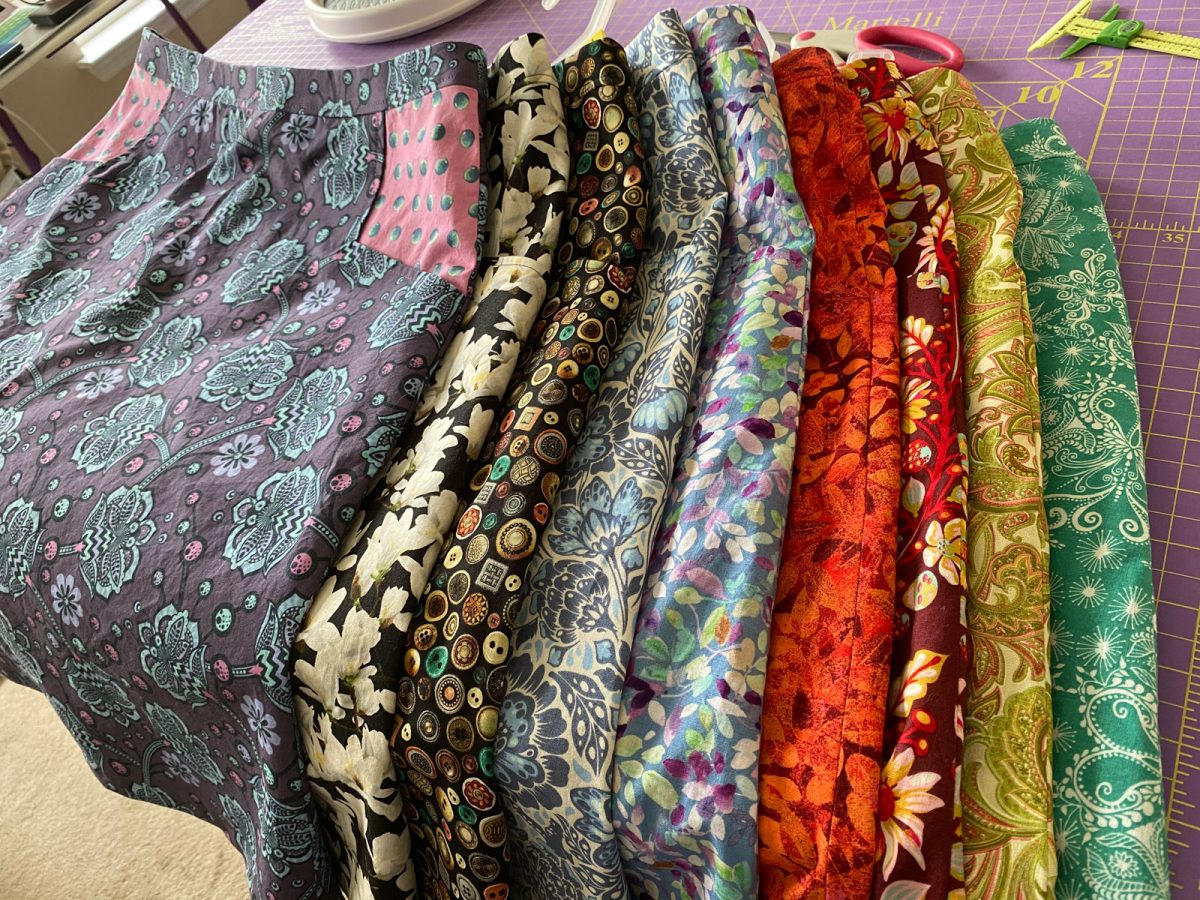
I did that for all 9 of my new skirts, and now have a whole new wardrobe! Now on to other projects. 🙂