Warning: this post is very picture-heavy!
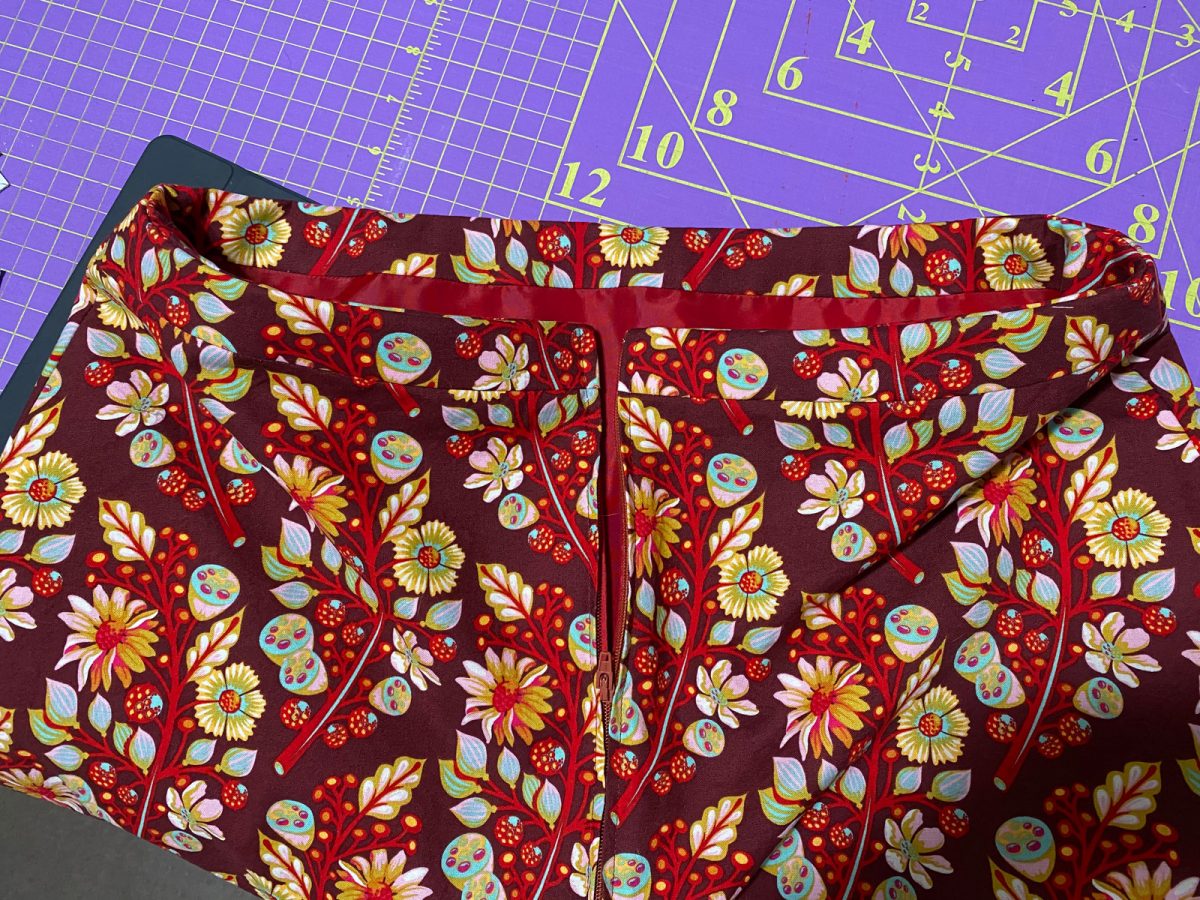
I sewed all of the side seams in my skirt pieces, pressed them, and turned them right sides out.
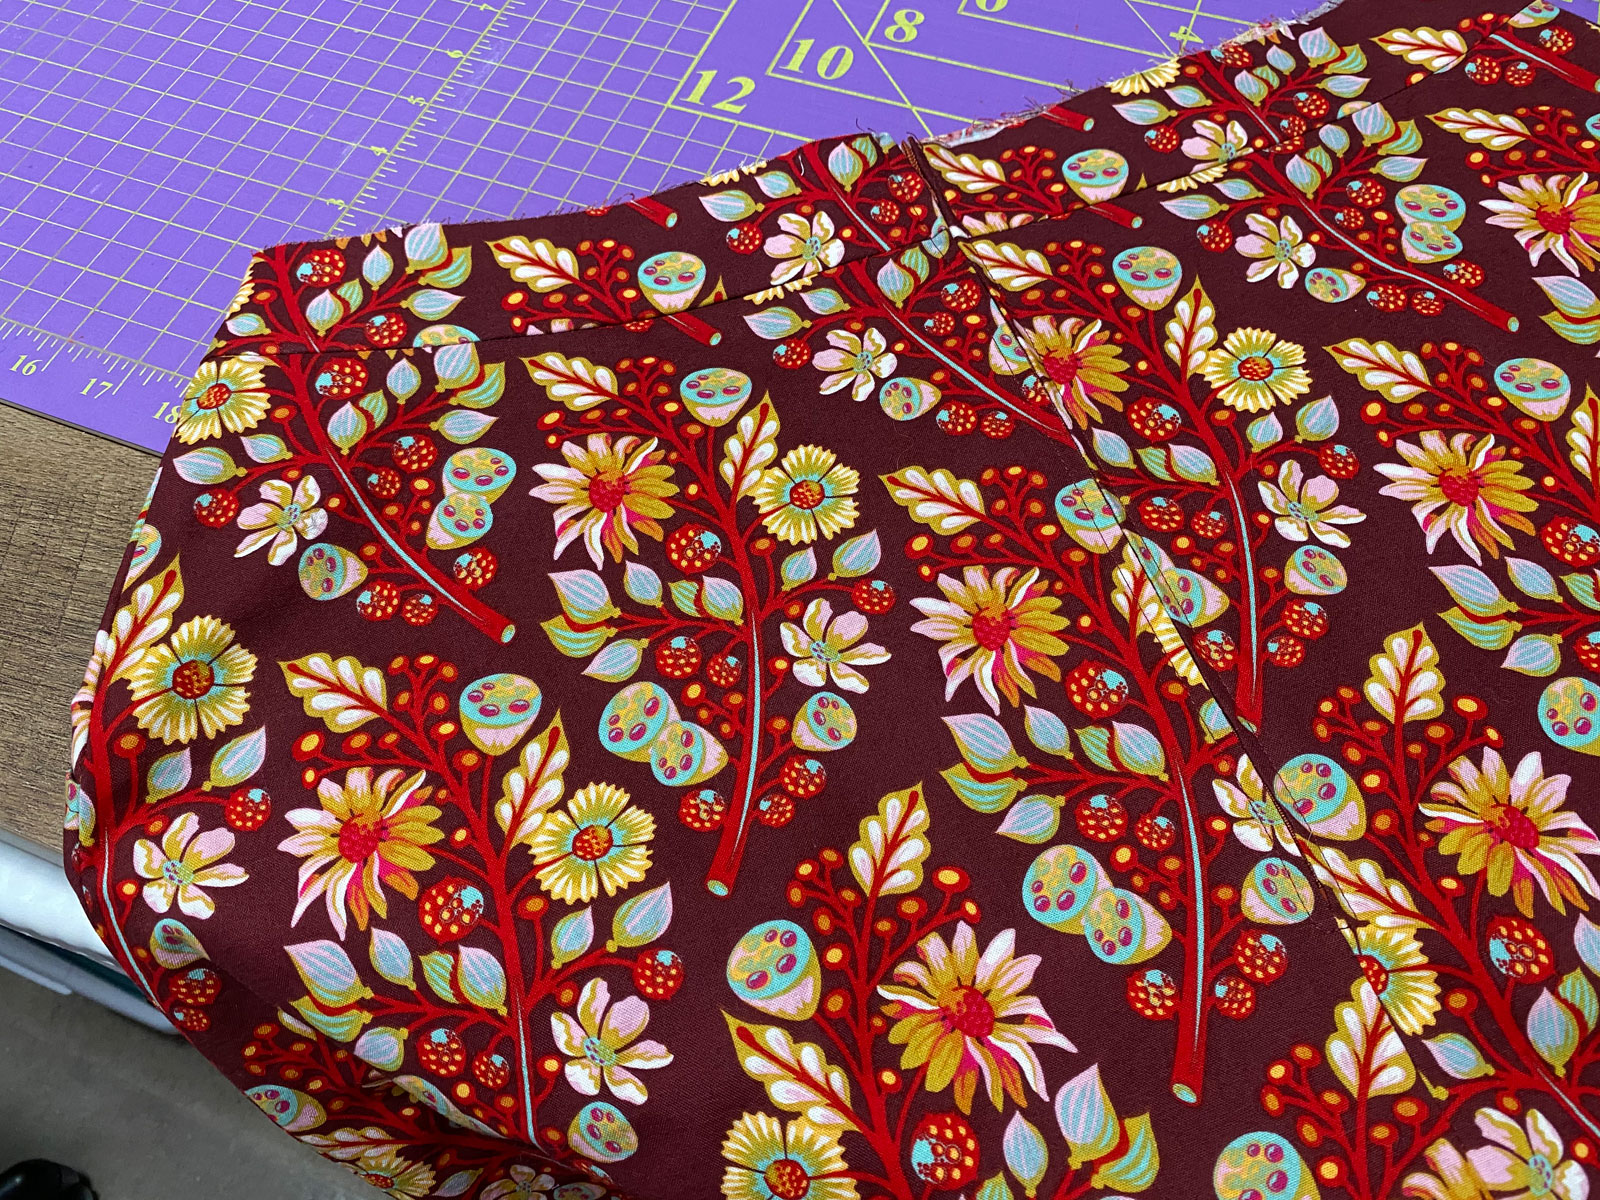
I also sewed the side seams in the lining pieces and a partial back seam. I measured and marked the zipper stop on the lining. This time I did not baste the remaining seam where the lining will be sewn to the zipper. Then I pressed all seams flat, including where the lining will be attached to the zipper.
Before proceeding I had to go back and review the instructions for adding a lining to this show some flare skirt to make sure I was doing things the right way. The author recommends pinning everything (and I mean everything) before starting to sew, and I tried that – once. Stuck myself accidentally with those additional pins so many times, that I altered my construction technique slightly.
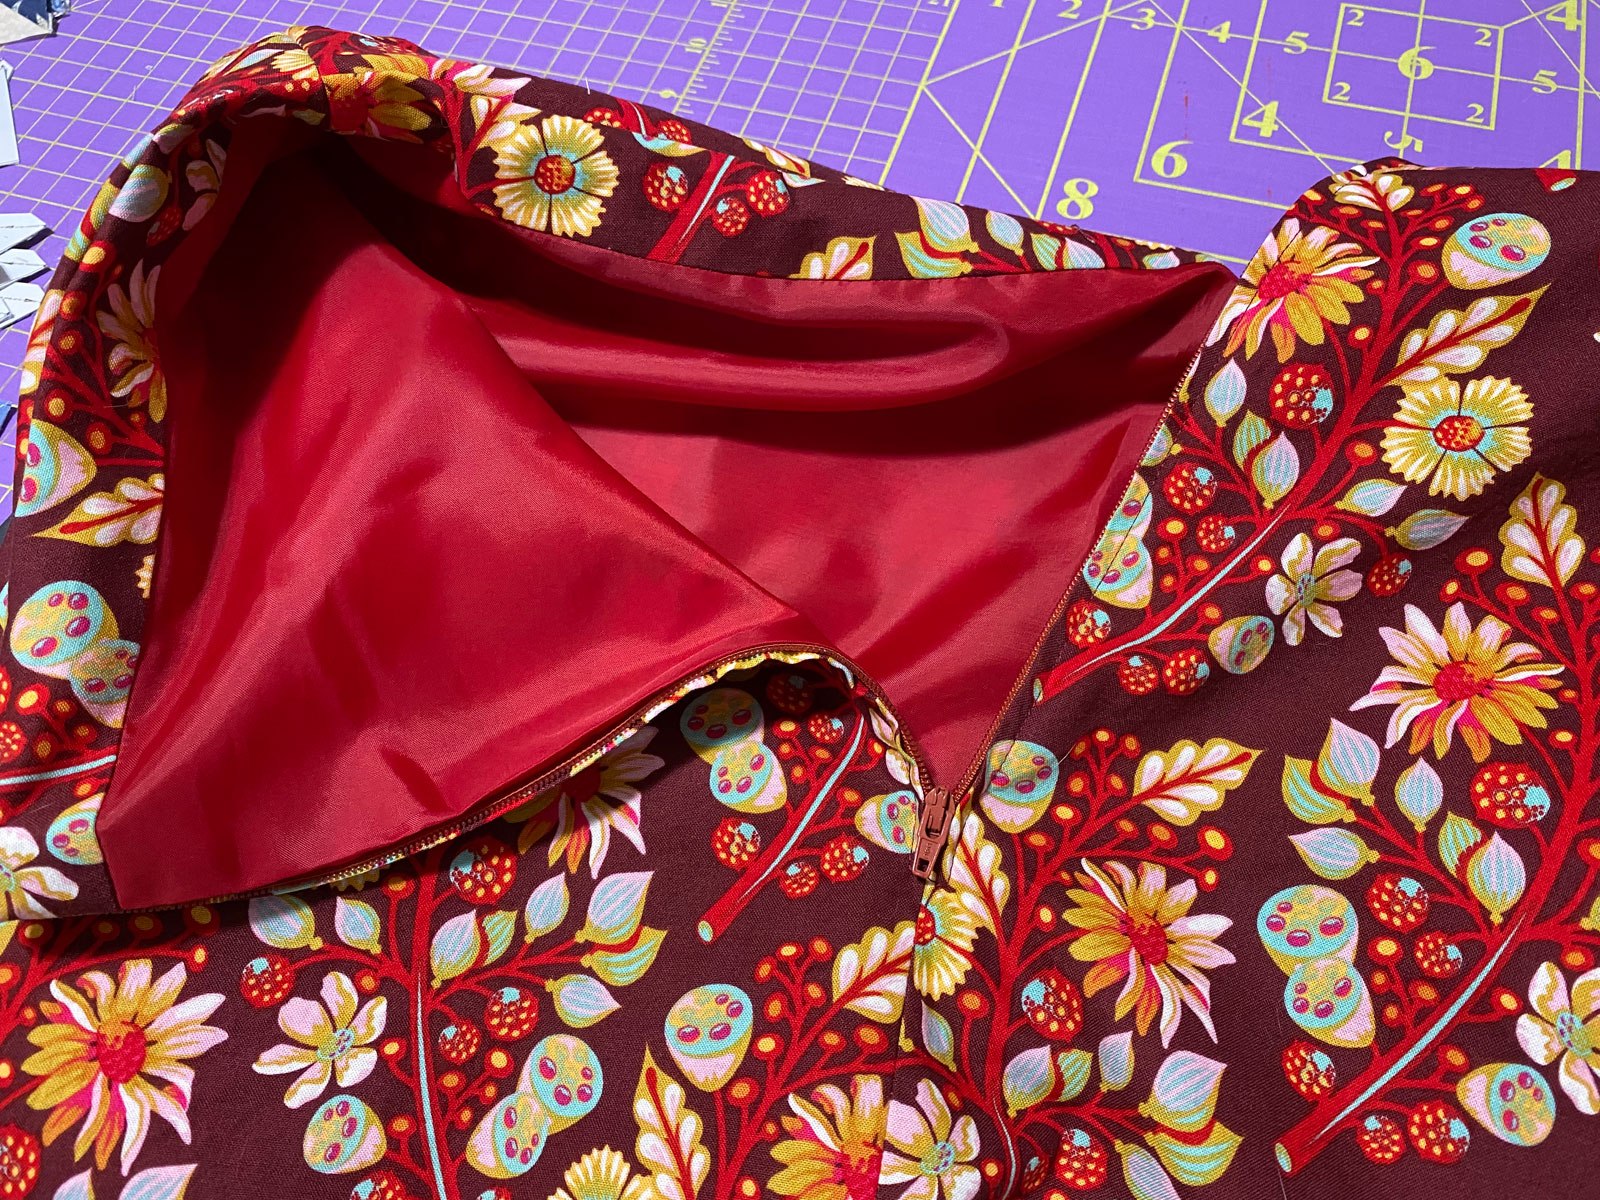
I put the skirt inside the lining, right sides together. Then I started with the right side only, and began matching up the lining with the zipper tape.
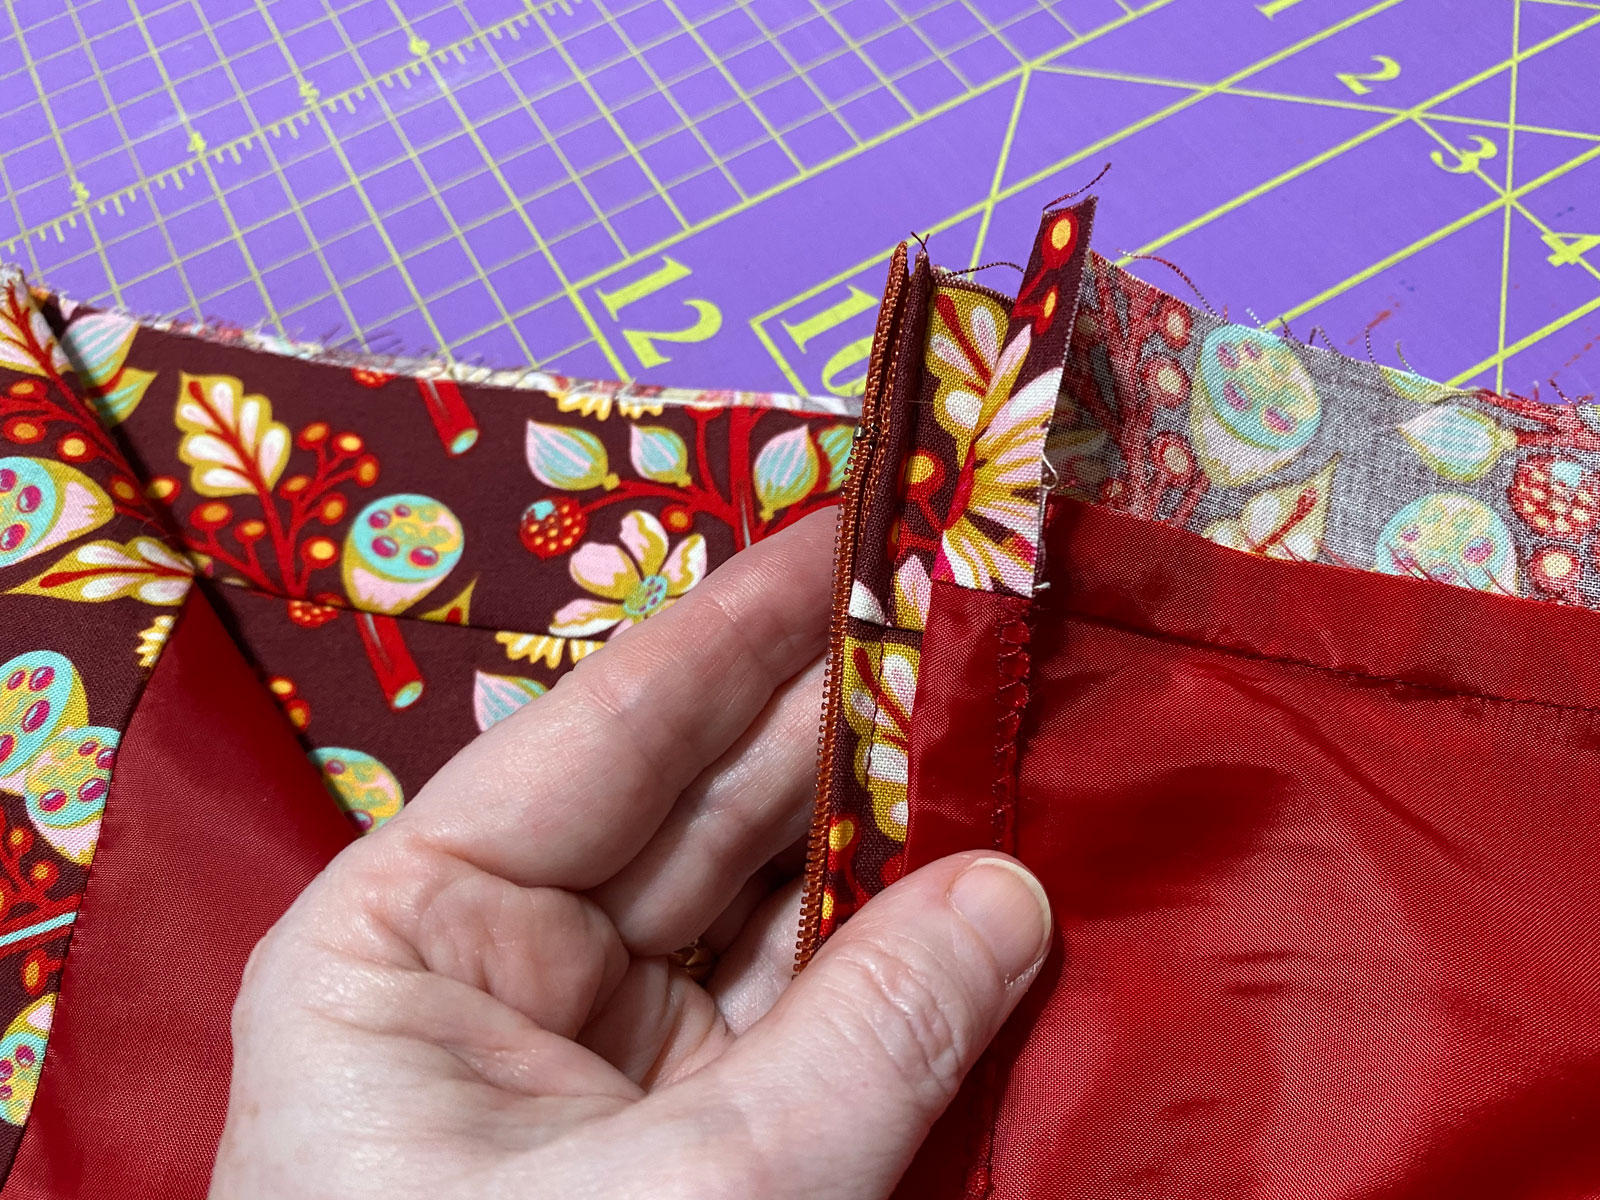
You have to pull the zipper tape around to expose it.
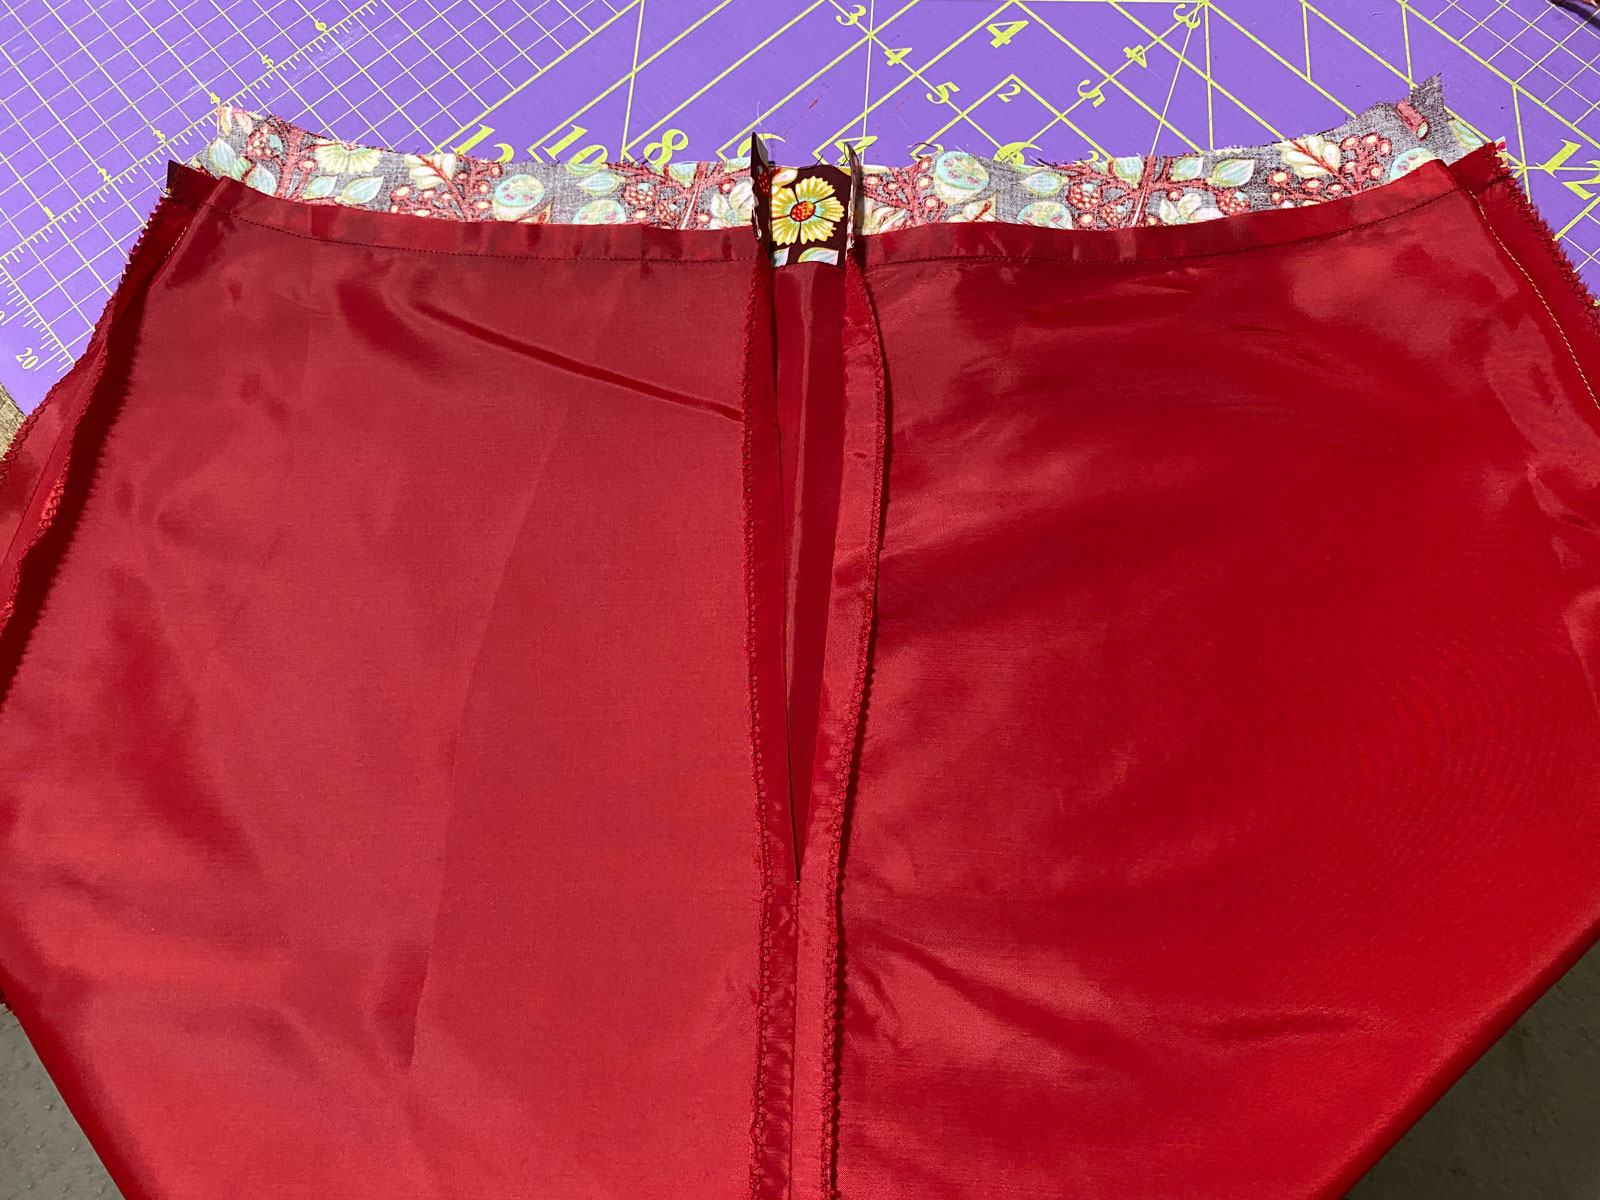
Then align the raw edges of the zipper tape and the lining.

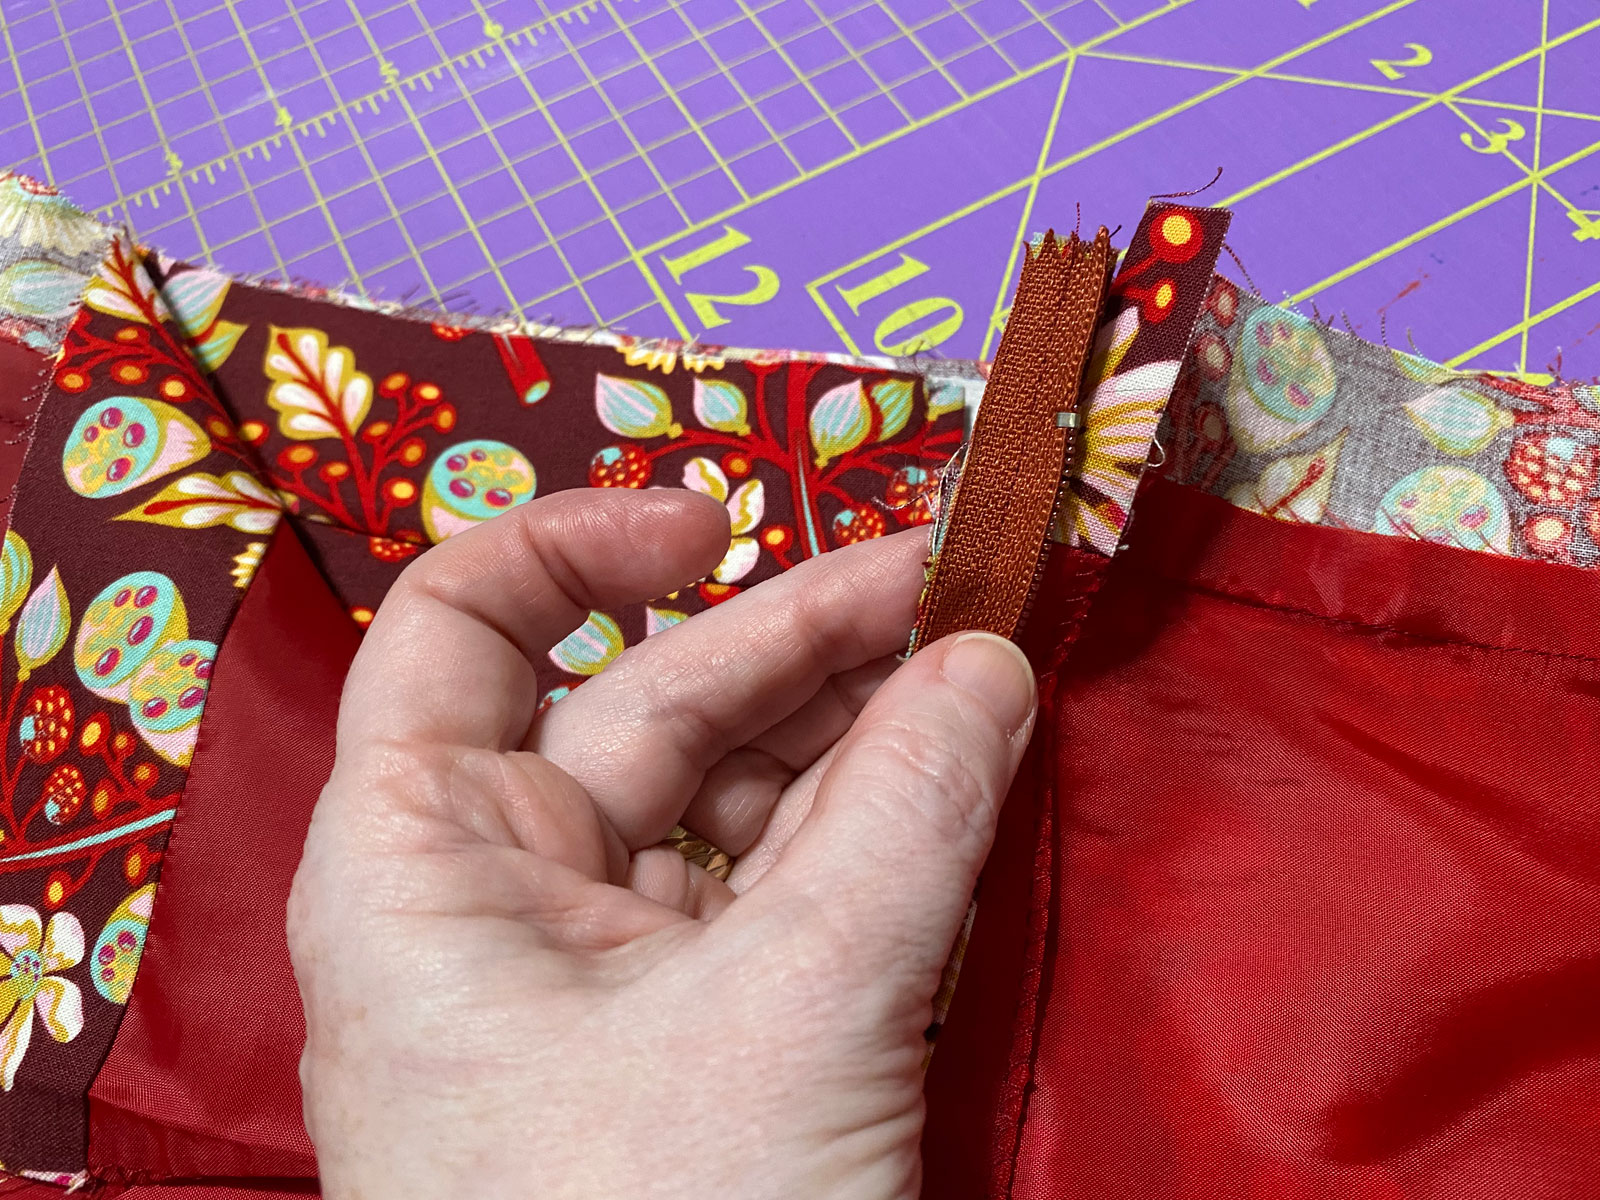
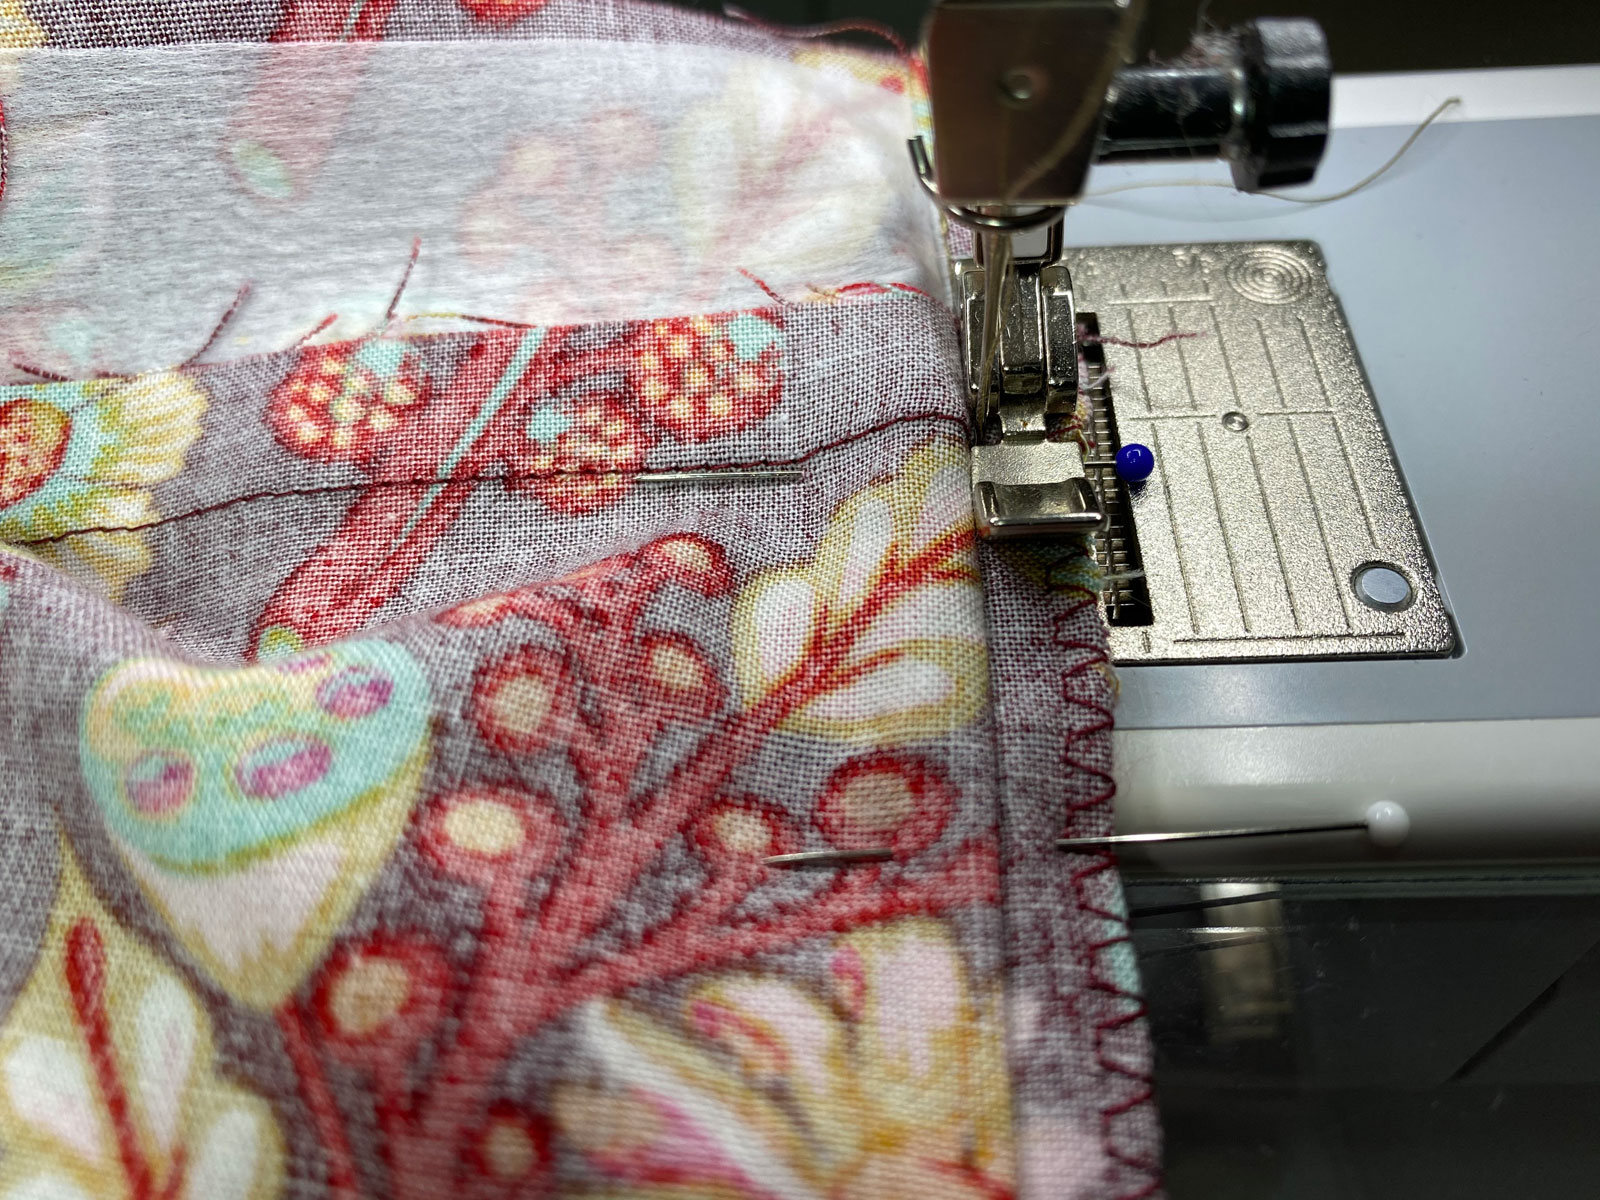
Pin the lining to the zipper and skirt back in pretty close intervals, especially if you’re using a slippery lining fabric.
Make sure to pin past the zipper stop. This is the only part I pinned for now.
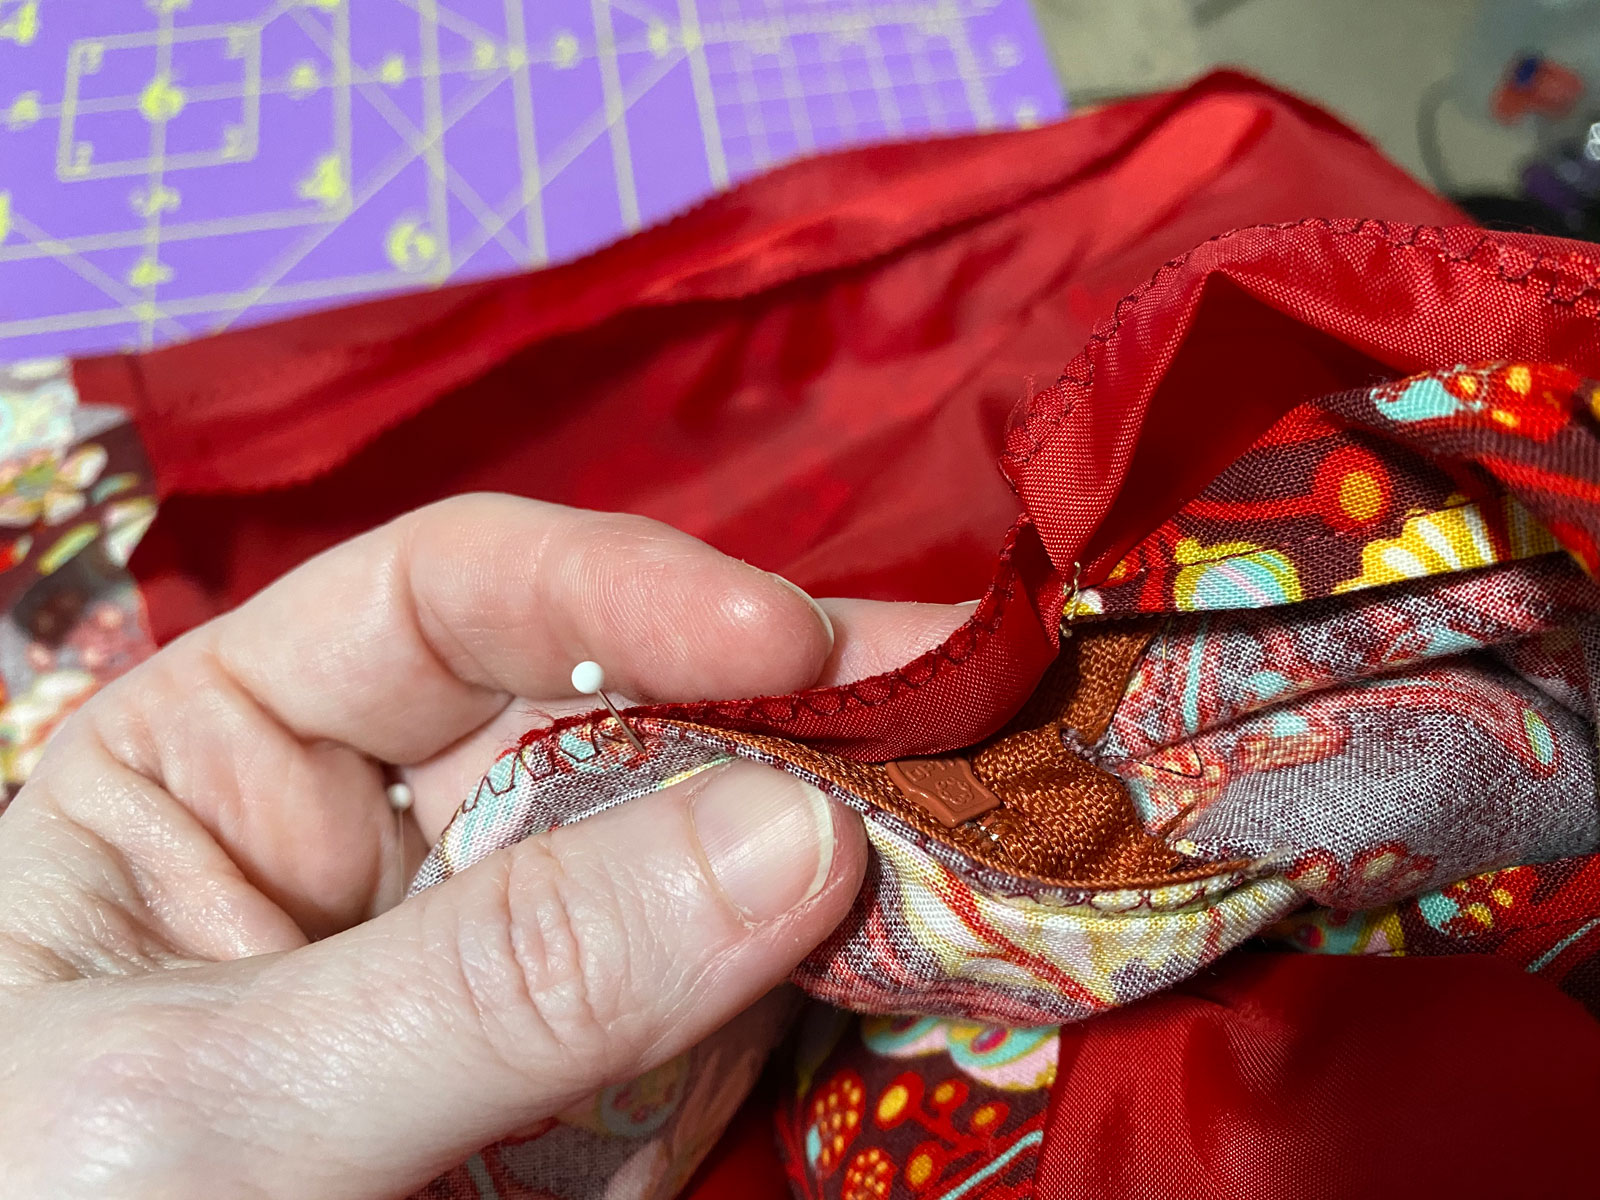
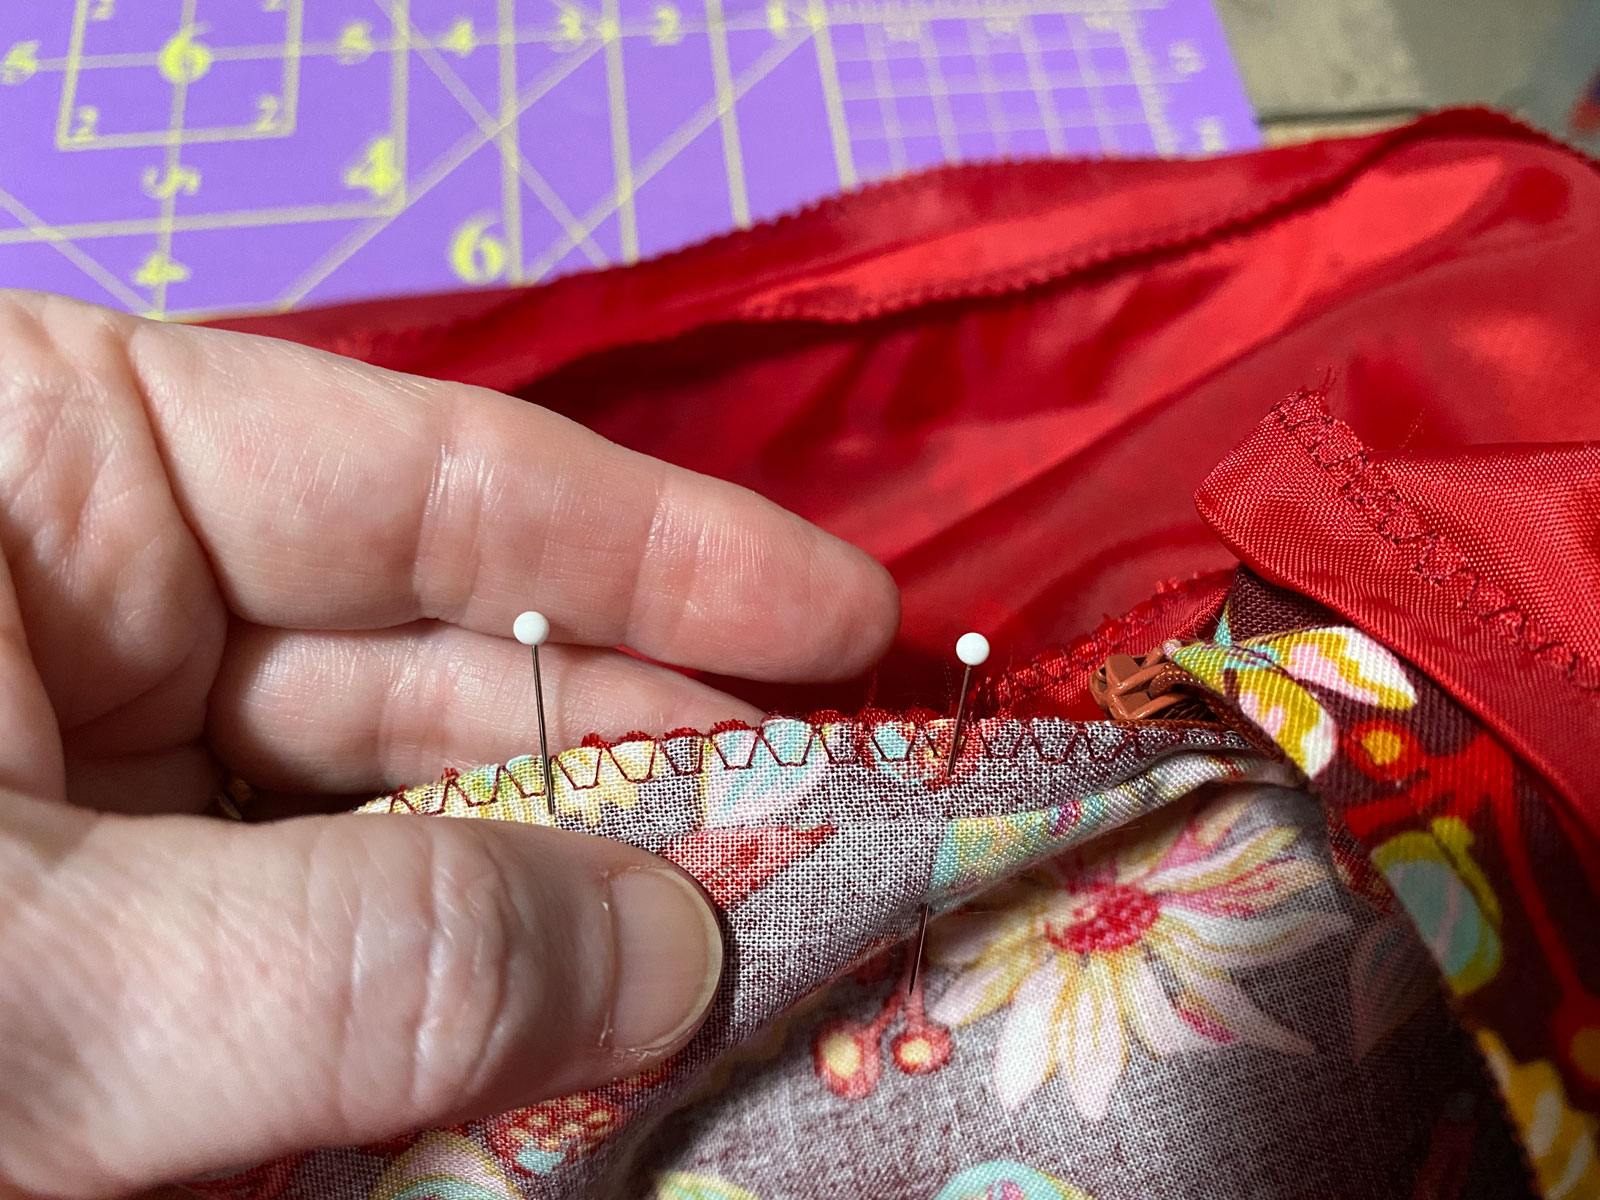
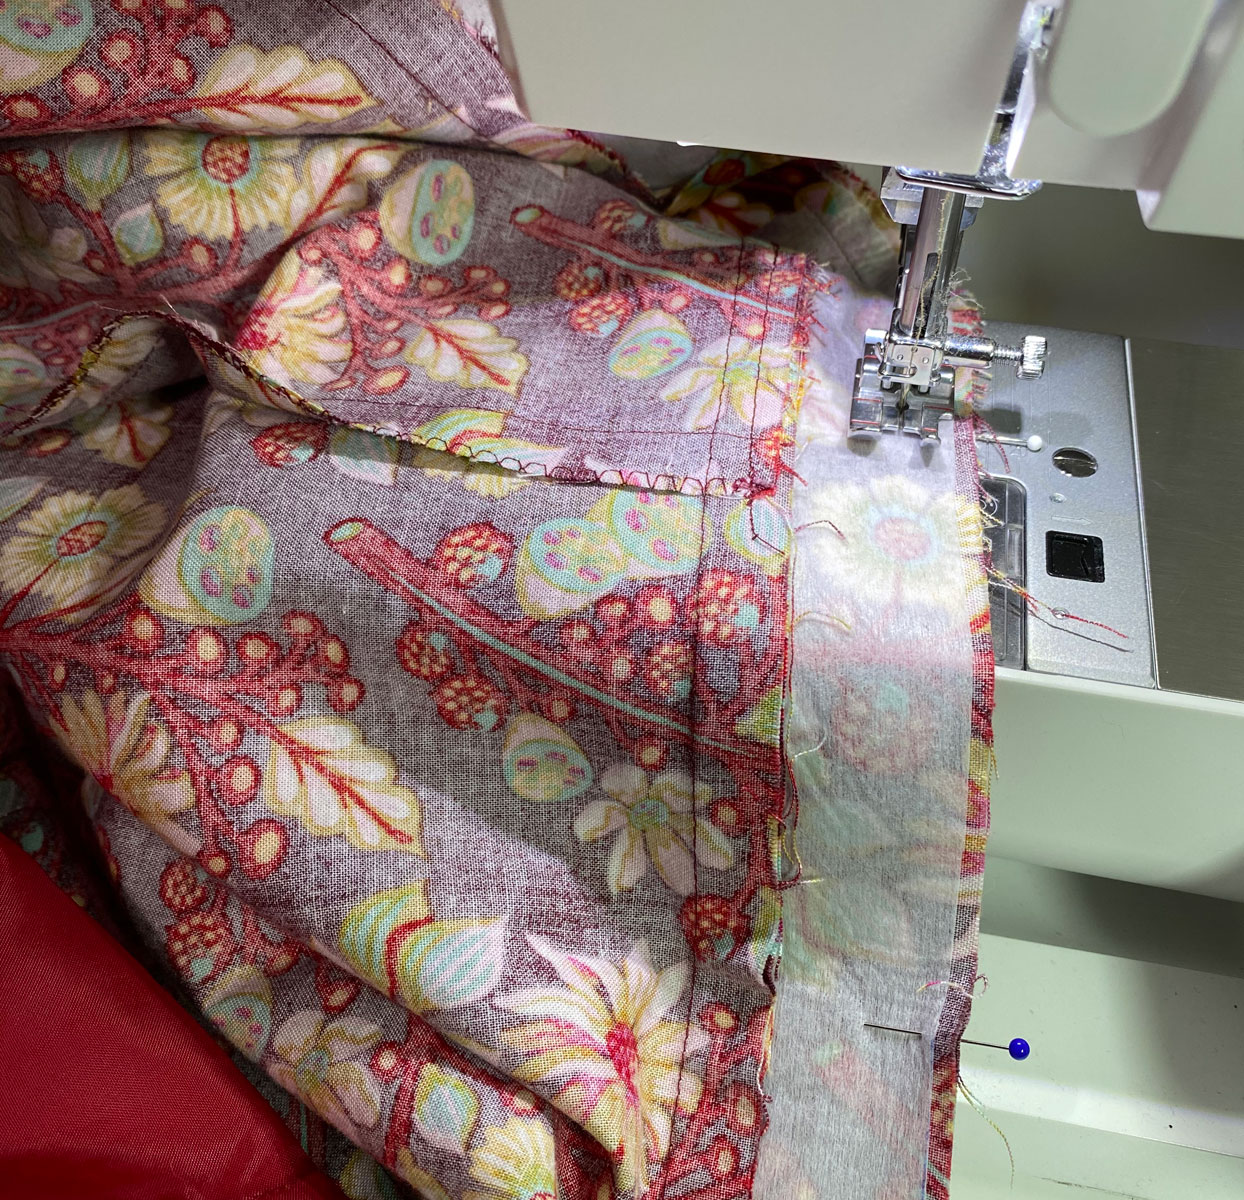
On my machine I attach the zipper foot, adjust the needle all the way to the left, and sew from the skirt fabric side so I can stitch right up close to the edge of the fold. Be careful not to sew through the fold, or it will show on the skirt back. Remove pins as you go.
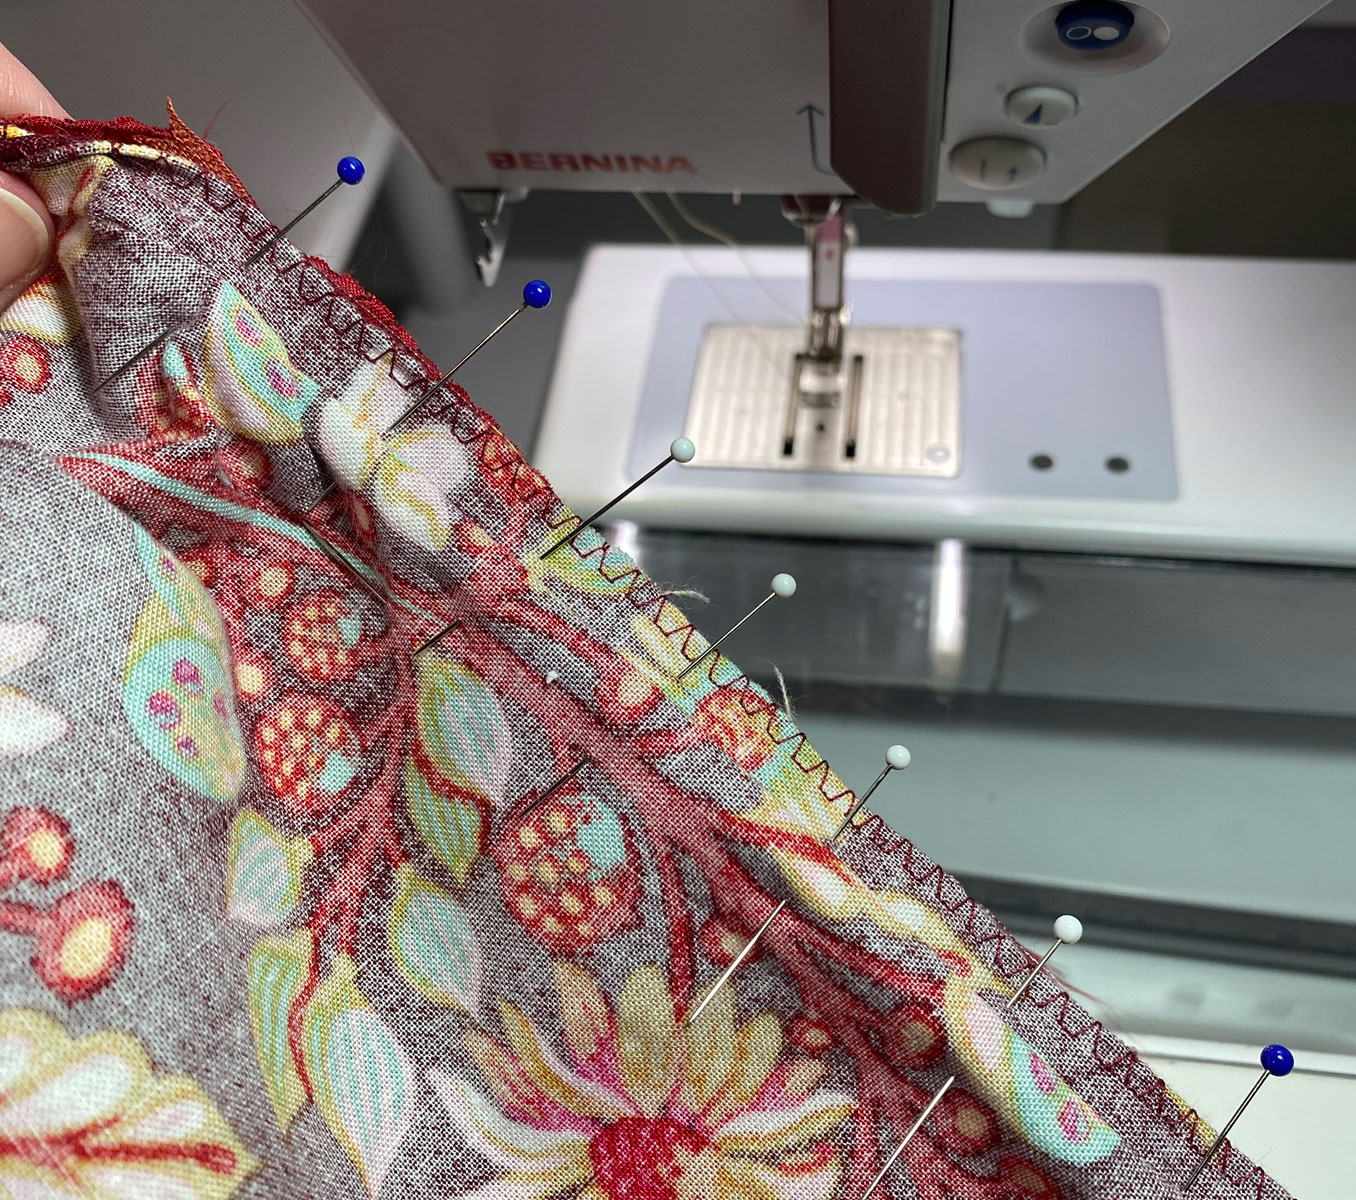
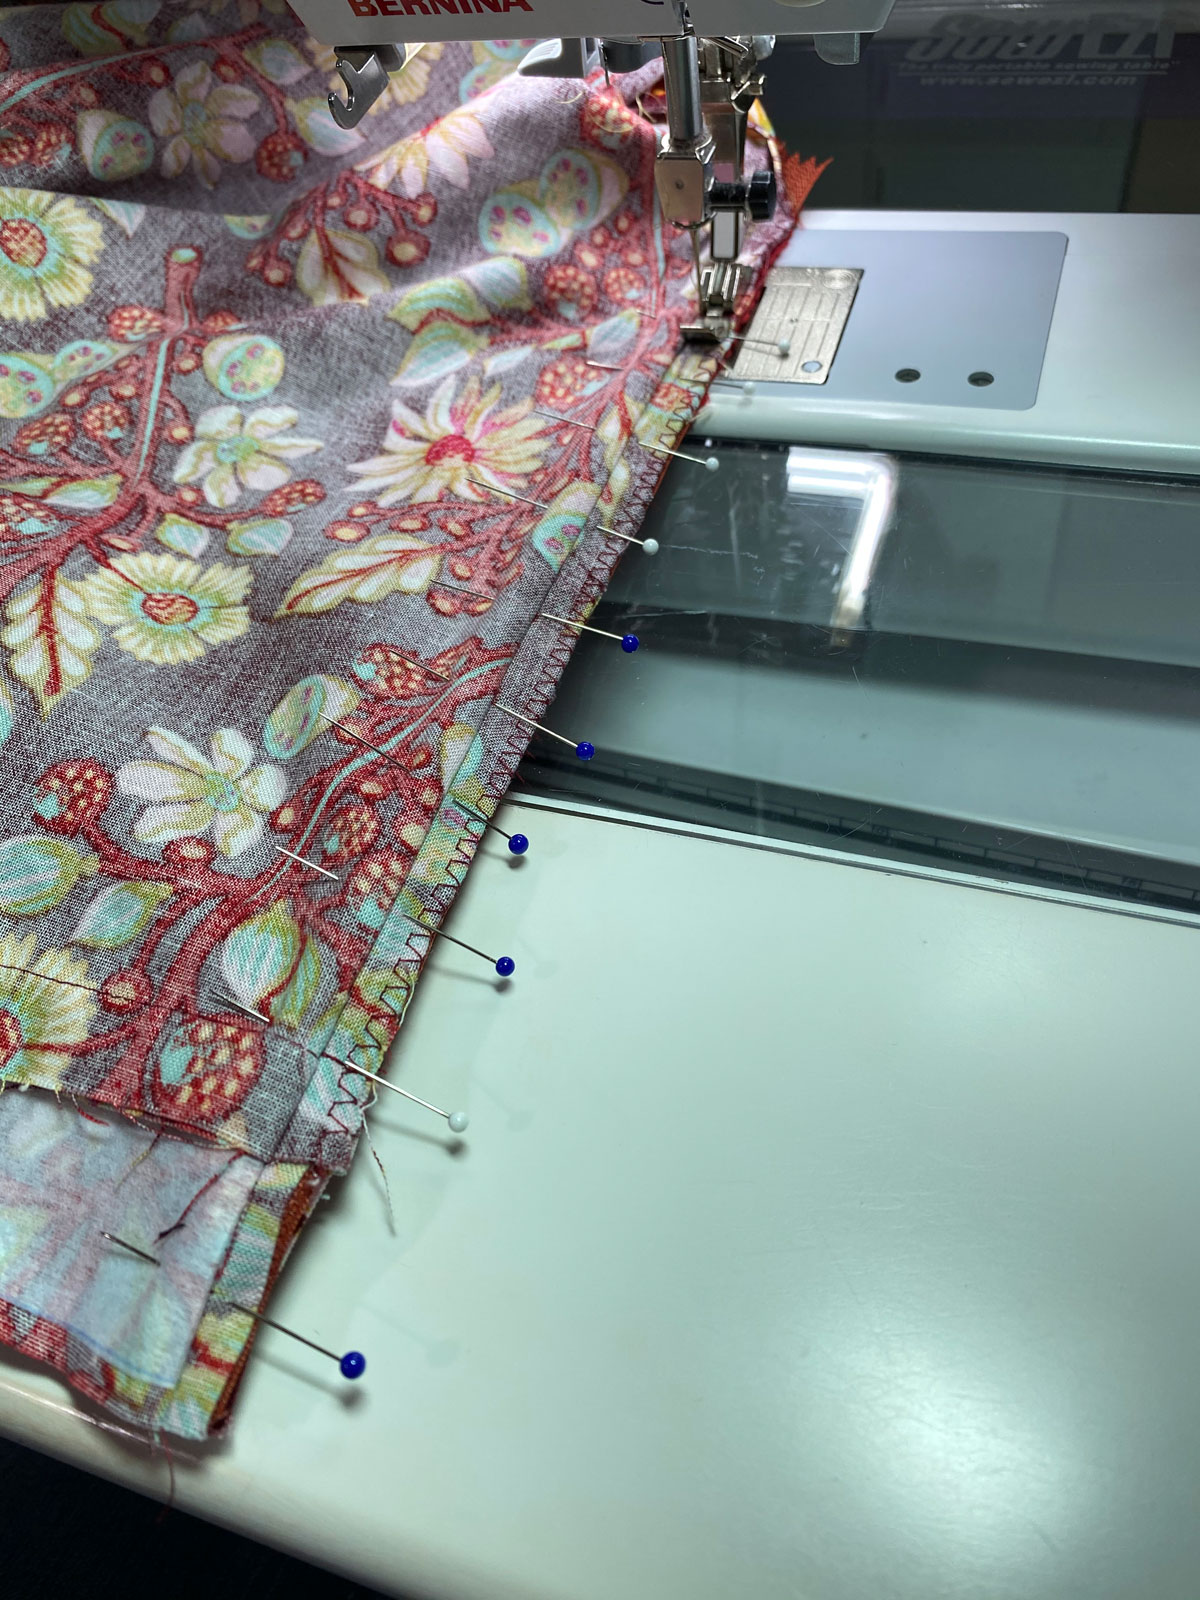

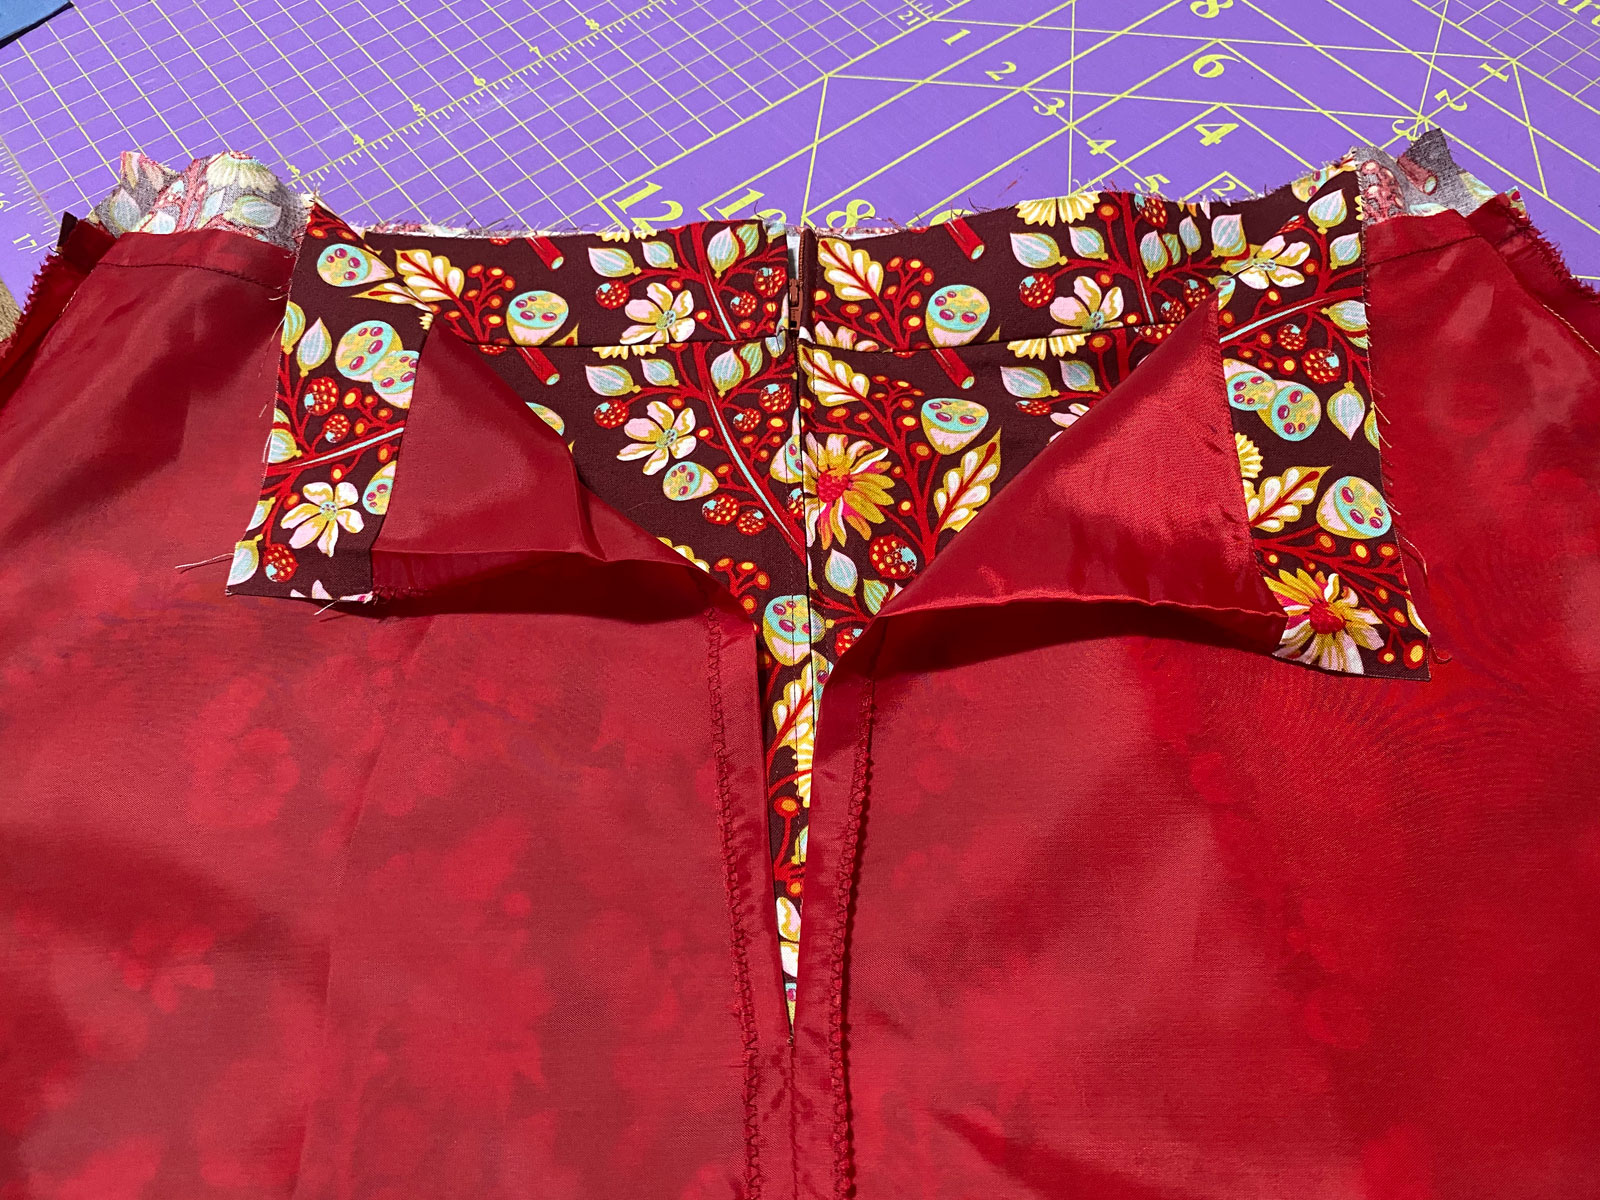
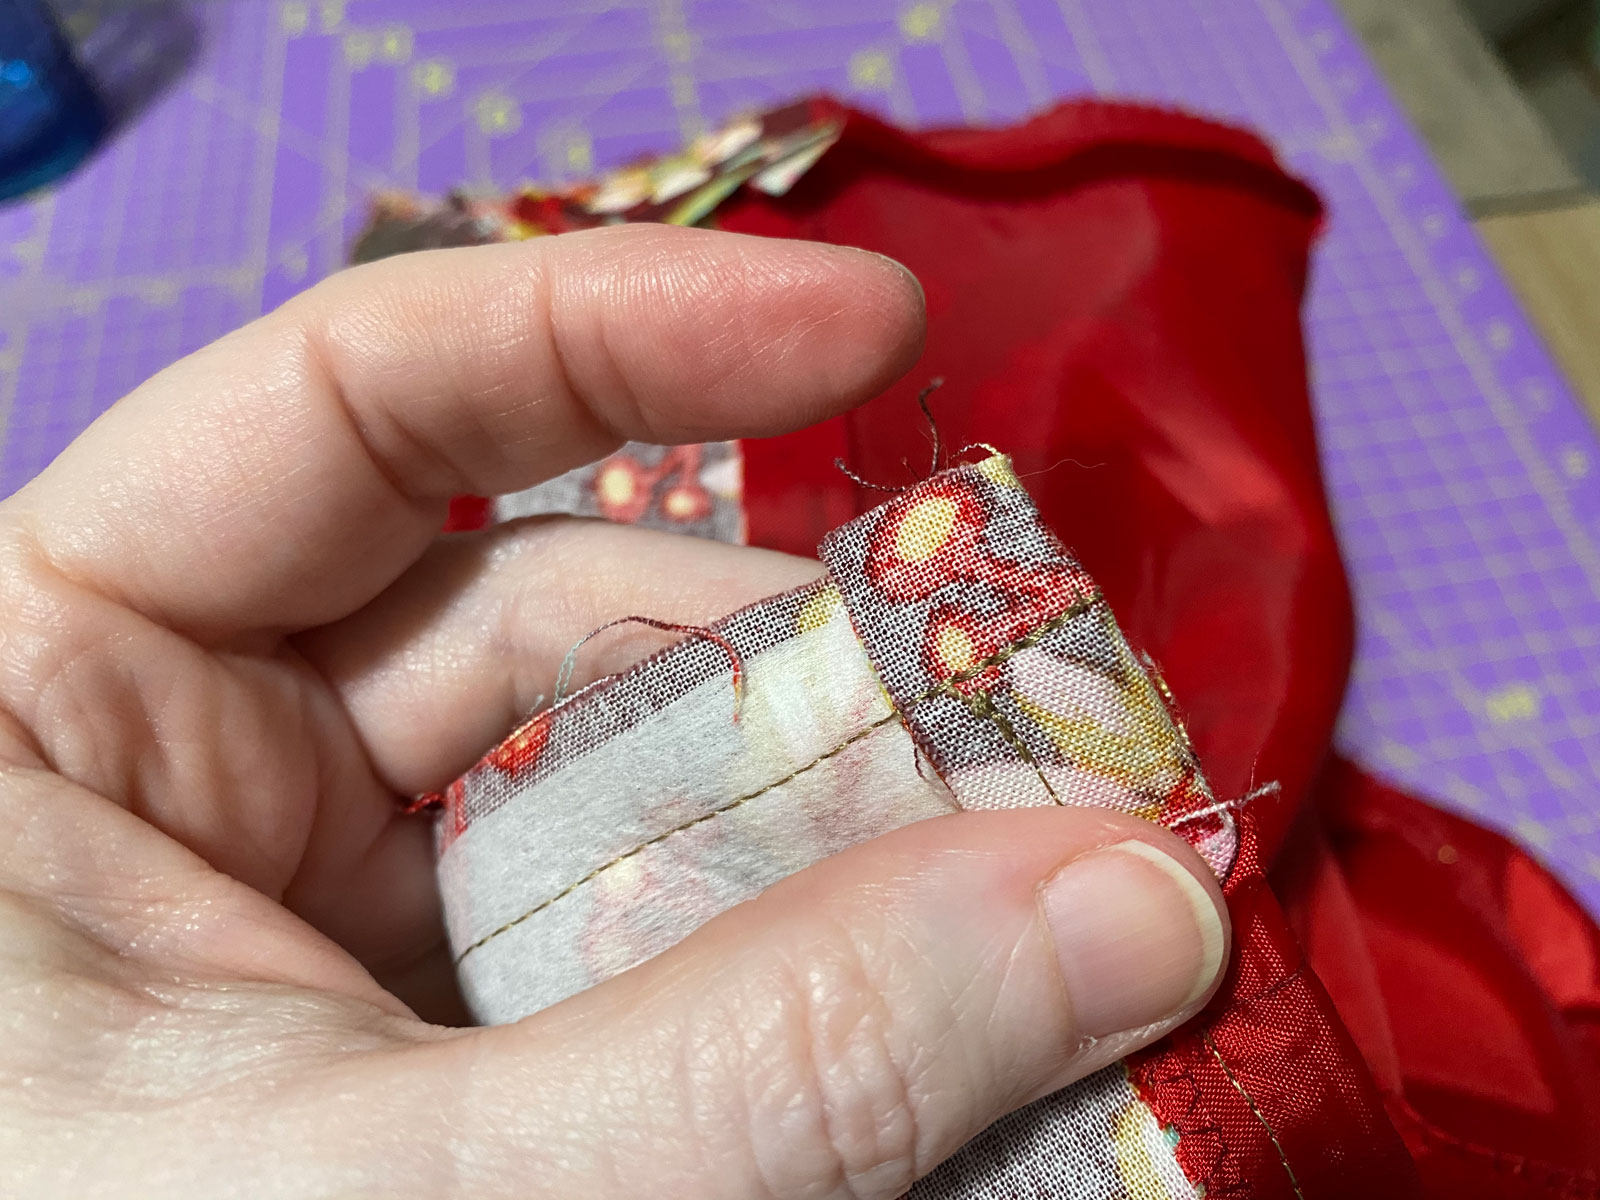
Then pin at the side seams and along the waistbands of the skirt and lining. Sew them together.
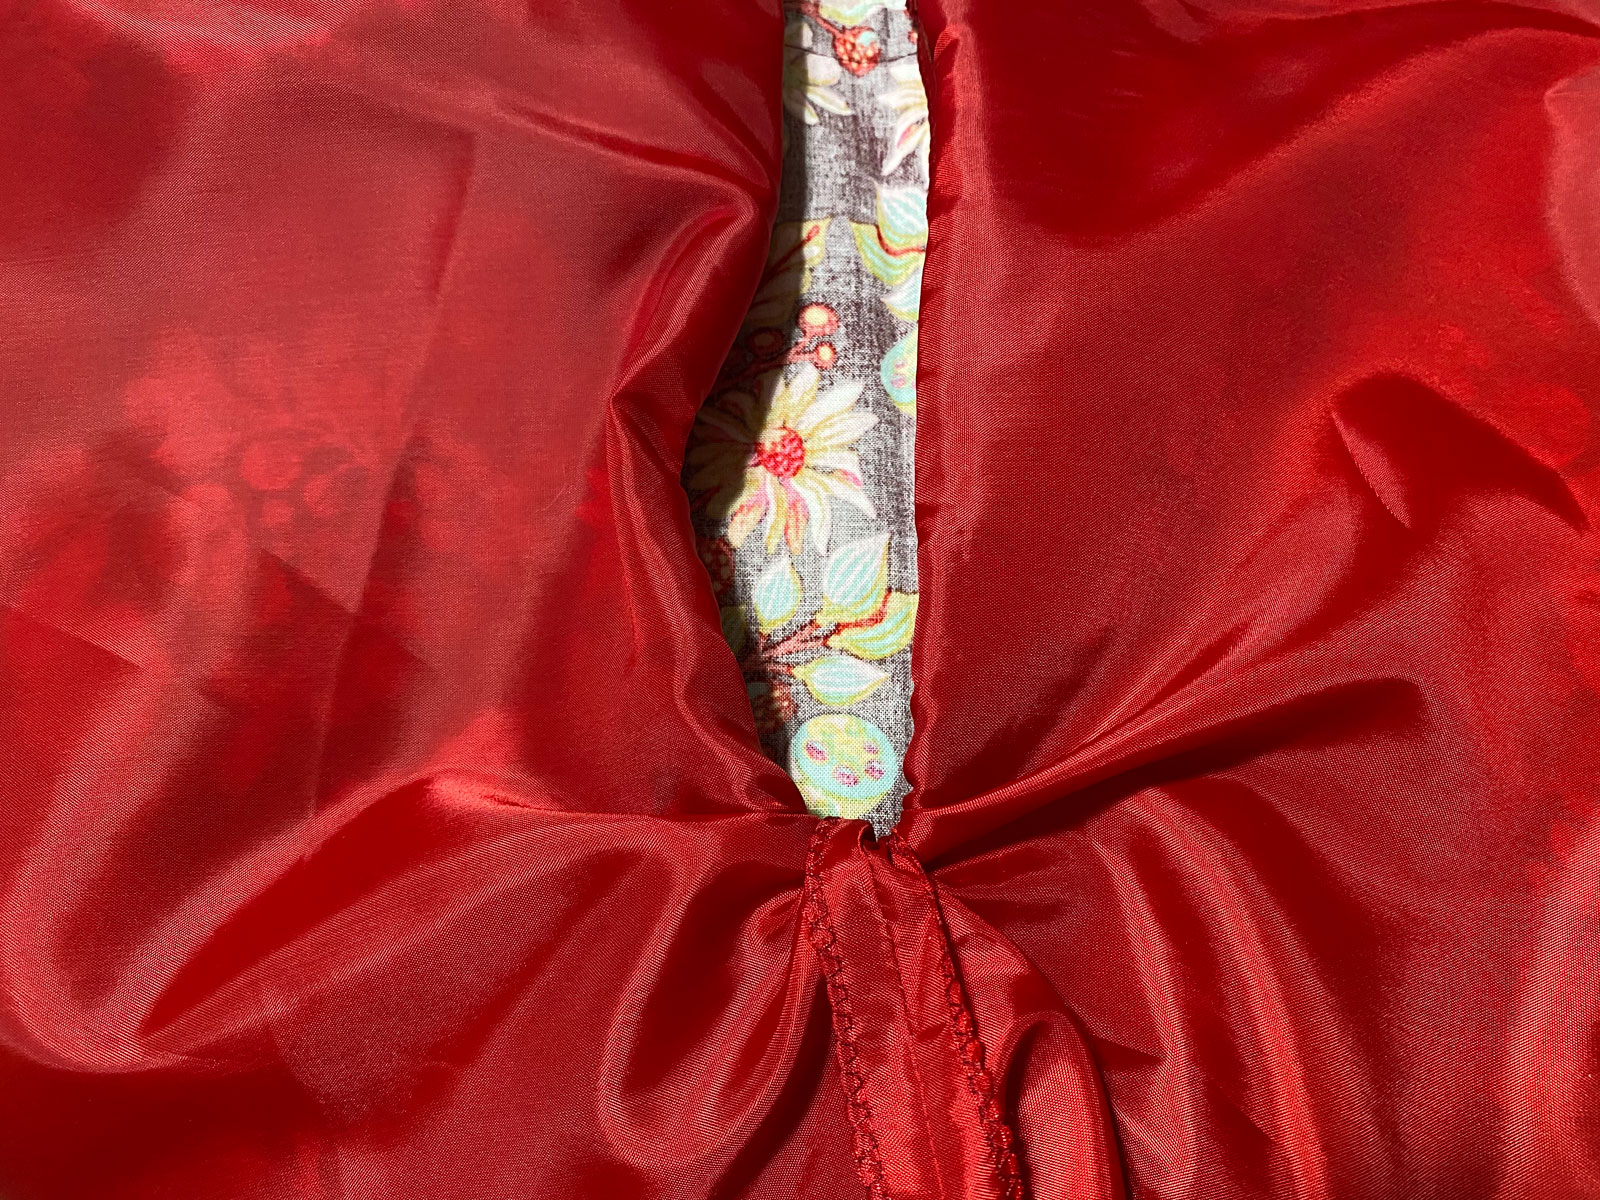
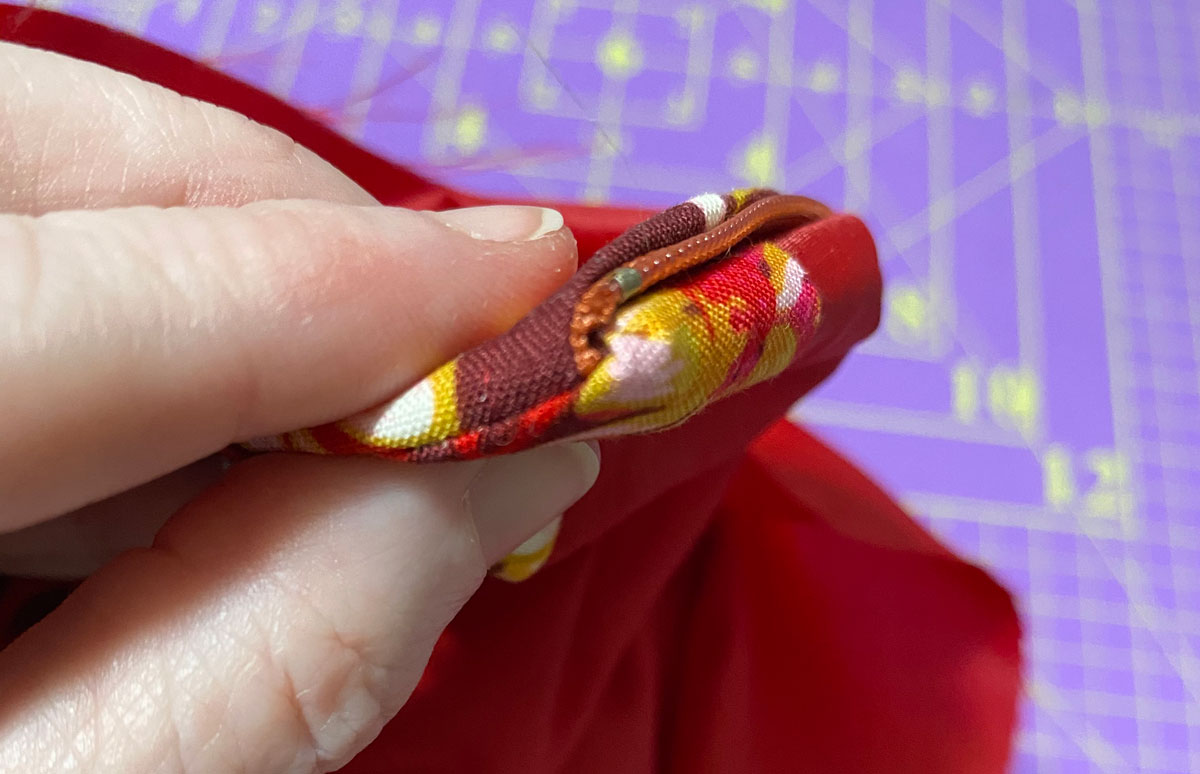
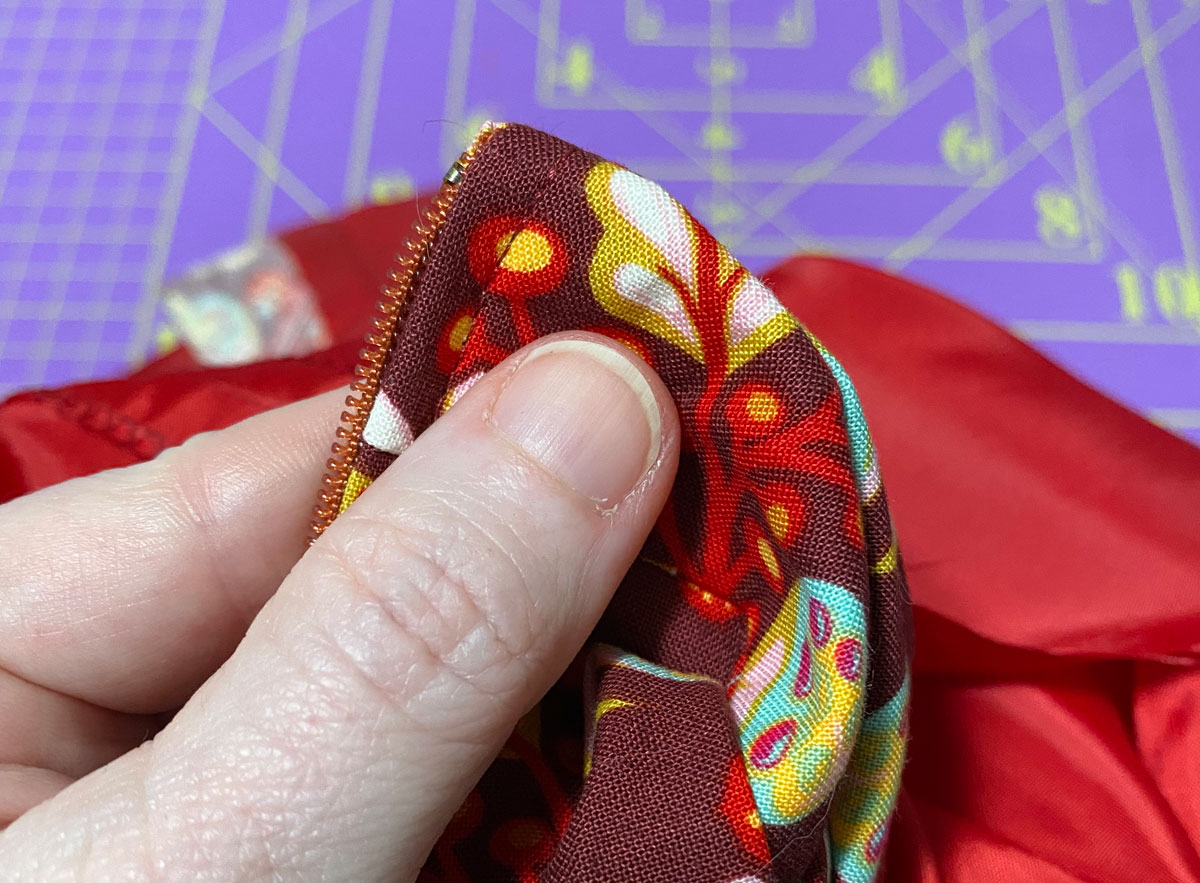
With the Show Some Flare pattern, there was extra fabric built in to the back waistband pieces to allow for turning the zipper to have a nice finished edge. The Show Some Flare skirt video demonstrates the trick to turning to get a nice crisp, square edge.

The next step will be top stitching the waistband and then finishing the hem on both the skirt and the lining. I’ll need to finish 4 more skirts to this step. Before I move on to the final steps So very close now!