Wait, what happened to steps one and two?!? Well, I already did those.
Step one was washing the fabrics. This is especially important when making garments, as the cotton fabric may (and probably will) shrink when washed. Better to do that before you cut out the pieces and put them all together into a finished garment. I wouldn’t want to go through all of that work to make a pretty skirt using some of my most favorite fabric, only to have the skirt be too tight/unwearable after one wash.
Step two was cutting out the pattern pieces from the fabric. I have my pattern templates (made using Swedish tracing paper recommended from a then-Craftsy class on pattern drafting) from the previous skirts, so I just used them again – now for 12 different fabrics plus 11 different lining fabrics. That’s some bang for your buck, I tell ya.
Step three is finishing those side edges now, when the pieces are still flat. I’m only doing this for the main skirt pieces and linings, not for all the other pieces. And some of the pieces will need to be finished after they’re sewn together. The hems will be finished in a different manner.
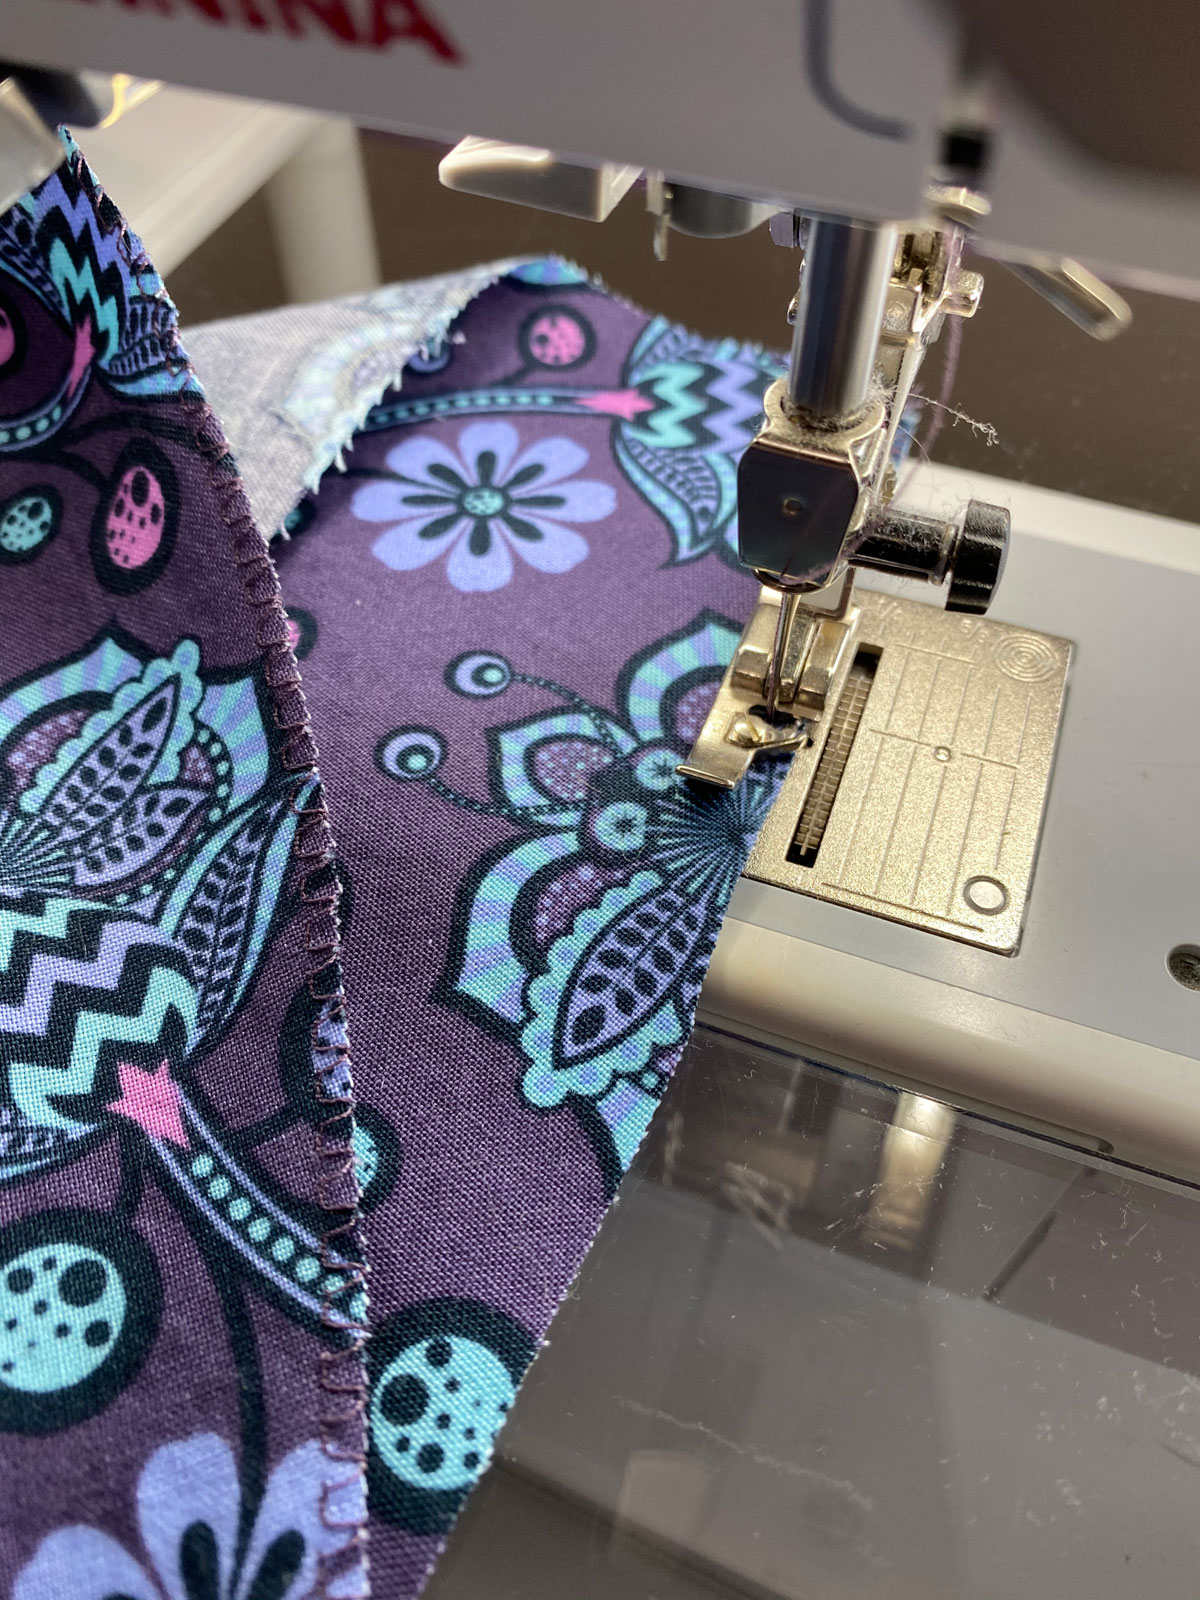
I don’t have a serger, and that’s just fine, because my Bernina 440 machine has a finishing stitch (stitch 3) that works well for this purpose. These are edges that won’t be seen, I just want to keep them from raveling. My mom had the number 2 foot I needed that would really help with this process as well.
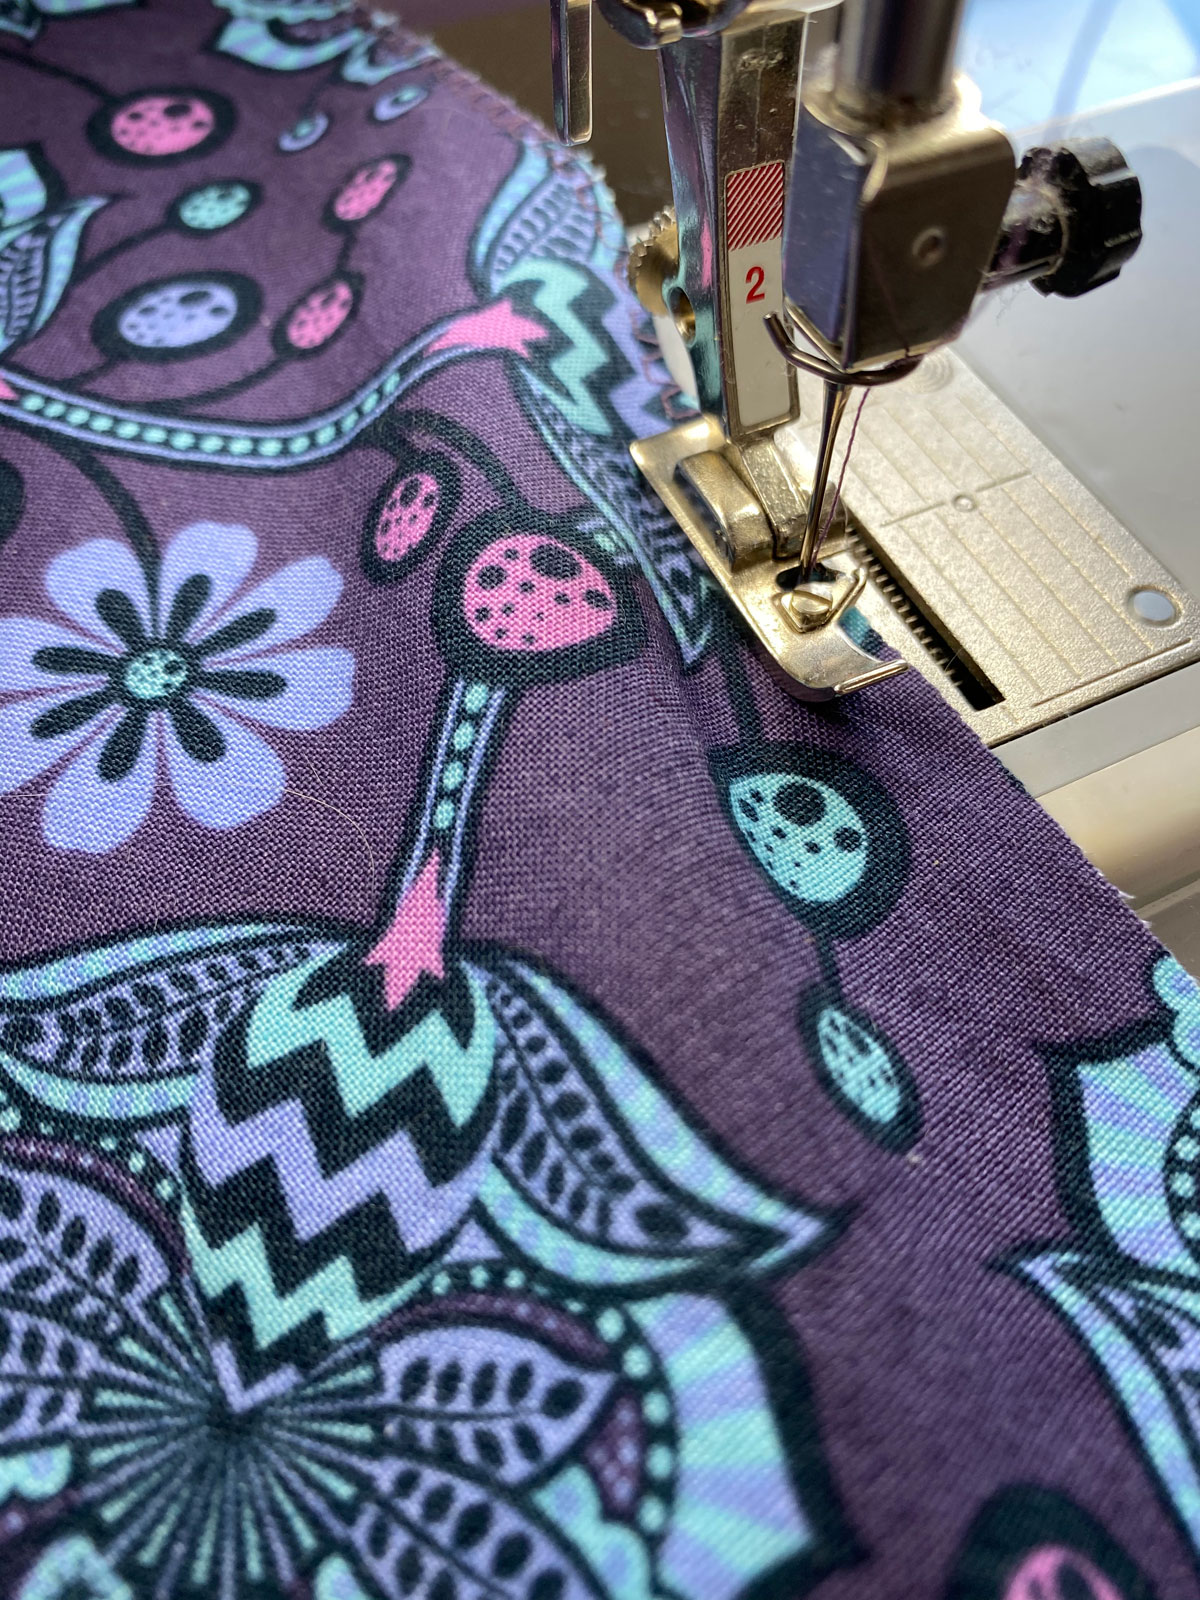
Yes, that fabric is one of my very precious out-of-print Tula Pink prints that I purchased just for this purpose. I’m finally getting around to making that skirt I wanted several years ago.
I have 5 of the 9 sets of fabric edge-finished, and plan to work on the others this weekend. I expect this to be a slow process, and then boom, when done – brand new wardrobe!