
After many years of quilting, and now a few years of working on charity quilts with a church ministry, I’ve finally found the method of joining binding that works for me. This method may not work for everyone, but it gives me consistent results every time.
When I begin attaching the binding to the back of my quilts (I machine bind all of my quilts now, and I sew them to the back first, using a 2 1/2″ strip of fabric folded lengthwise) then fold over and finish from the front), I leave a tail of about 10 inches from where I sewing. Backstitch one or two stitches and continue around the quilt.
When I get close to the beginning, I leave approximately 9-10 inches open between the beginning and where I stop stitching, temporarily, so that I can join the two pieces.
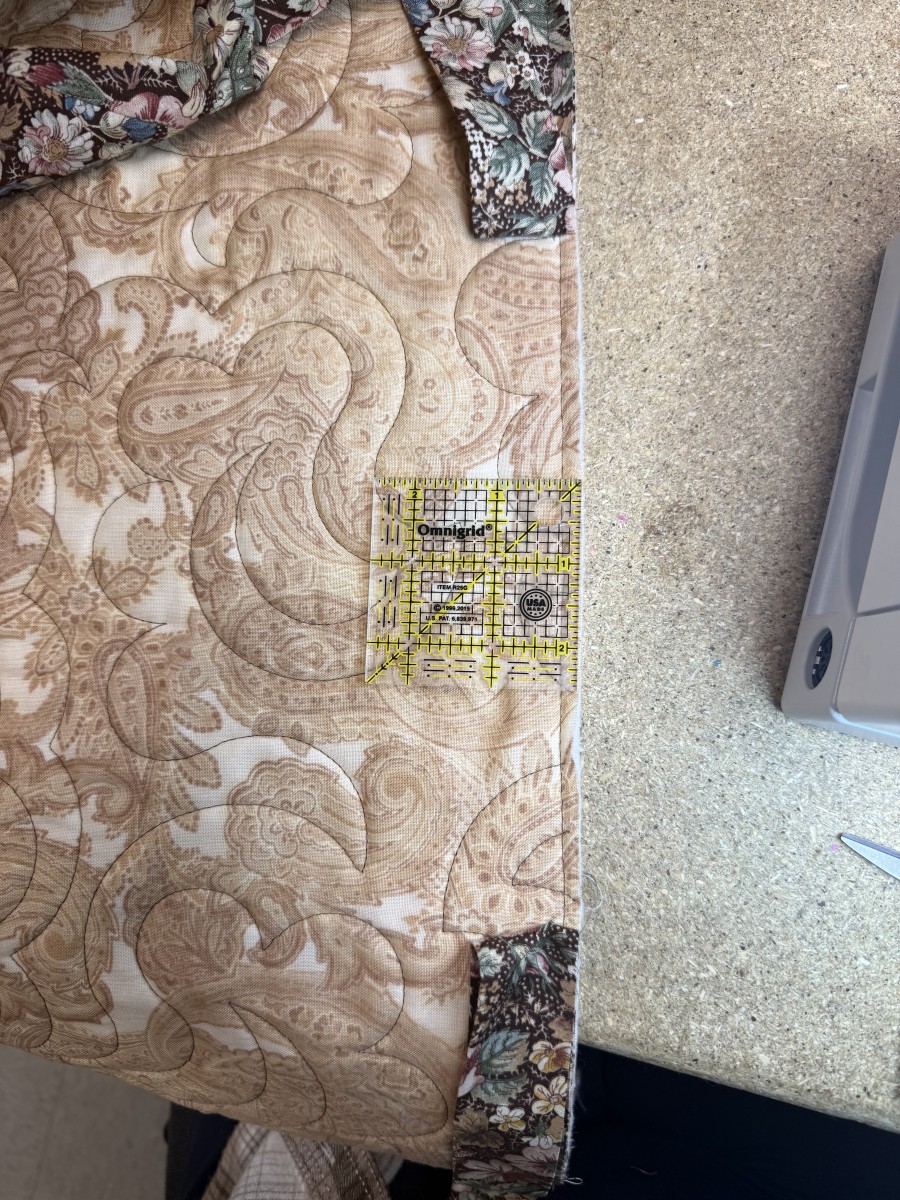
I have a 2-1/2″ wide (this one happens to be square, but a rectangle works too) ruler that I place down in the mid-point between the two edges (see photo above).
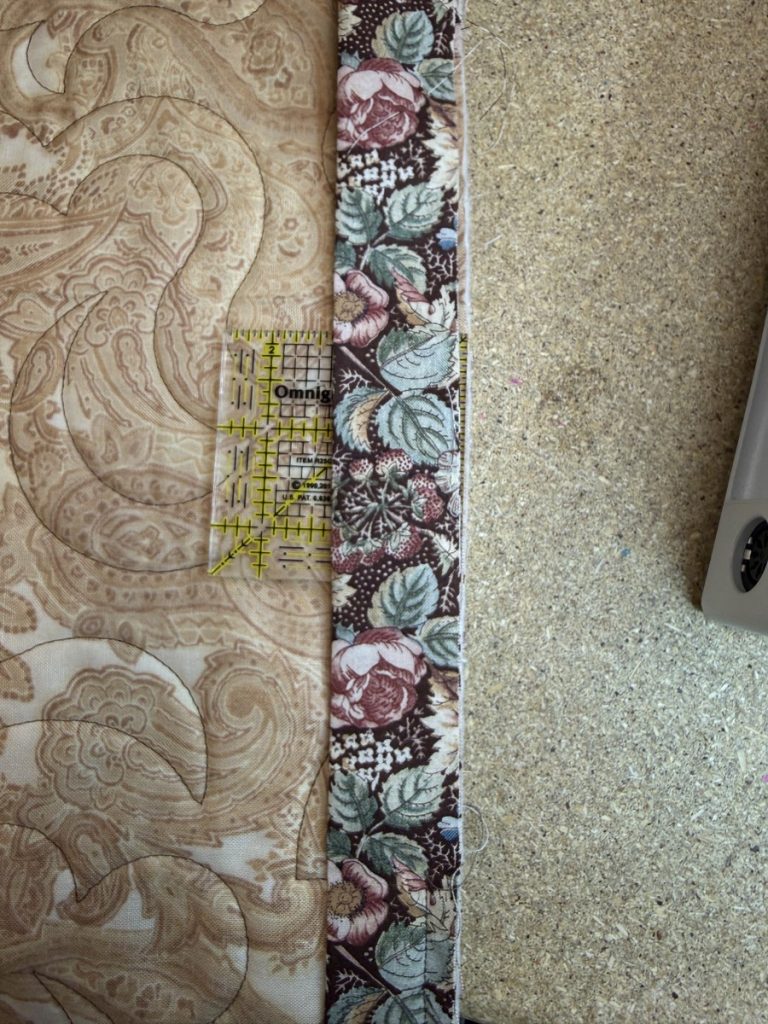
I flip the bottom binding up over the ruler and cut the binding at approximately 1/8″ from the TOP of the ruler.
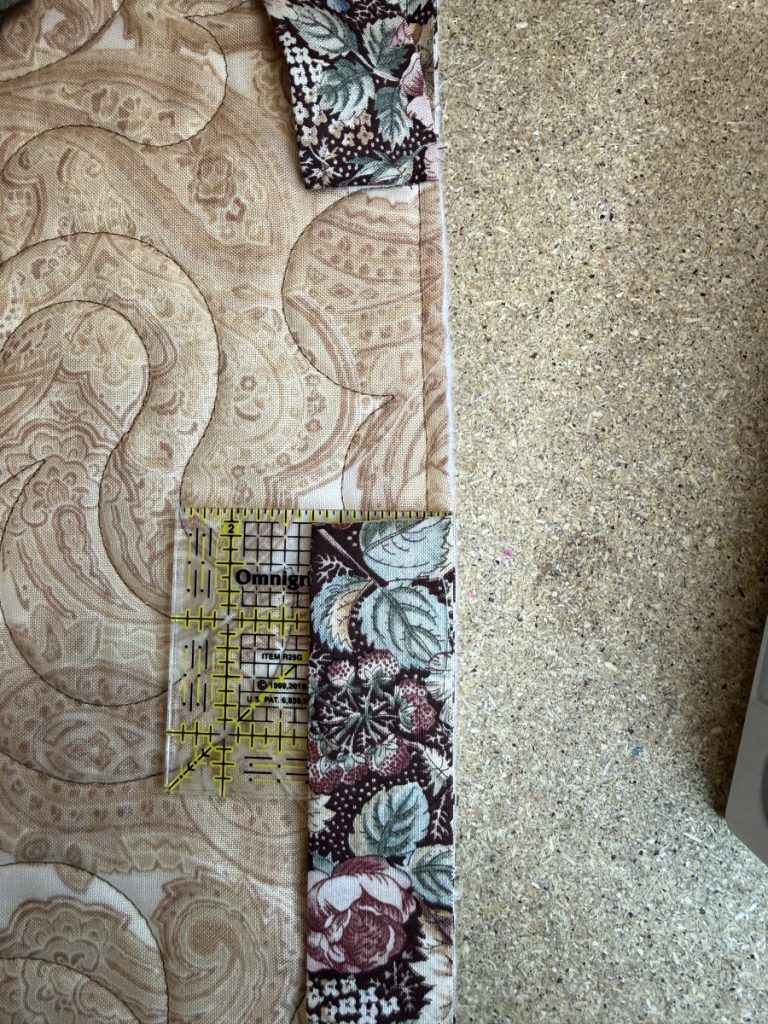
Keeping the ruler in place, I flip the top binding down over the ruler.
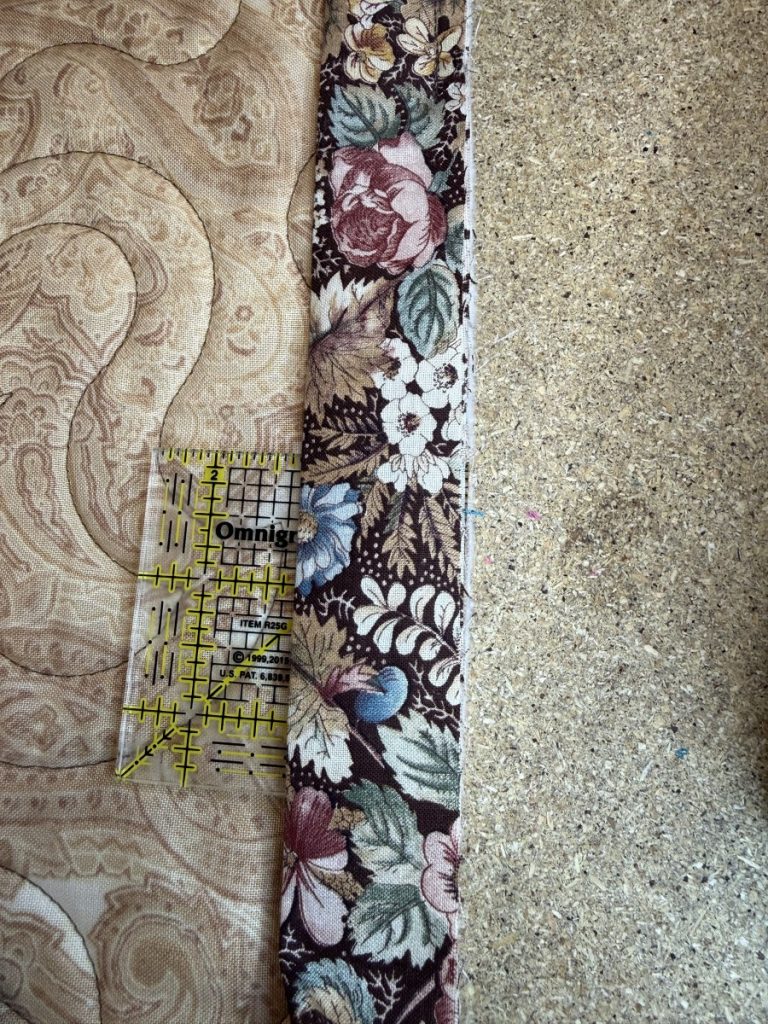
Then I cut the top binding approximately 1/8″ from the BOTTOM of the ruler. The overlap will be approximately 2-1/4″, which just works so that you won’t have too much binding fabric when you go to finish sewing it to the quilt.
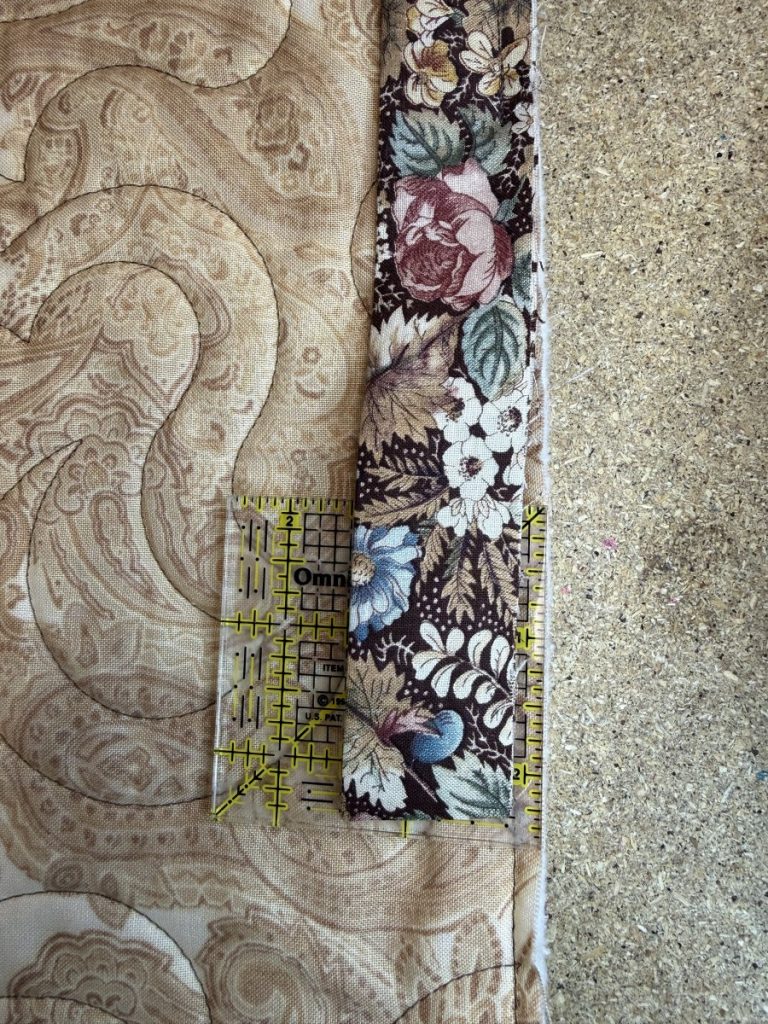
Usually I can eyeball where to cut, but if I need to, I put a little registration mark with either a Frixion pen or a white pencil (depending on the color of fabric).
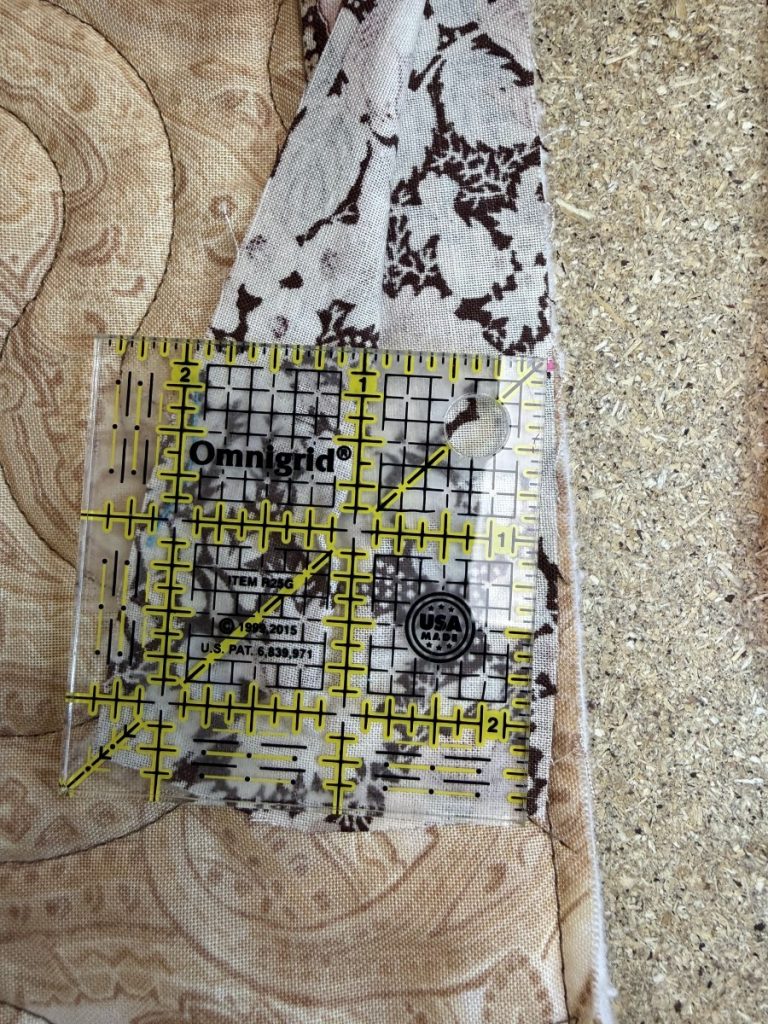
Once that is cut, I open the top binding piece and make another registration mark at 2-1/2″ from the bottom edge of the binding . I do this on the raw edge side of the quilt, on the INSIDE of the binding.
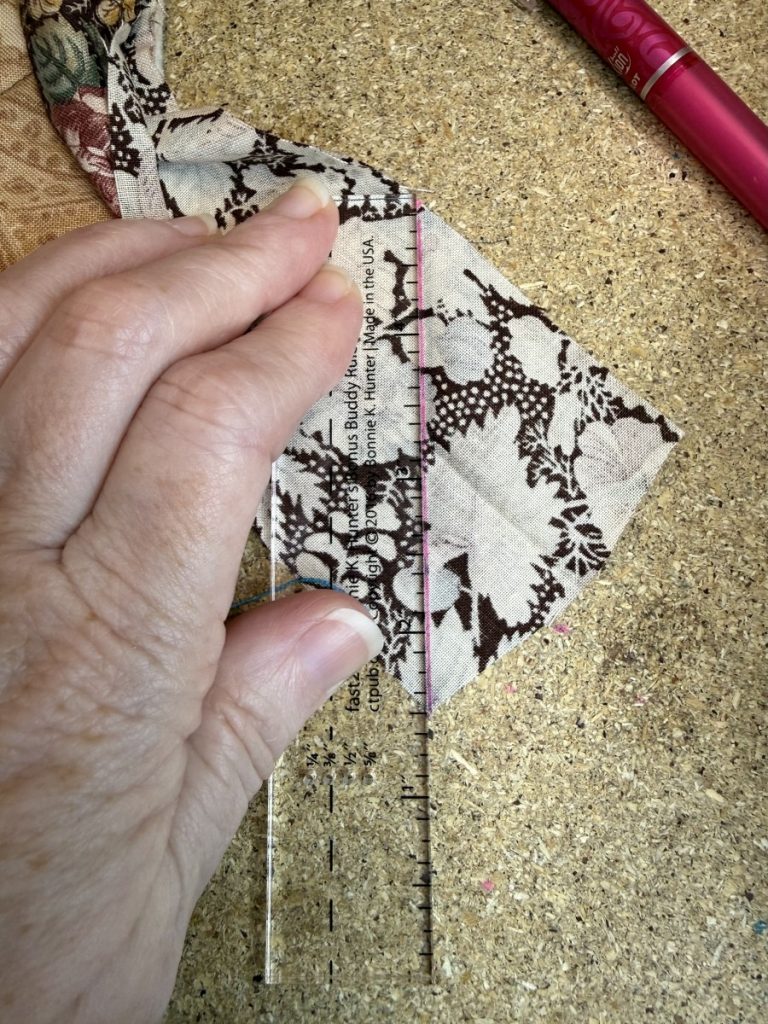
Using a straight edge of a longer ruler (my little square isn’t long enough to work for this part on the diagonal), I mark a line from that registration mark to the opposite corner. This will be my sewing line.
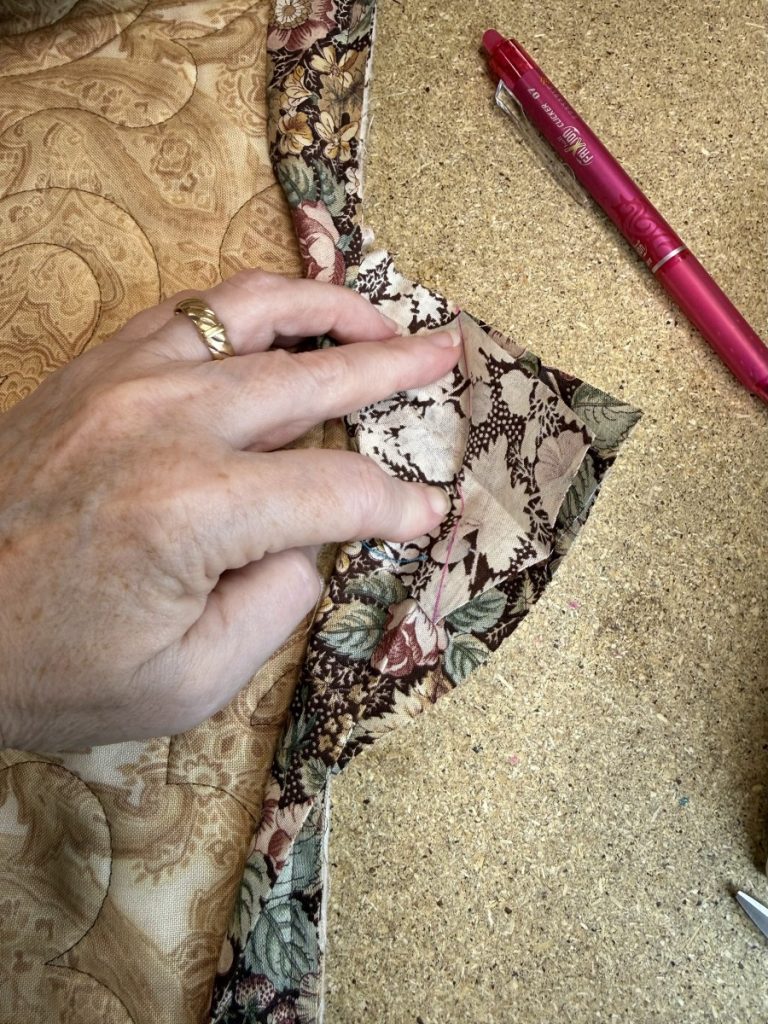
This is the part where I have to pay attention. I have both ends OPEN. The top binding angles to the right with the wrong side facing me (the side where I just marked my sewing line). The bottom binding also angles to the right, but with the RIGHT side facing me.
I match the top of my sewing line (top binding) to the top left of my bottom binding. I usually pin to keep it from shifting.
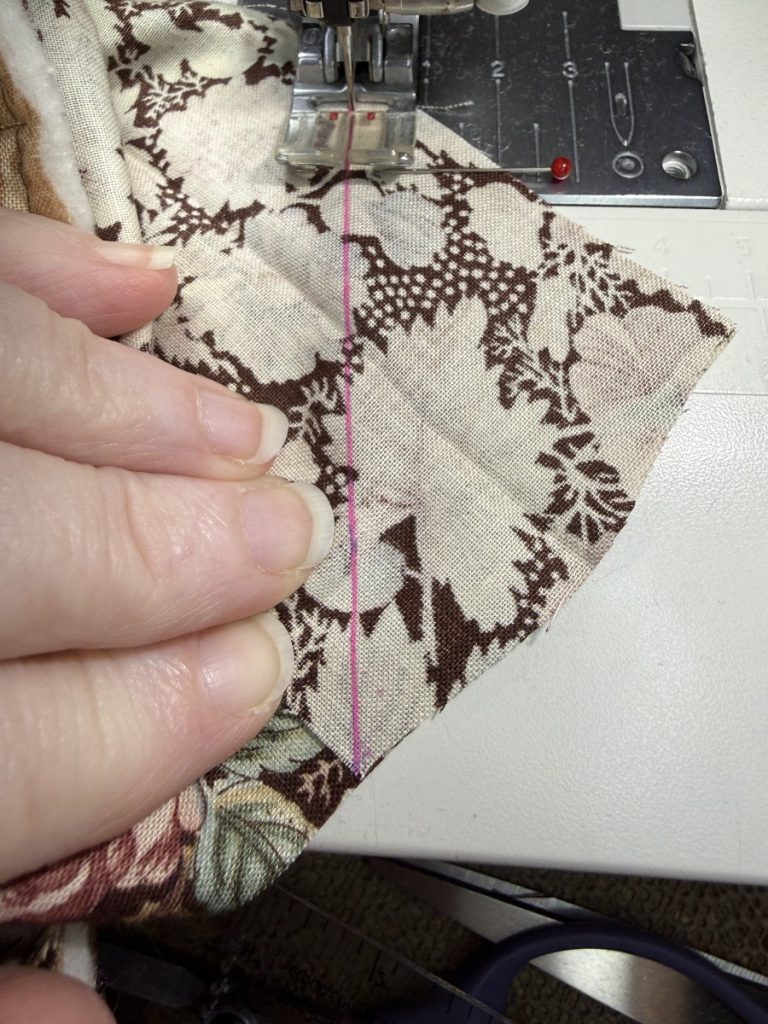
Sew along the line. If the bottom corner of the sewing line shifts, just reposition and continue until you’ve sewn to the edge.
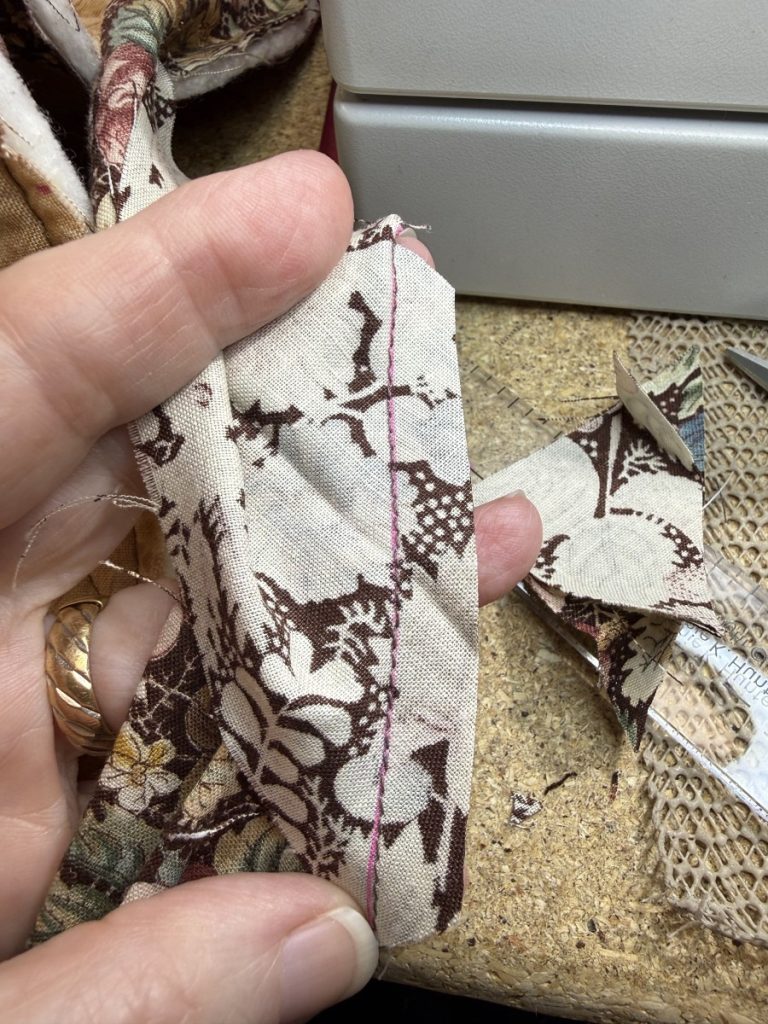
Take it out of the machine and cut a fat-1/4″ or near-3/8″ seam allowance. You can double check to make sure that the binding is sewn correctly by just pulling the two ends to see how it will lay before you cut if you want.
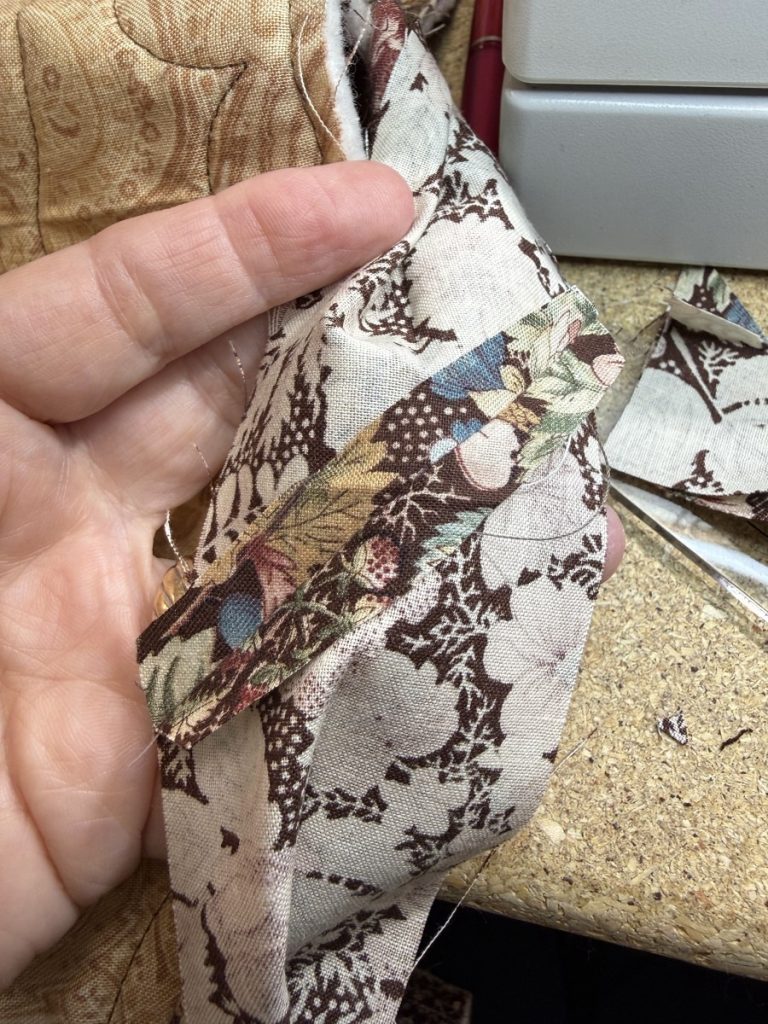
Open the seam allowance and finger-press flat.
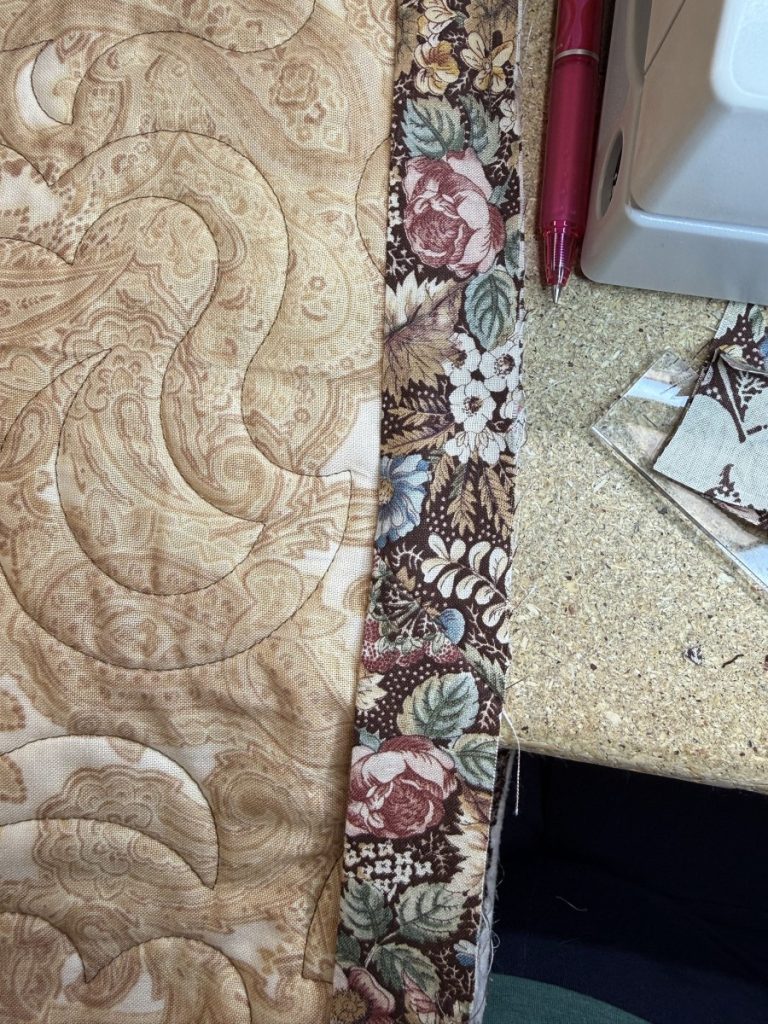
Finger press the fold, and you’re ready to finish attaching the binding to your quilt! And you’ll have a nice binding that you won’t be able to tell where you joined because it looks nearly seamless!
I can’t tell you how many quilts I did with a super lumpy join at the beginning. It’s all a part of learning. I think I originally saw something like this technique from a Simply Quilts episode a long, long time ago. I just refined it with practice, and I hope it helps you too!