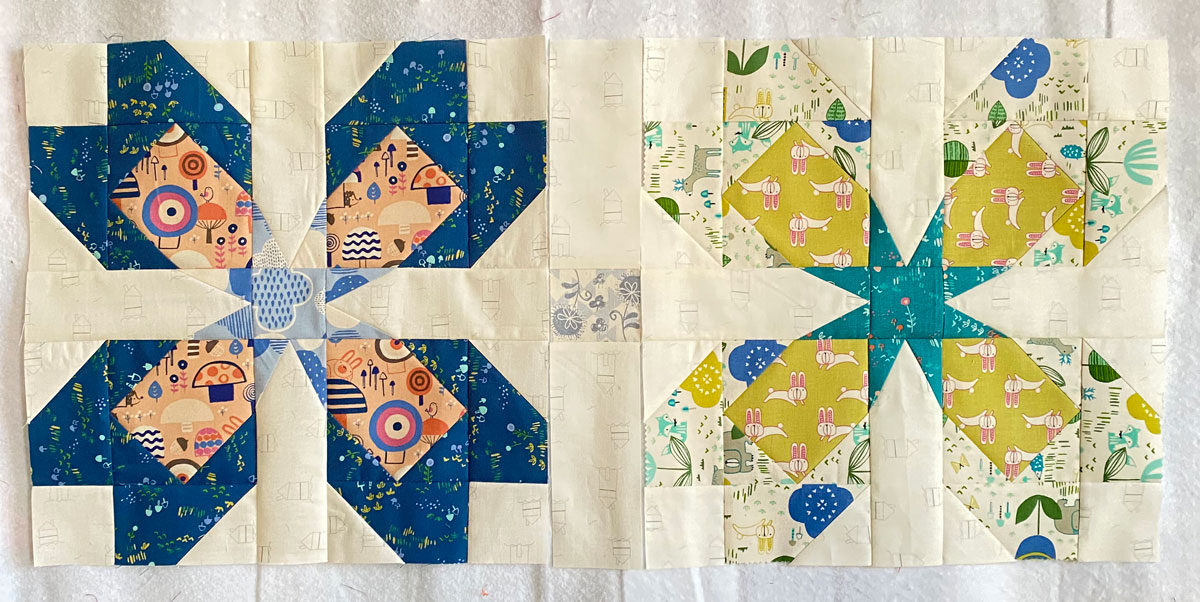
Seems like I’m hacking everything lately (no computers or websites though!). I’ve finished two more (of the twenty required) blocks for my Flutter Re-Imagined quilt. I’ve also pieced one of the sashing strips-these will all be identical throughout the quilt.
I was trying to describe to a friend the little hack I have been doing for the pinked edge of jelly roll strips when I’m snowballing the units for my Flutter quilt. I don’t think I too successful without a visual, so here’s my visual.
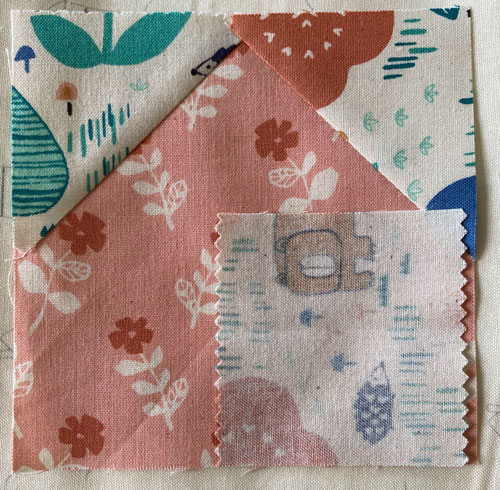
I’ve been trying to keep the gap on the same edge for consistency, and this alignment seems to work the best for me. Yes, that’s a pretty large gap, and if I were sewing a straight seam down that edge, I’d probably be flirting with disaster.
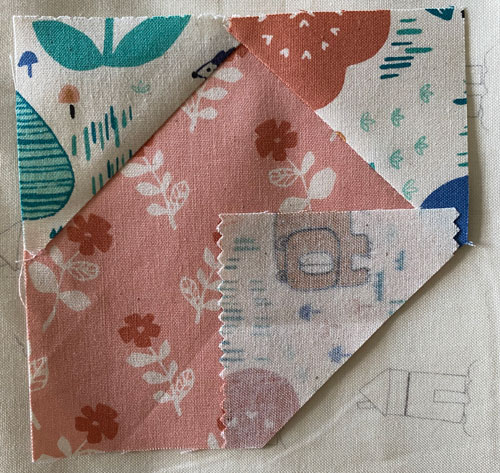
I trim the corner so I can do my quarter inch seam along the diagonal.
It’s not as scary looking now. That’s the beauty of this hack.
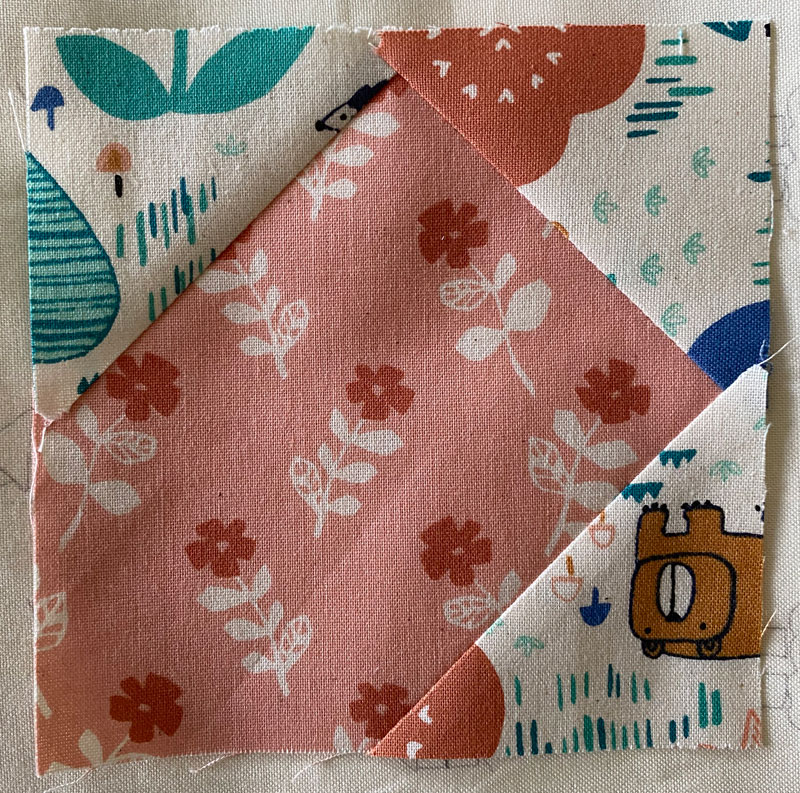
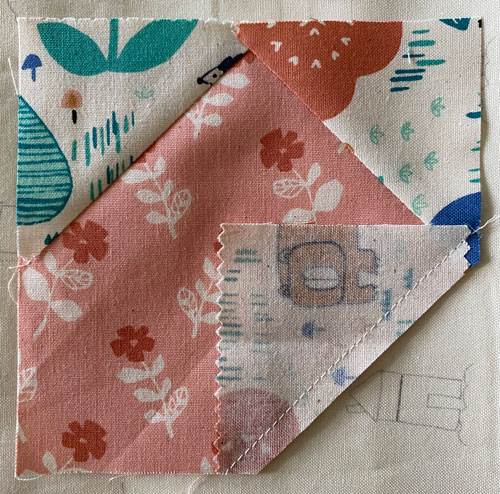
When it’s pressed to the corner, the pinked edges on the other side of the square may just touch the edge or they may extend over the edge just a bit. I trimmed them off, and you can see that gap still exists, but there is enough fabric for that seam not to pull apart when the unit is sewn to other units.
And I’ve been working on creating sets – I still have to cut as I snowball the larger squares of each set, but it’s to the point where I can take it to sit n sew and really work on it.
