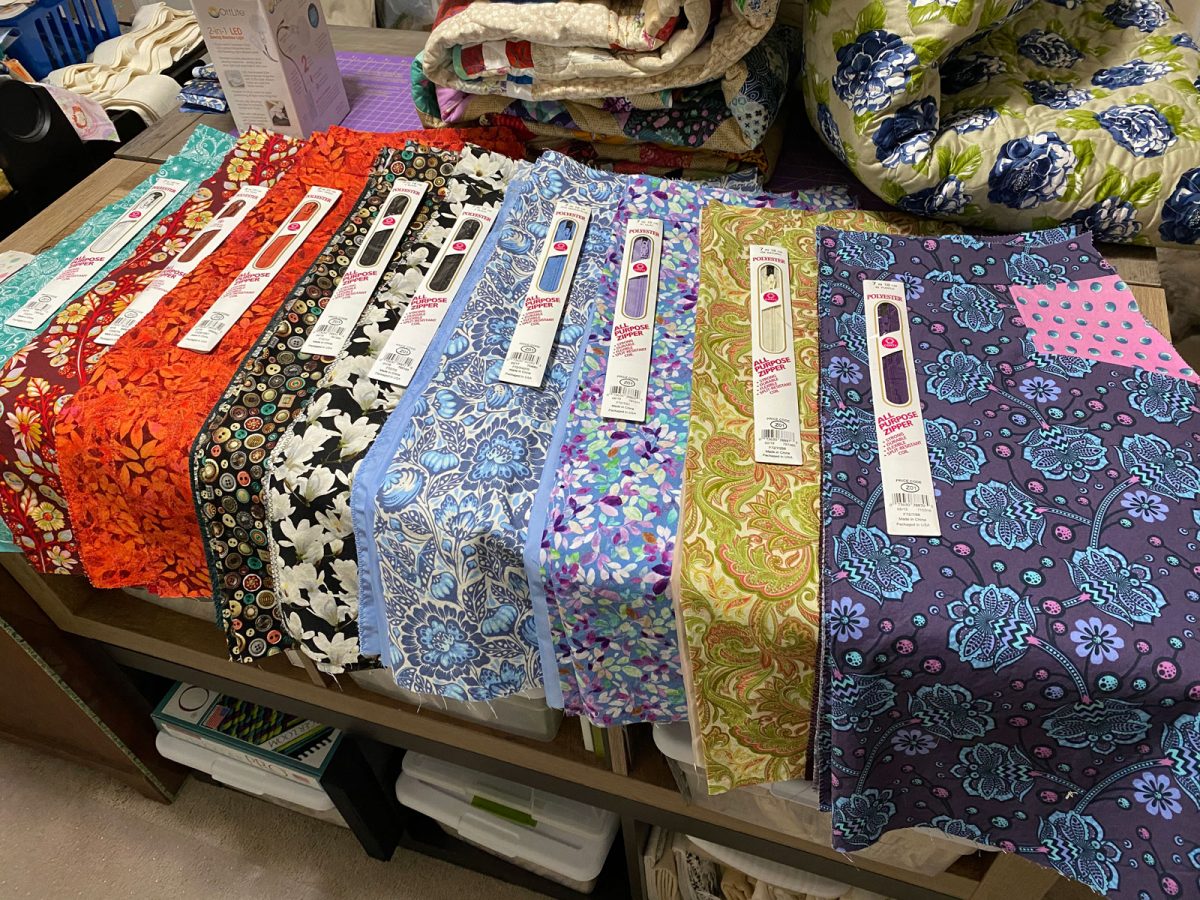
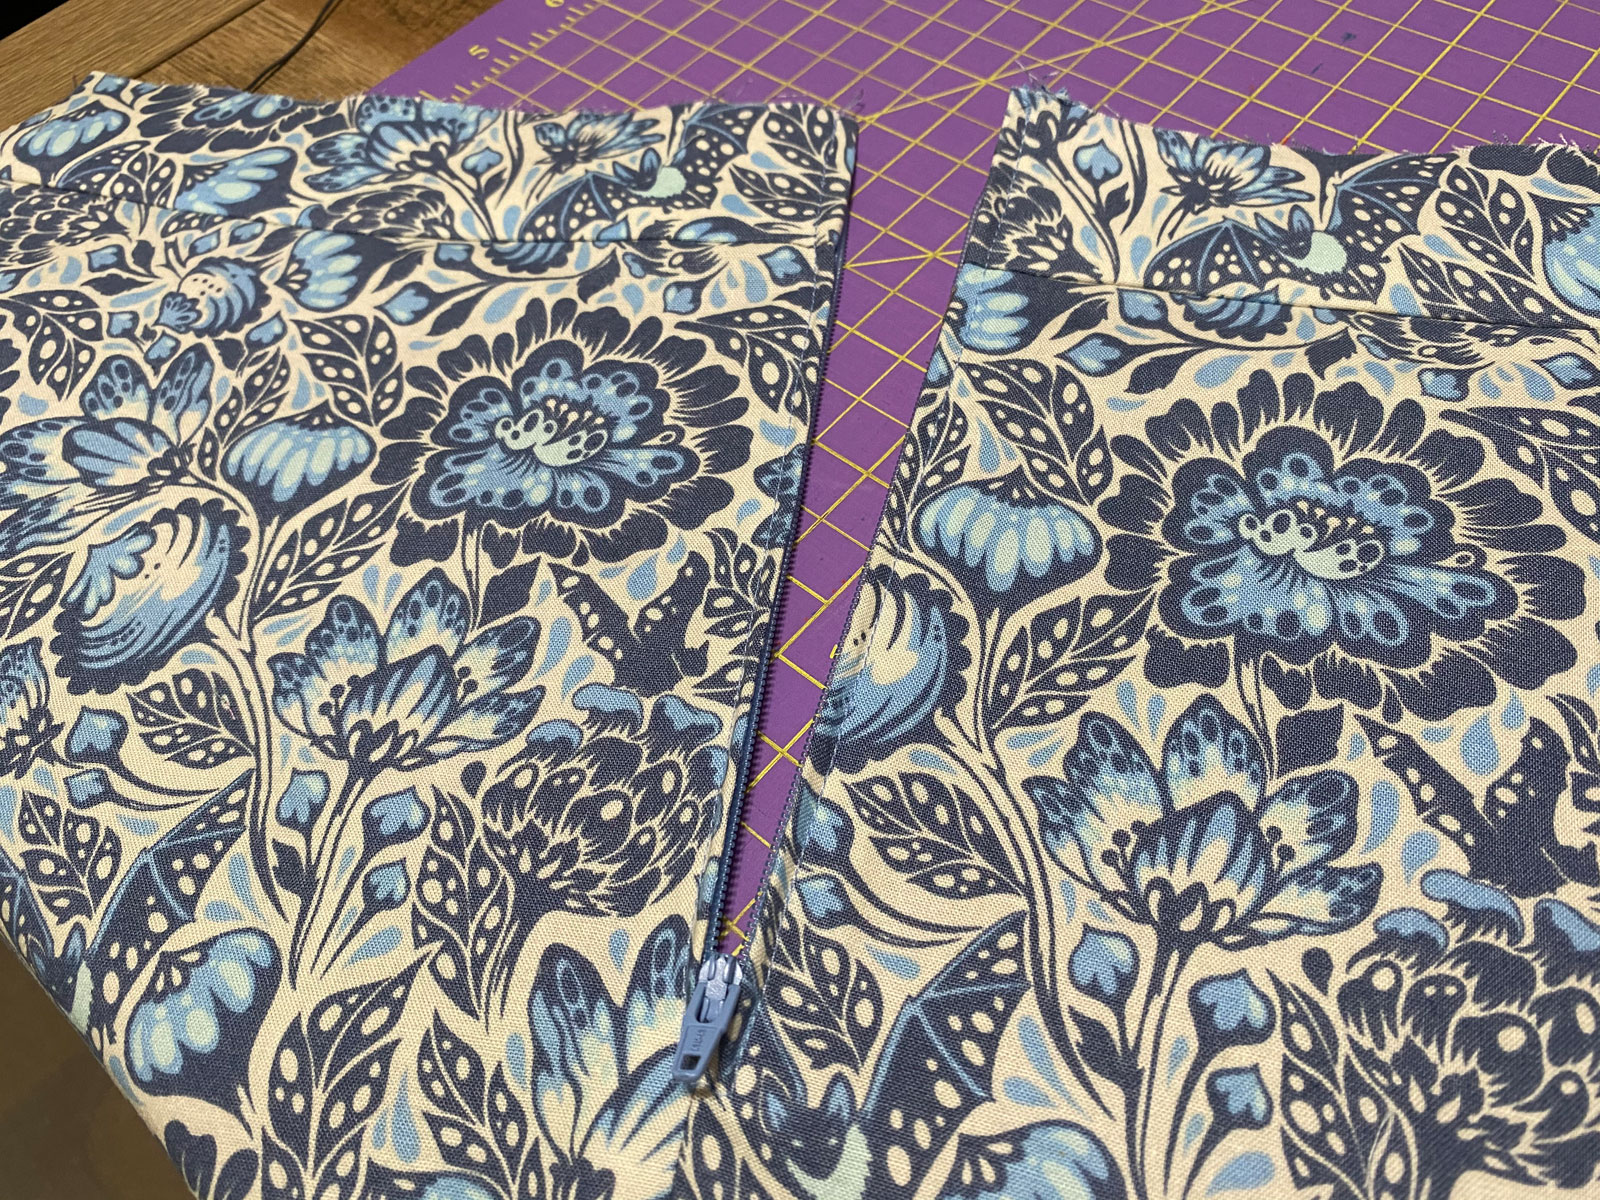
I use regular zippers for my Show Some Flare skirts, but the way they’re installed, they’re virtually “invisible.” I watched several tutorials on YouTube, because the pattern doesn’t tell you how to install a zipper, it just says to do it.
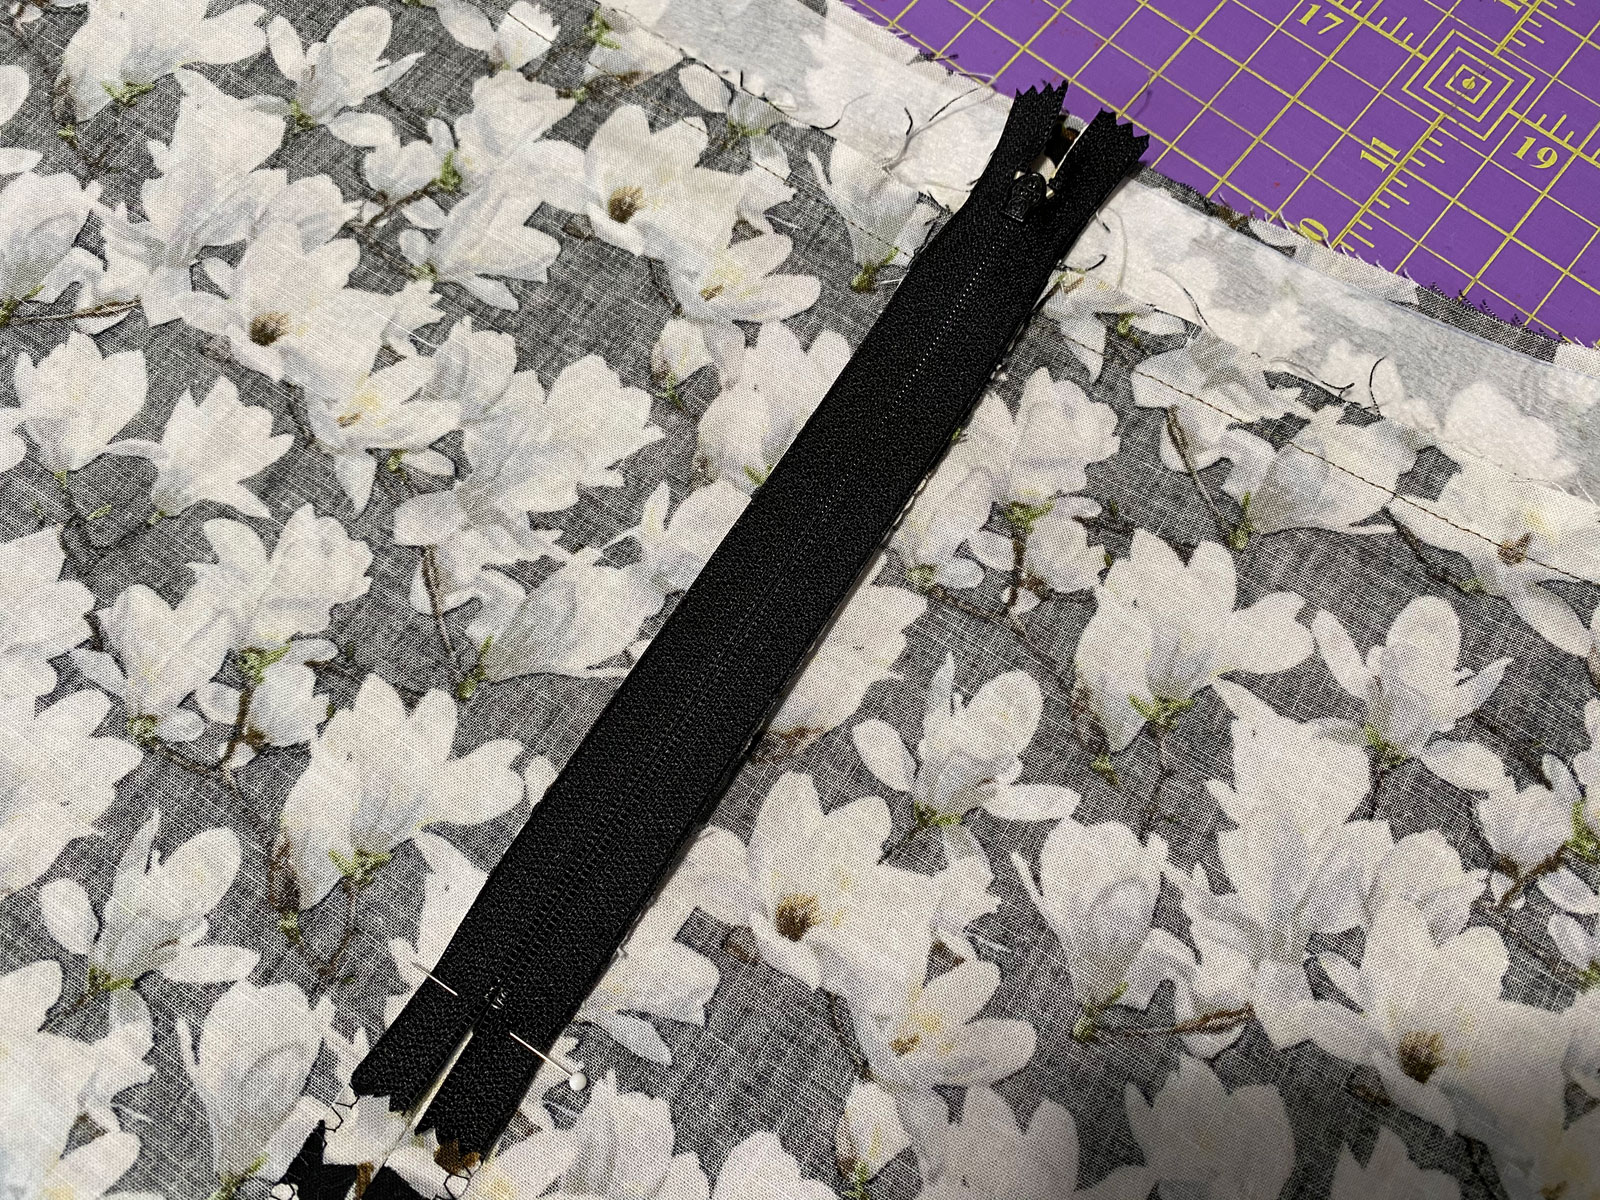
I marked the location of the zipper stop on each of my skirt backs as I was preparing to seam them, backstitched at that point, then switched to the longest stitch I could use just to baste it closed. That helps ensure a couple of things – that it stays closed as I’m installing the zipper, so I get the most invisible opening I can get, and that it is as stabilized as it can be while I’m sewing the zipper to the skirt and seam.
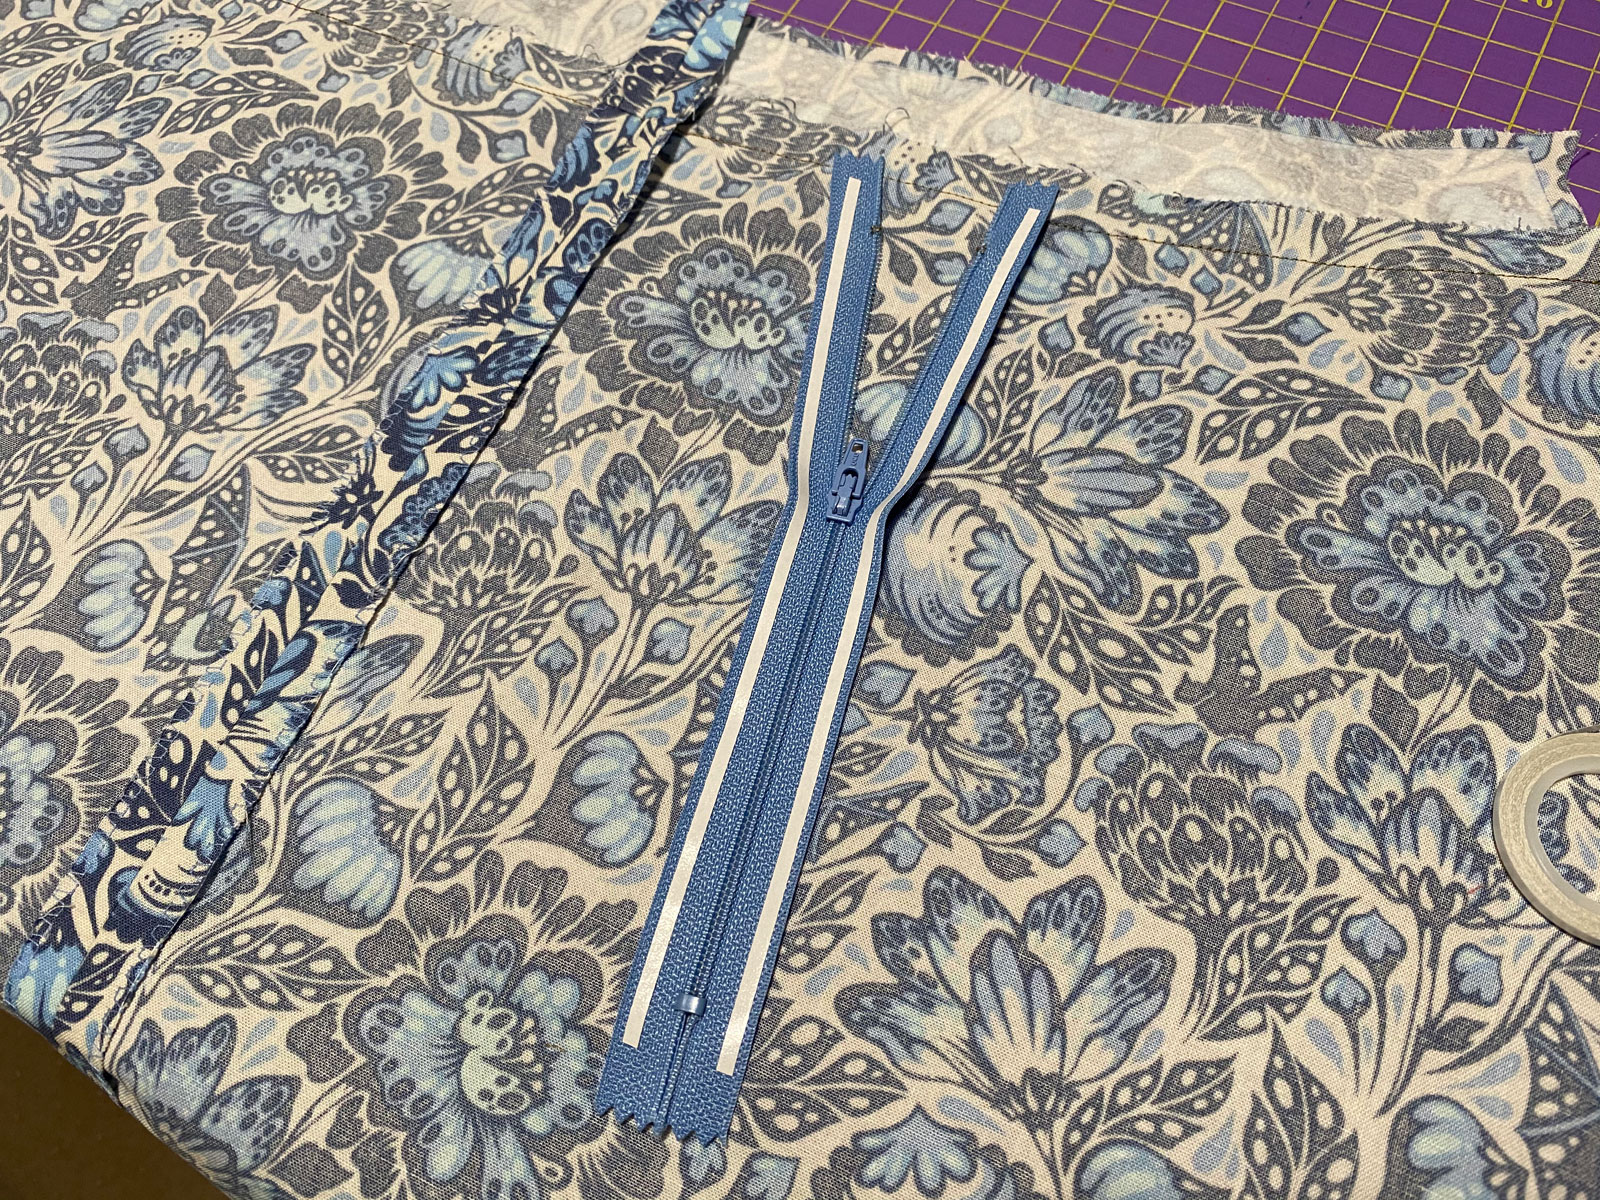
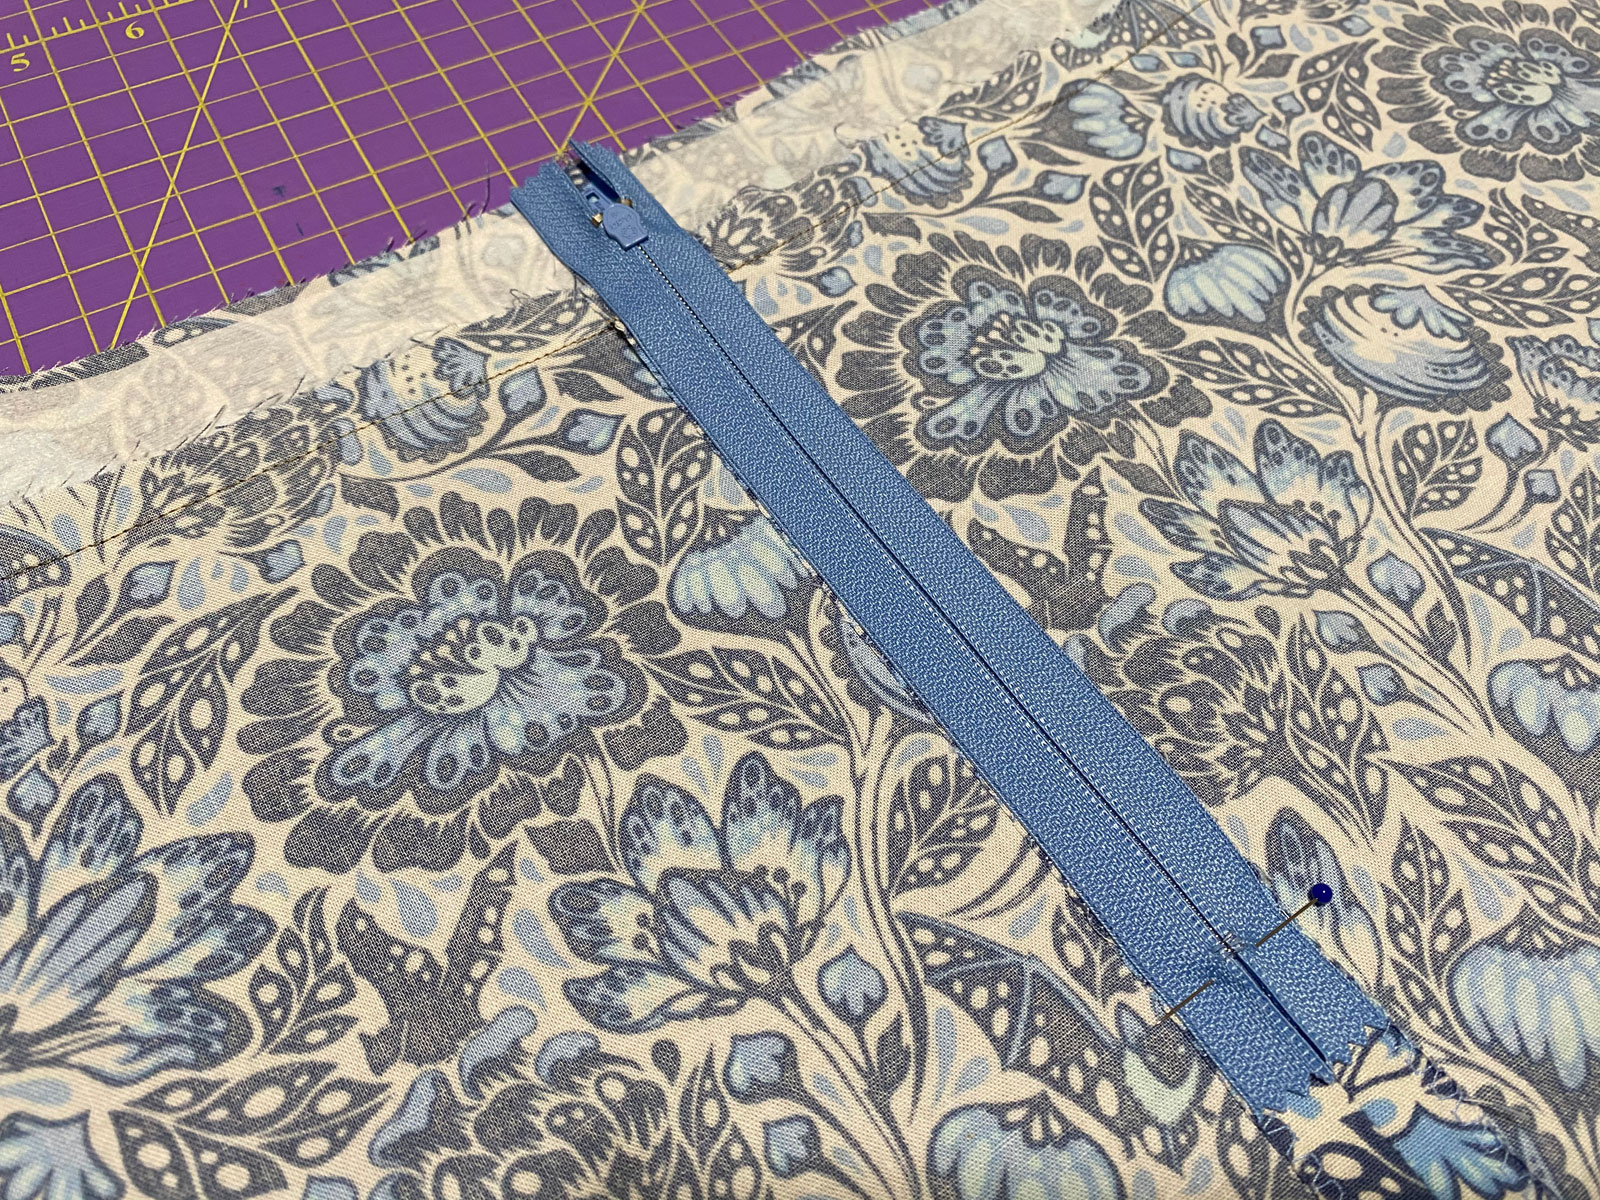
I used basting tape to temporarily hold the zipper in place. It’s applied to the zipper front, close to the edges. That helps stabilize and keeps me from having to thread baste or pin baste the zipper in place so I can stitch it down.
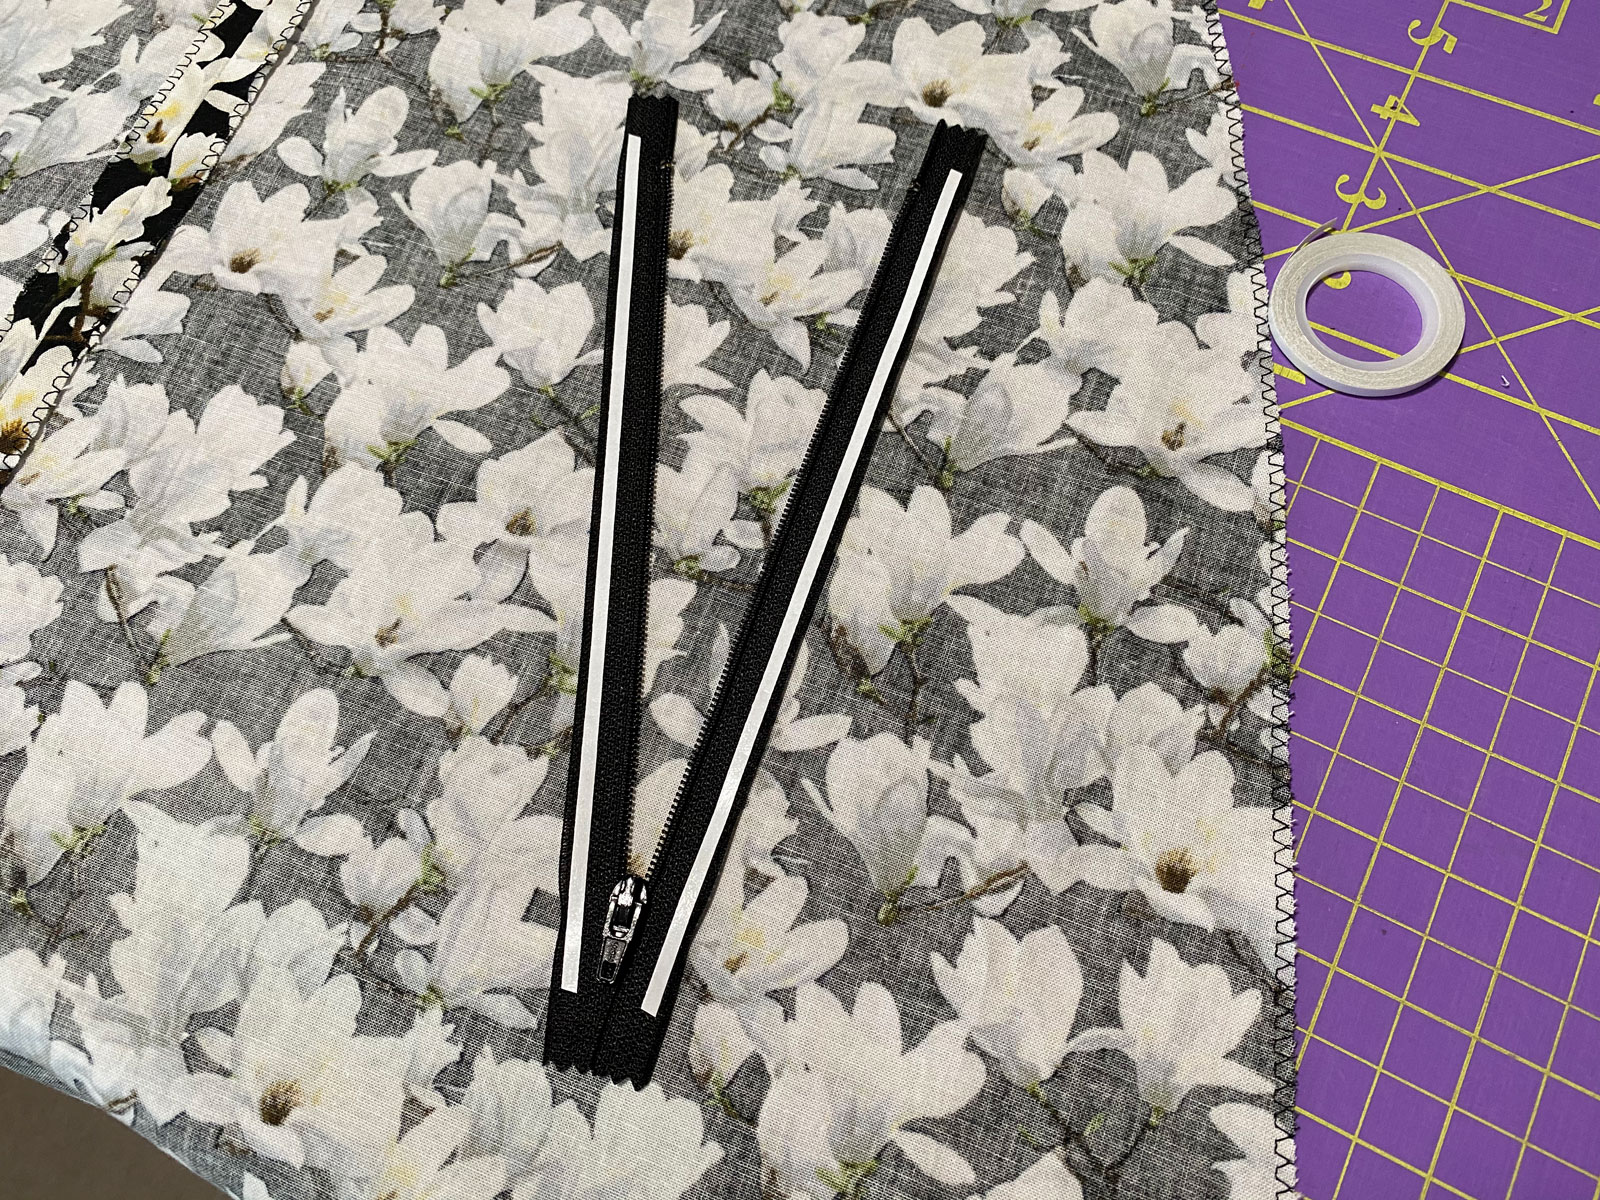
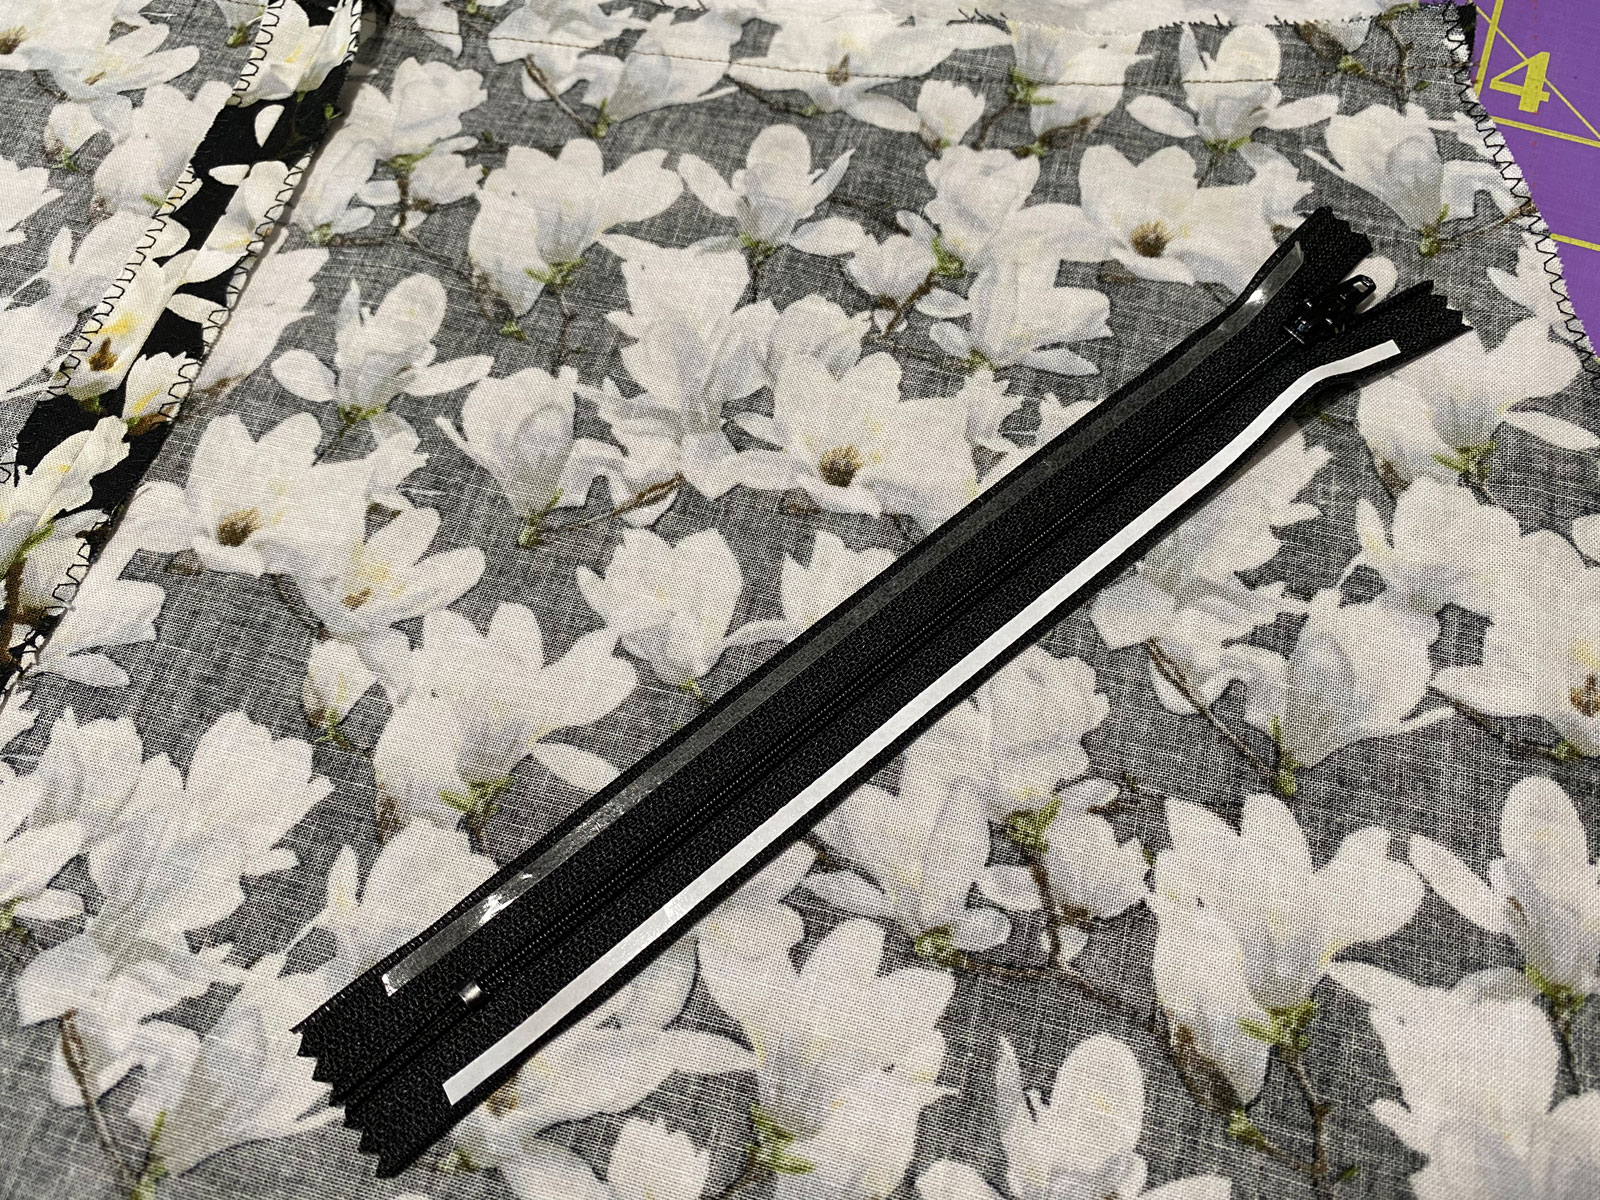
The only pinning I do is right at the zipper stop, so I’ll know where to pivot when sewing.
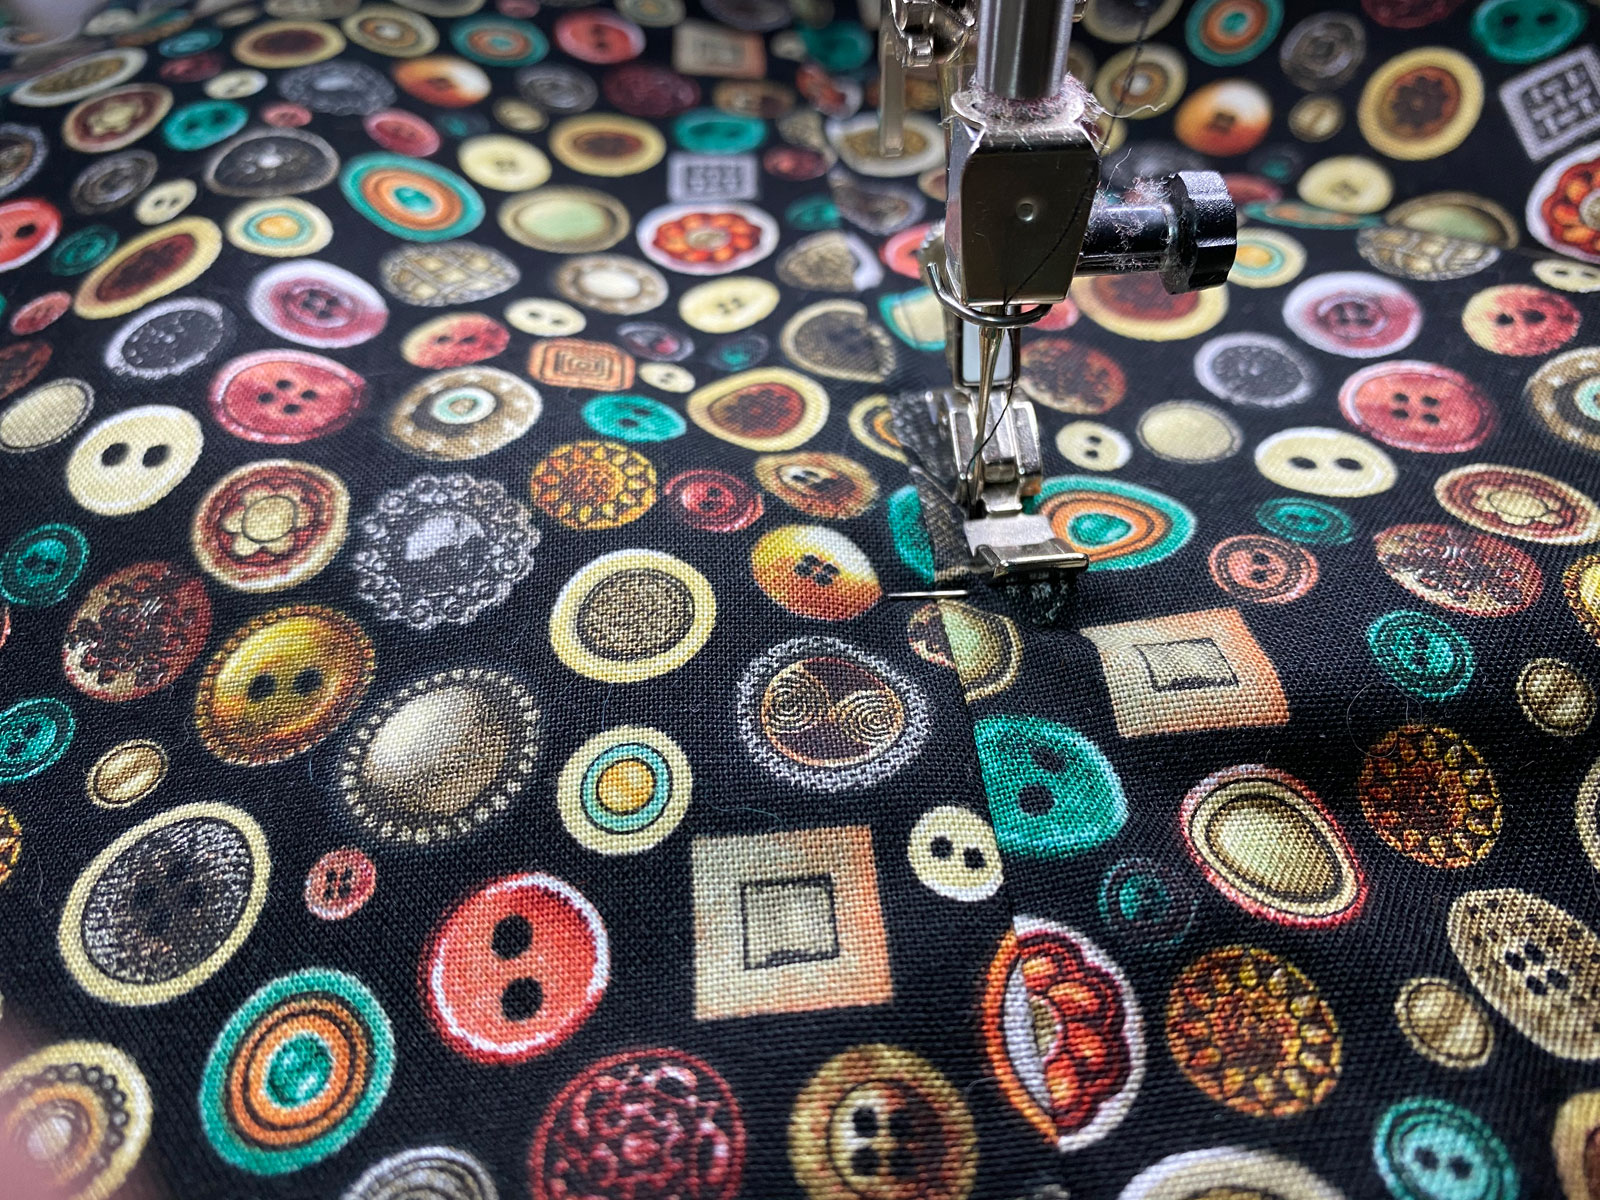
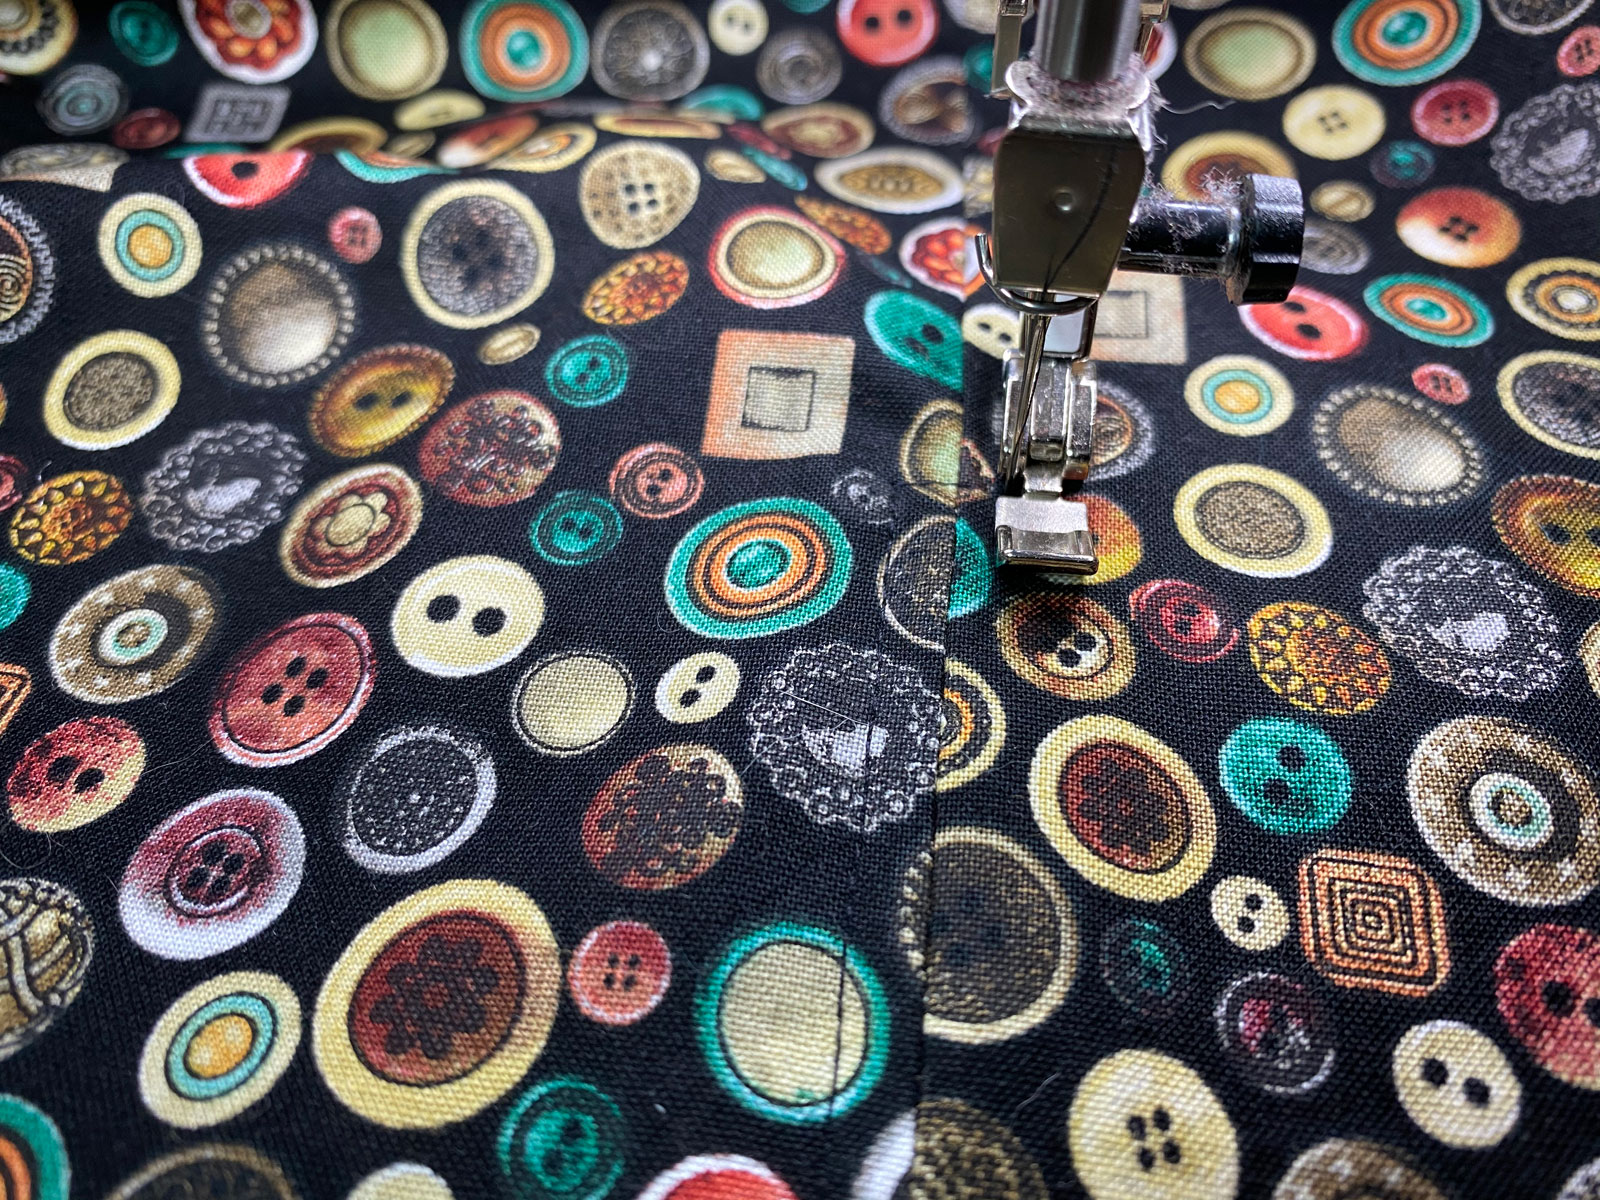
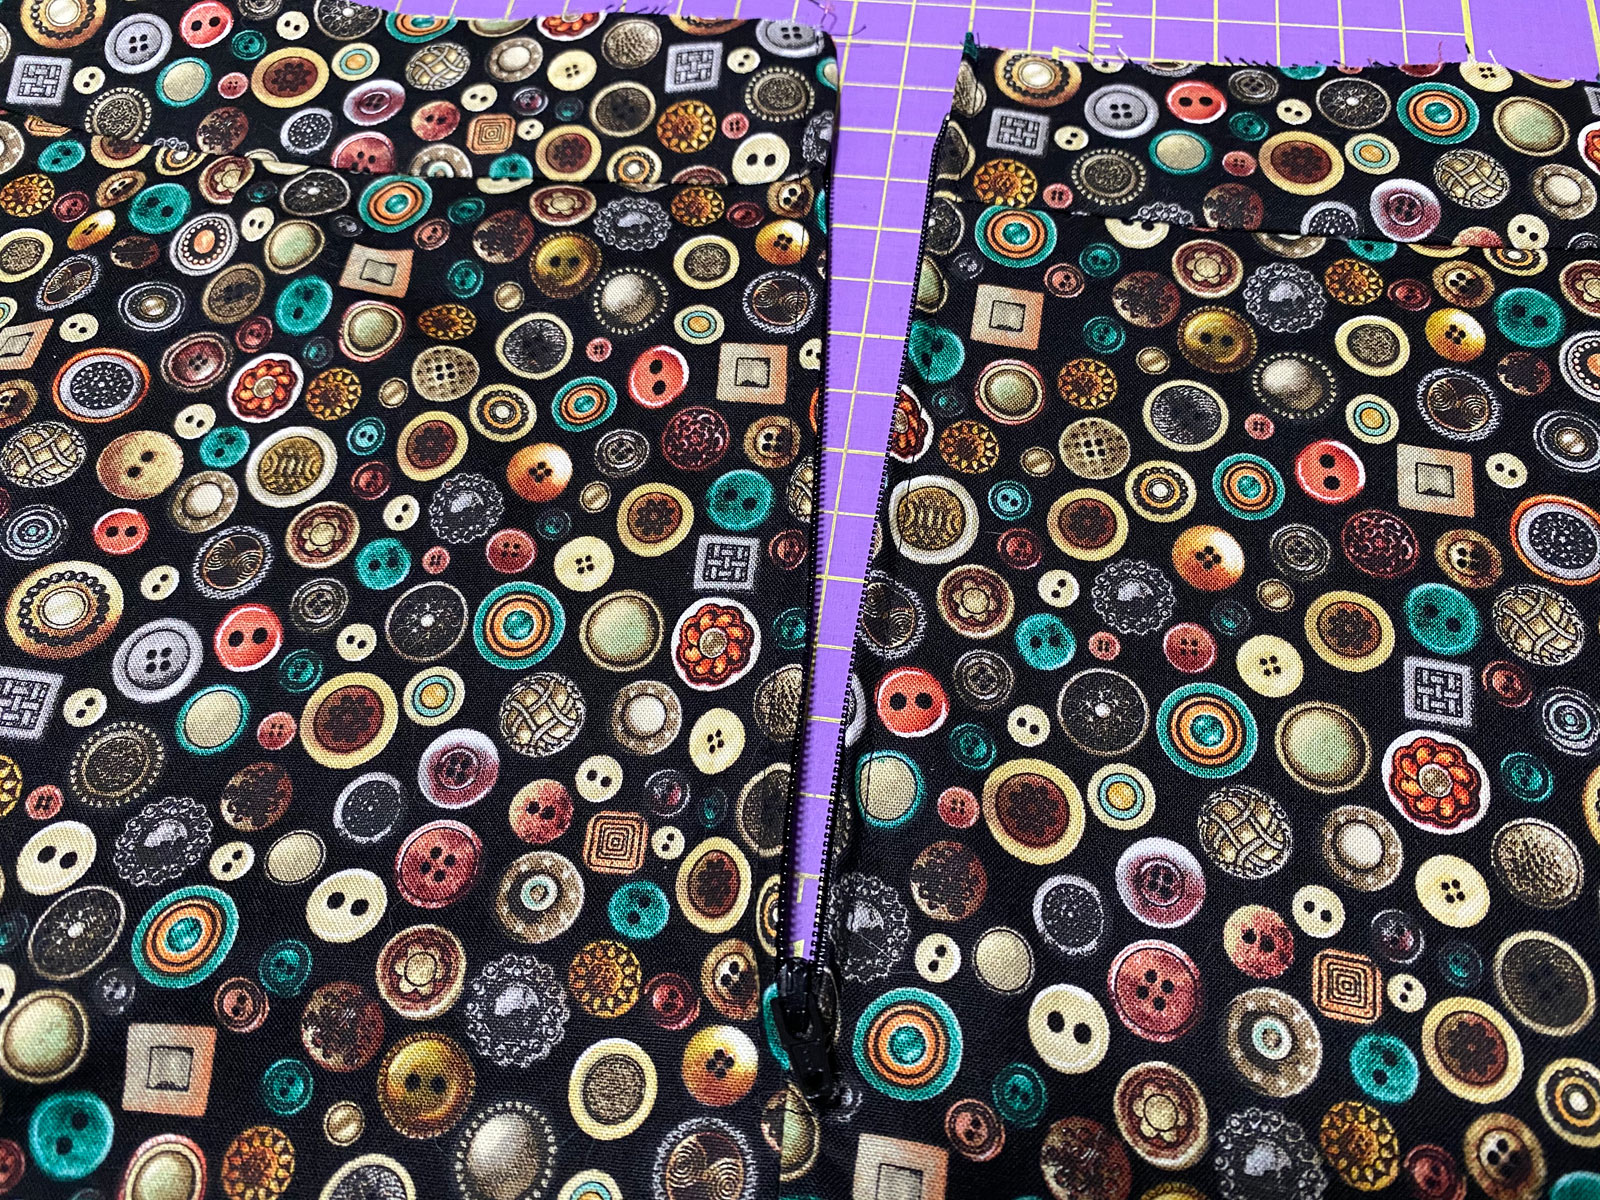
Once I have it ready, I take it to the machine and sew it from the right side of the skirt, carefully (using my zipper foot, moving the needle all the way to the left). When I get to the pin, I slow down, take out the pin (from the wrong side), feel carefully for the zipper stop, and sew a stitch or two beyond it. Then pivot, sew a few stitches on the other side of the seam (trying to match the width of the seam I’ve just sewn), pivot again, and sew up the other side.
The zipper is installed, and all I need to do at this point is remove the basting thread from the seam so I can open it up and test it.
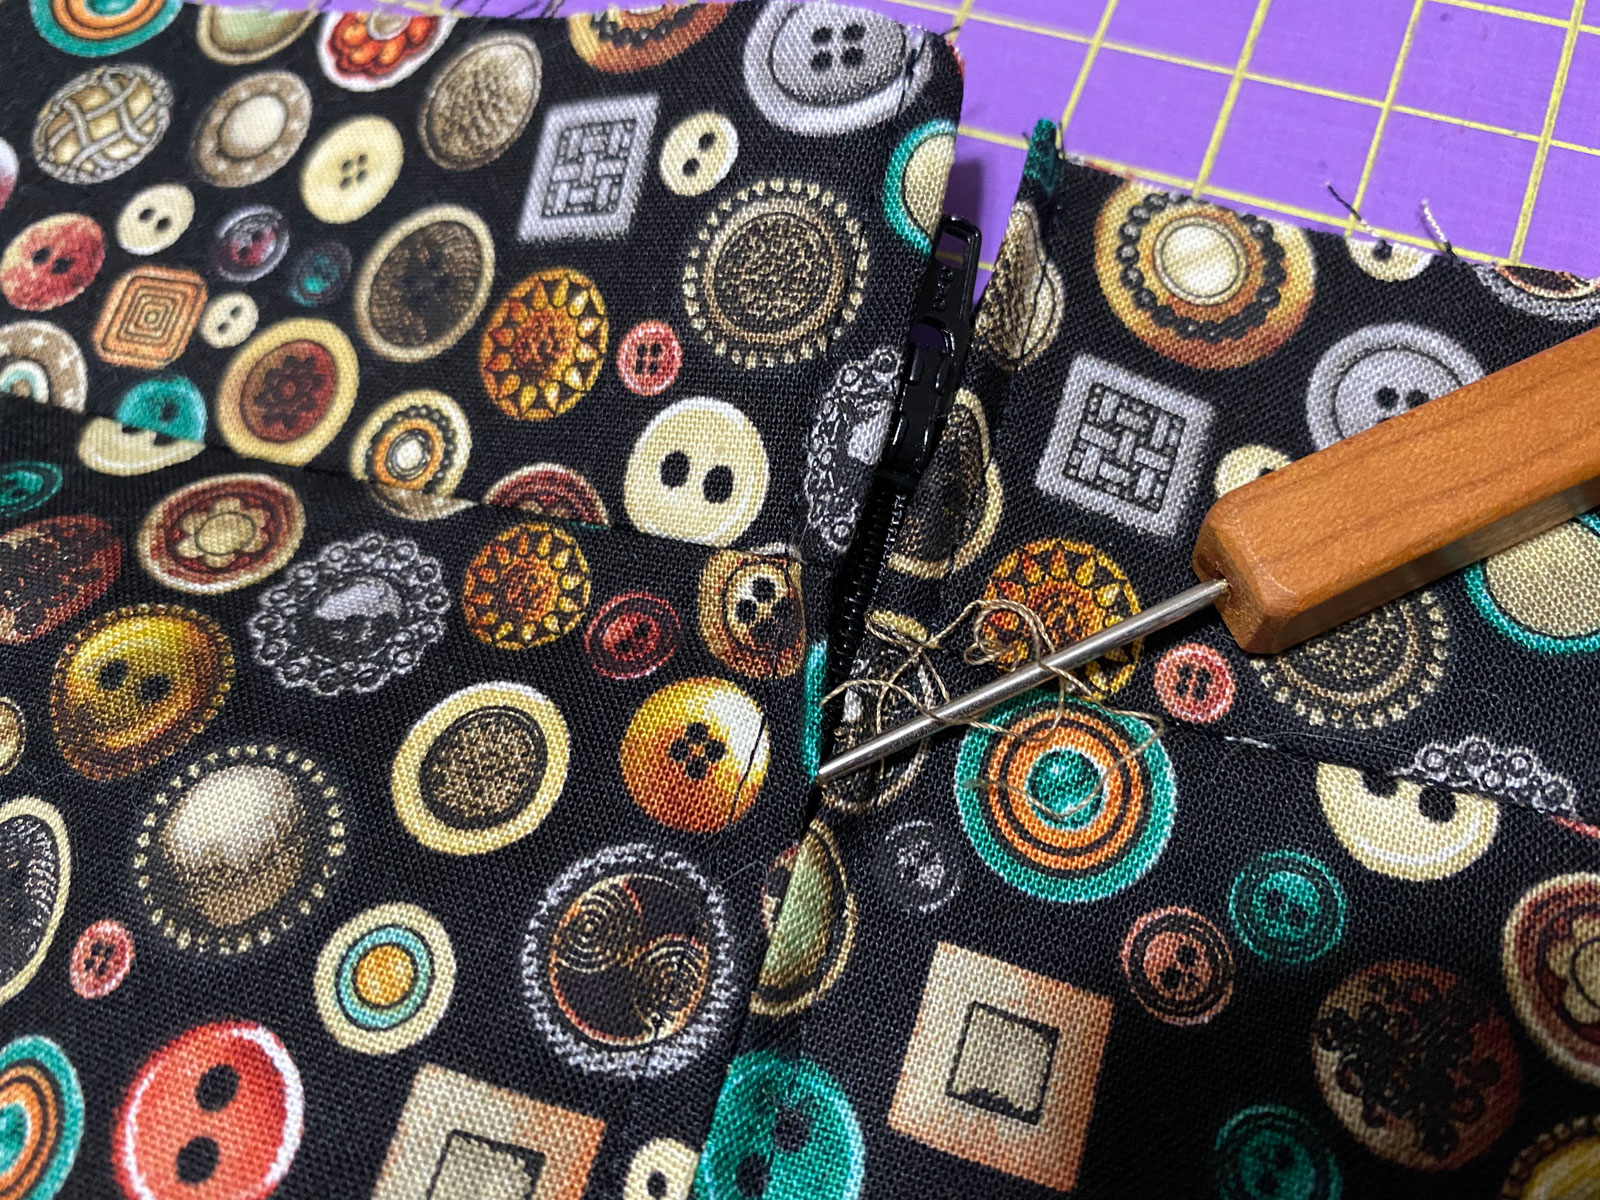
I like to use my awl and carefully pick out the thread rather than a seam ripper. It’s just cleaner for me, even if it takes a bit more time.
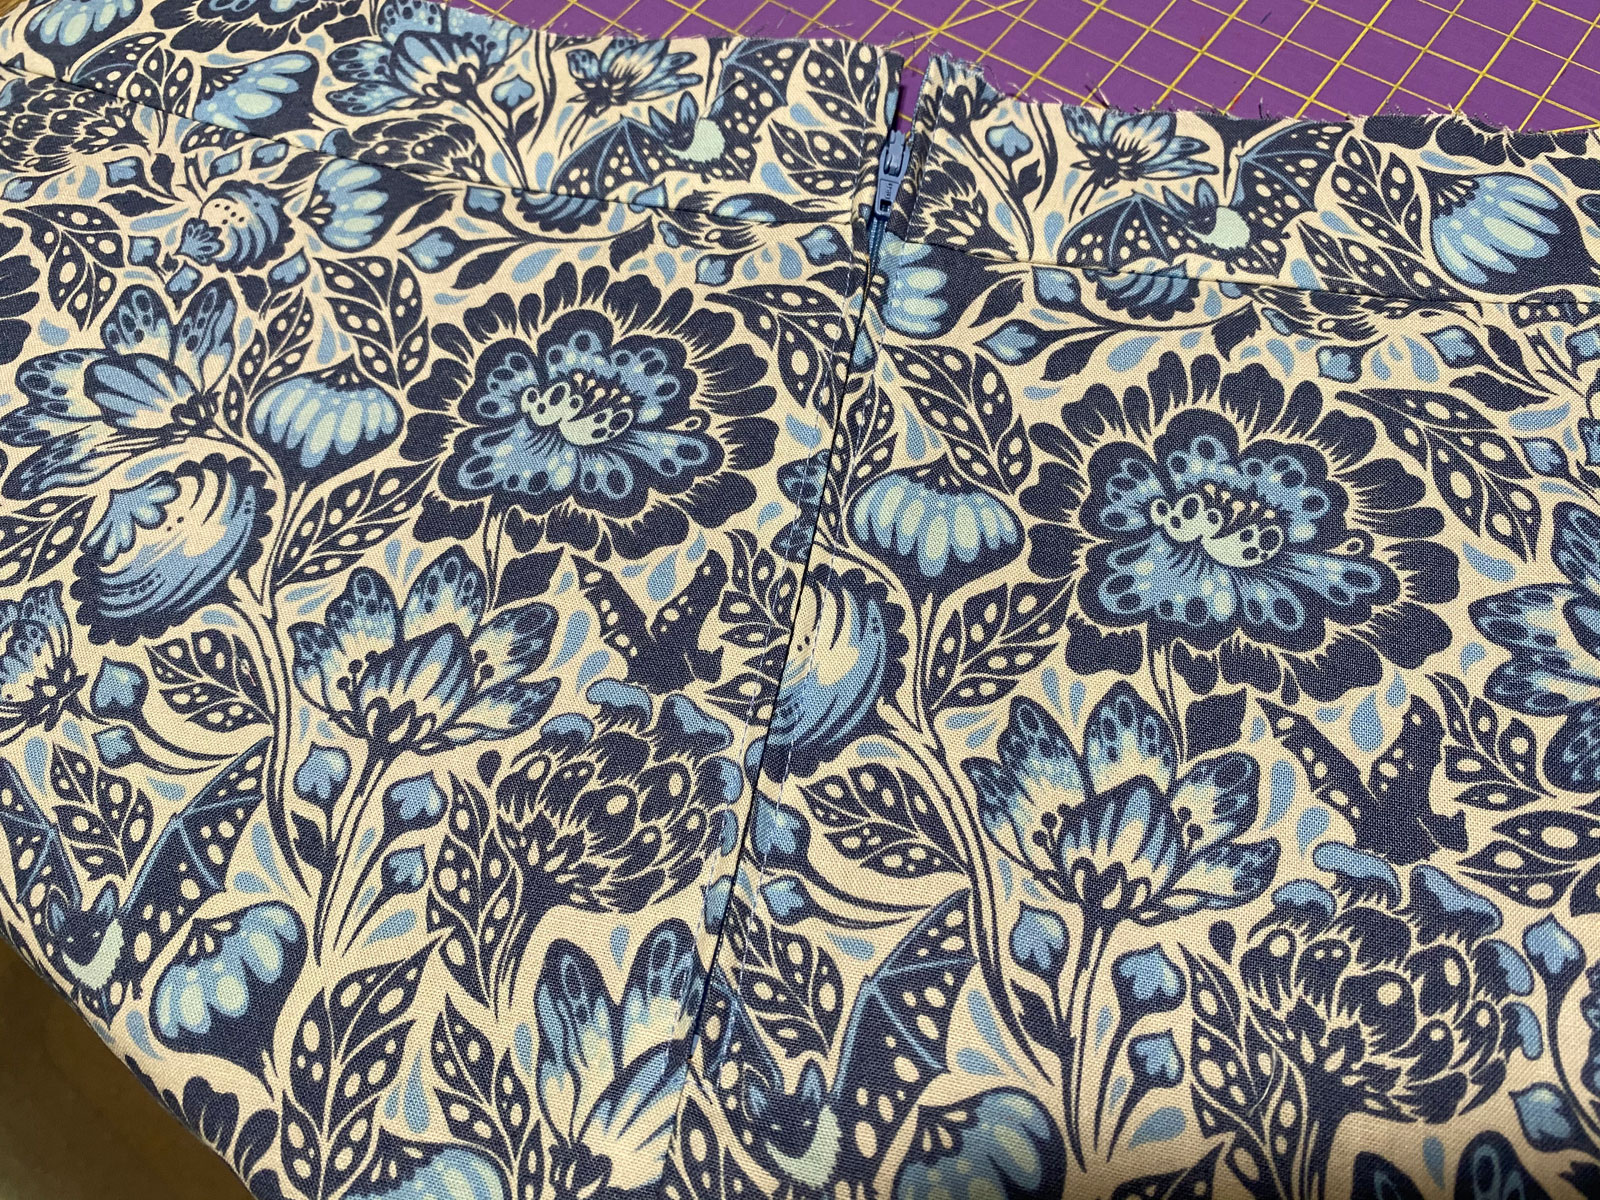
And once those are all installed, the next step is to sew all of the side seams of the skirt fronts and backs (and also the lining fronts and backs). We’re getting closer!