I spent much of this weekend making pockets. The way these are constructed are the most ingenious method I’ve ever seen. There is a video tutorial of the whole skirt making process, and it’s worth watching just to see how the pockets are created in this skirt.

The first thing you do is add a pocket lining piece that matches the corners of the skirt front. You mark and sew a seam where indicated, then trim out a piece of the lining and skirt front.
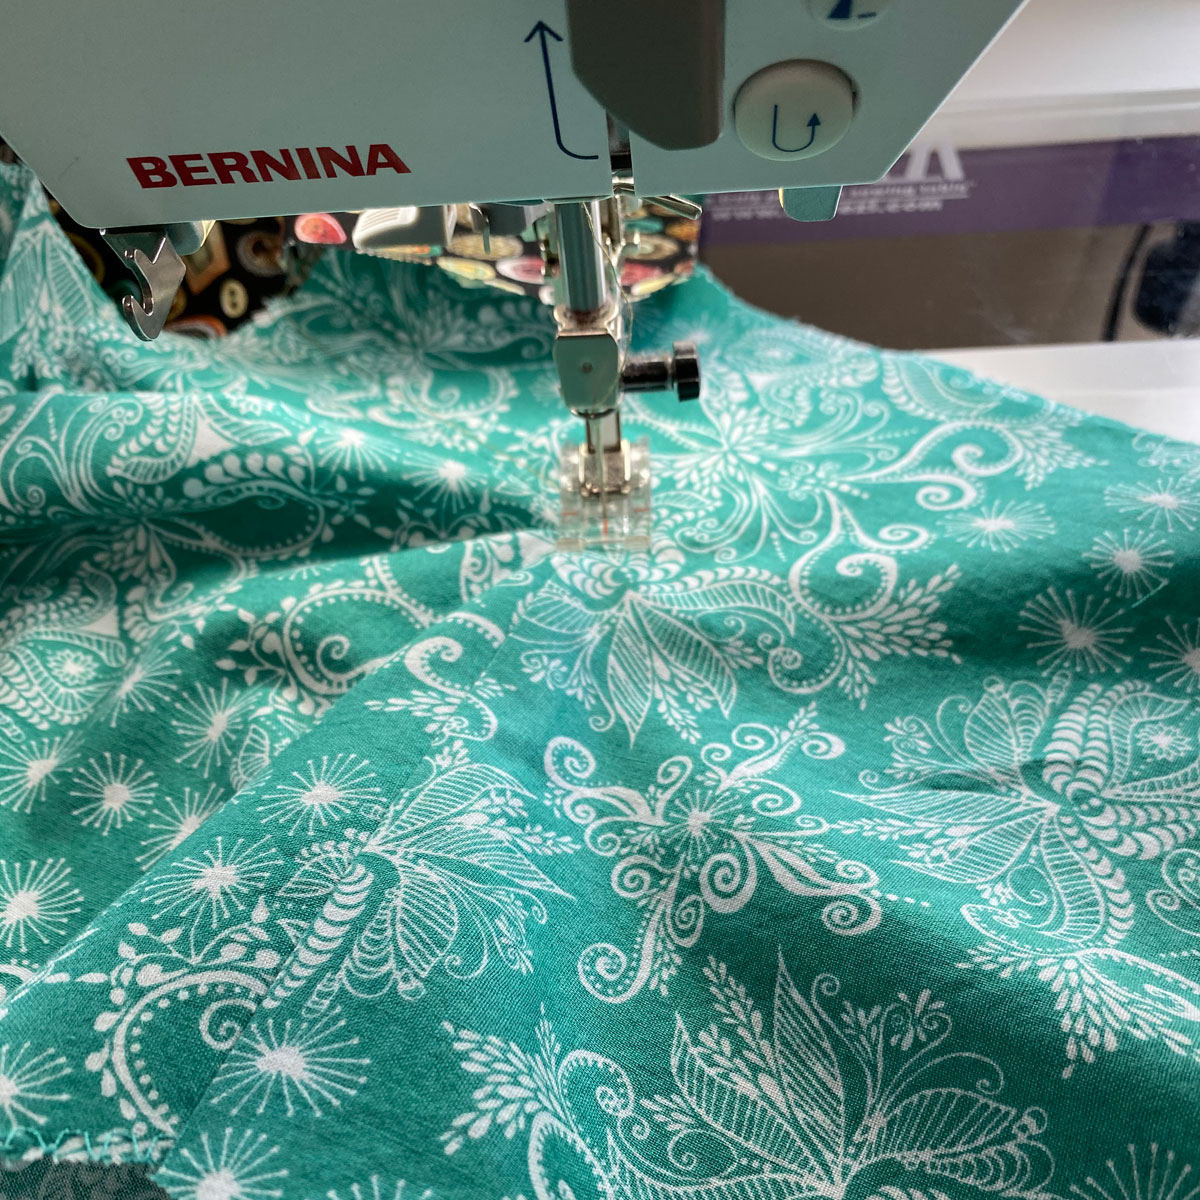
Then you press and understitch the pocket lining to the seam. This helps keep the pocket lining stay where it is inside and not turn back outside. I had to watch a video on understitching again to make sure I understood it, but it makes a lot of sense once you get used to the idea.
Then you turn the lining so the seams are wrong sides together with the front, and press. The next step is optional – you can leave it as is, which looks nice and crisp, or you can topstitch. The understitching accomplishes the function of keeping the lining inside, but topstitching adds a finishing touch – decorative, but also an extra security step for taming that lining, just in case. Of course, I topstitched.
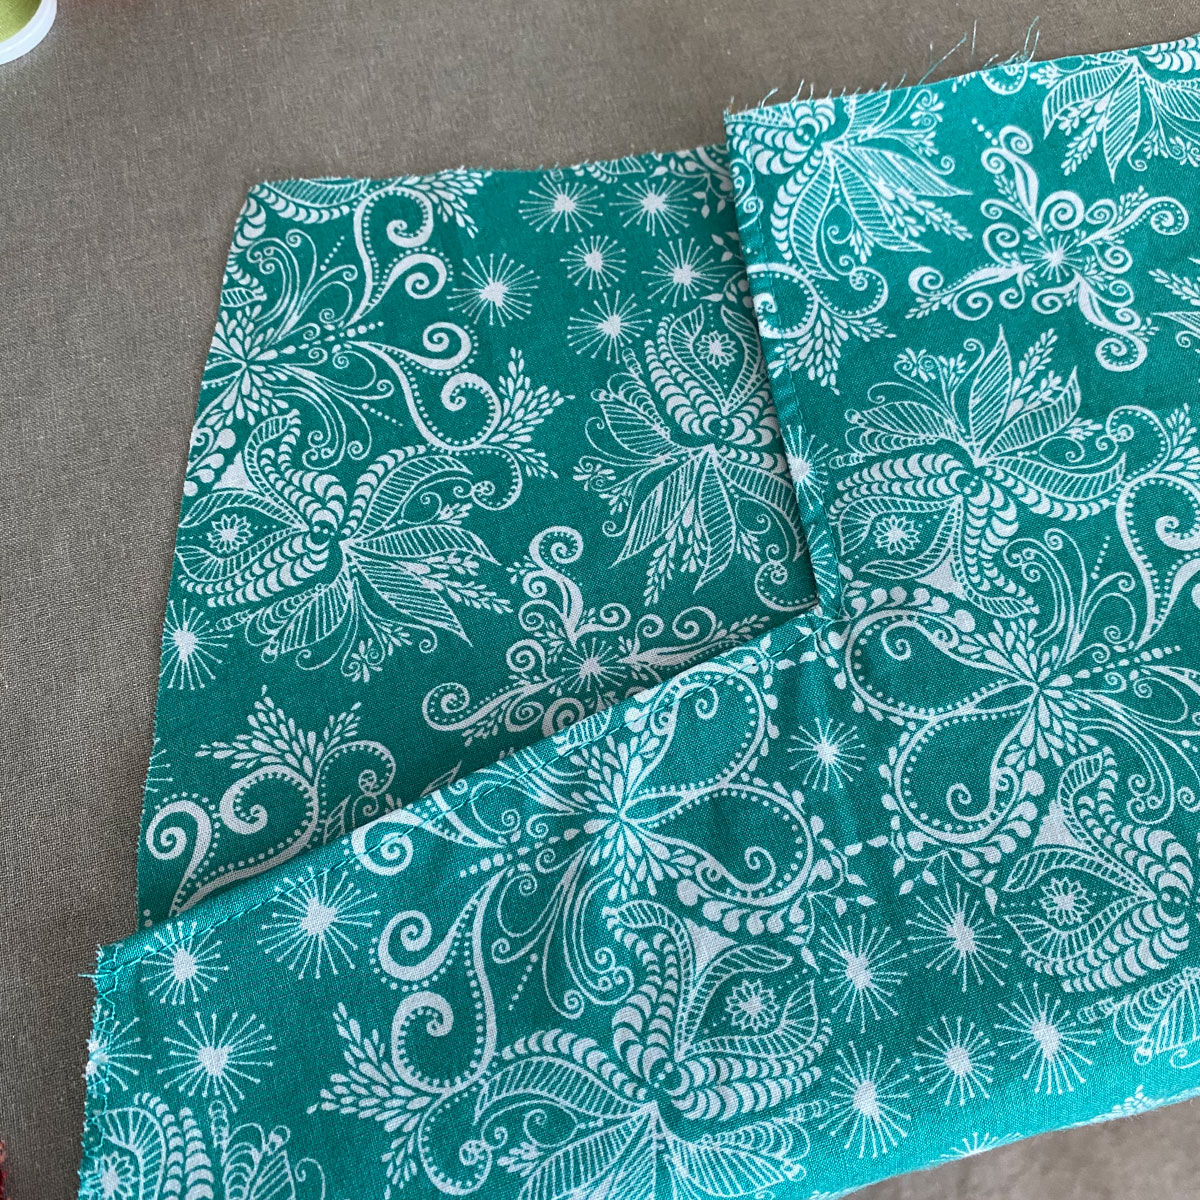
Then you add the final pocket piece, which is cut from the same pattern piece as the pocket lining. You line it up with the skirt edges and the edges of the pocket lining and seam it together. Then edge stitch around the interior.
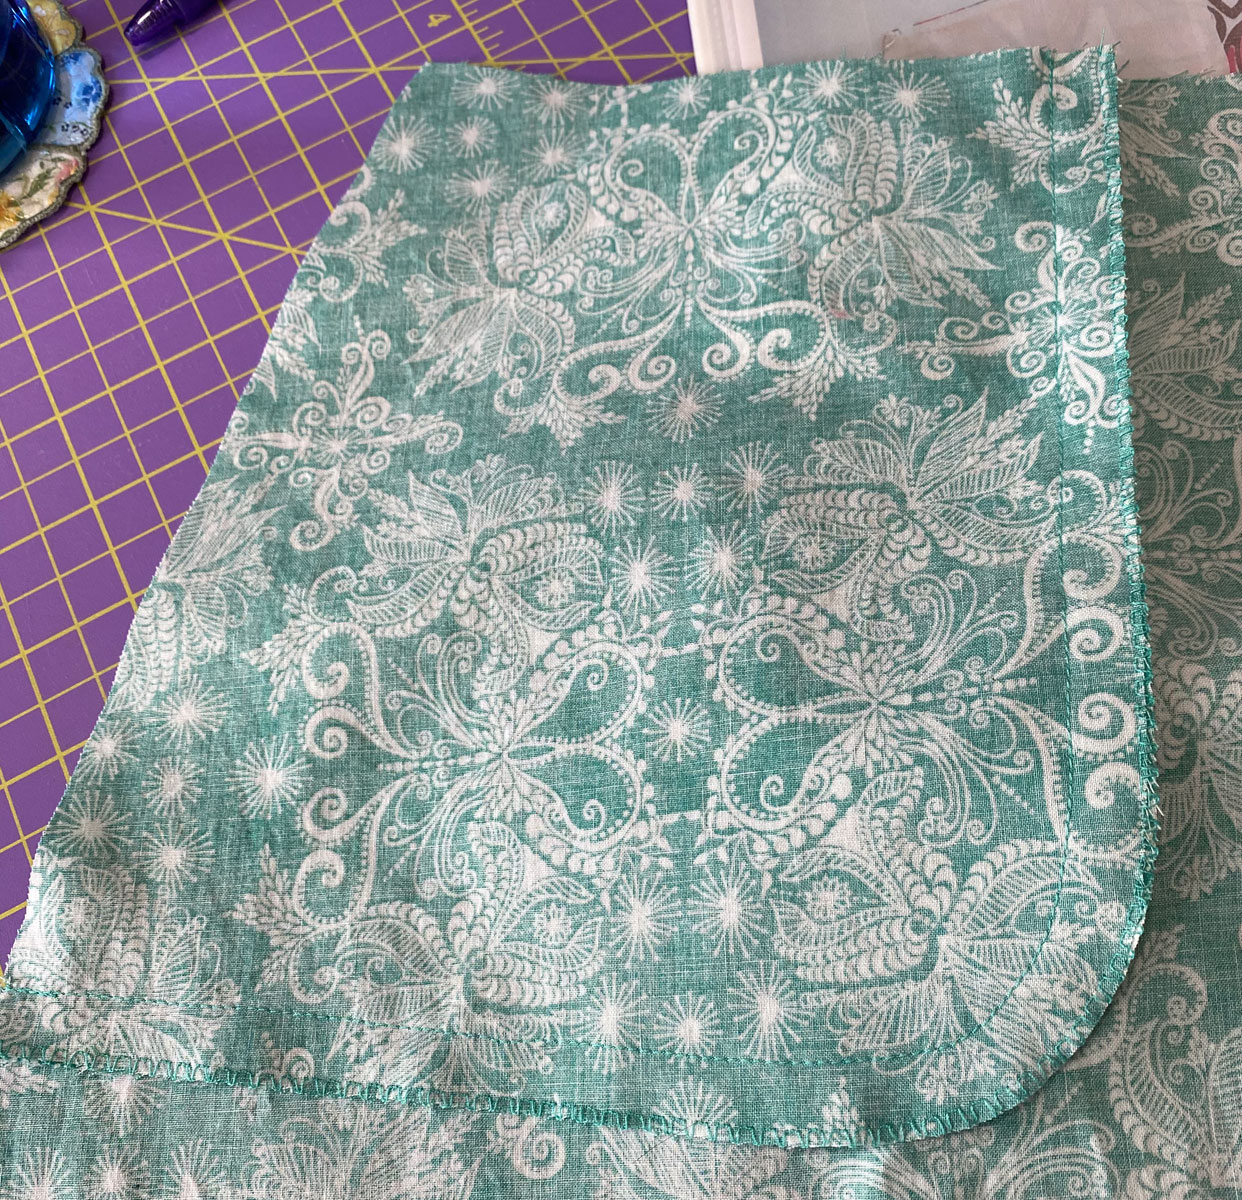
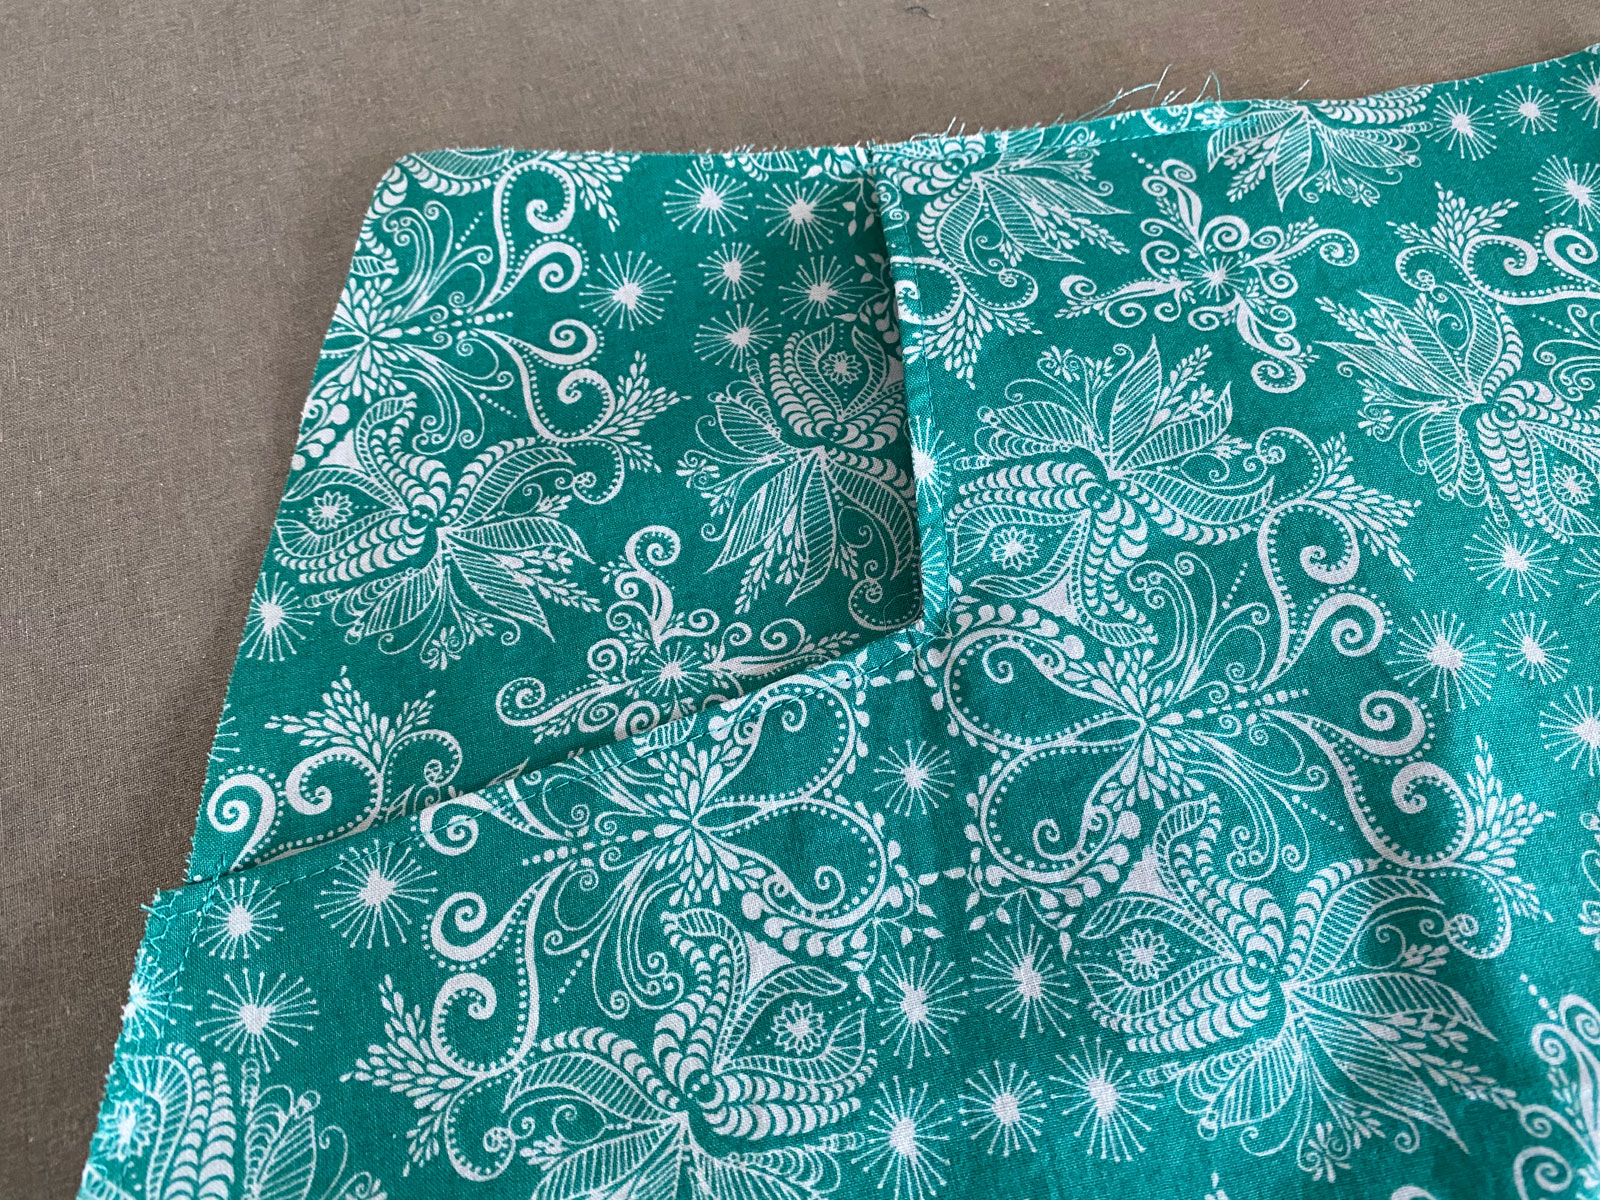
The final step is to baste the edges just where the pocket and the skirt meet. This picture looks a lot like a previous one, but in this one, you should be able to see those basting stitches. This helps with structural integrity, since we cut out the shape that was there and then added it back.
The next step for me is attaching waistband pieces, which involves sewing curved pieces (convex to concave). Good thing I have plenty of pins!